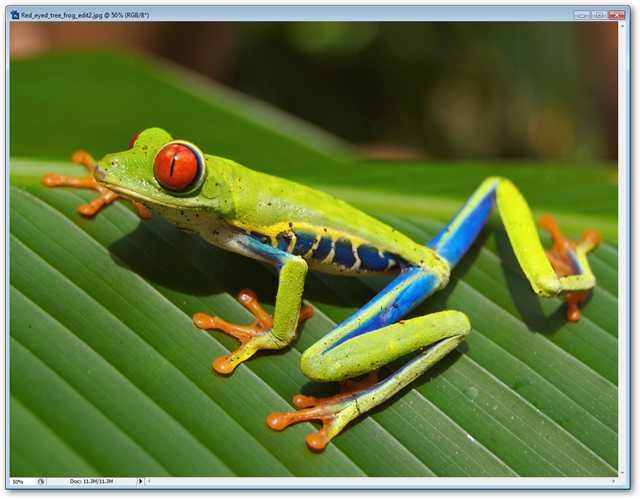
While tools like the Magic Eraser can sometimes remove your backgrounds, the fact is you're going to have to get your hands dirty with the eraser if you have images with complex backgrounds that need removing. While this can be time consuming, you can save yourself a lot of time with a little Photoshop wizardry. Let's take a look.
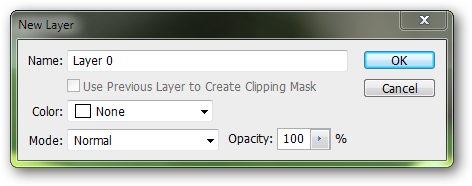
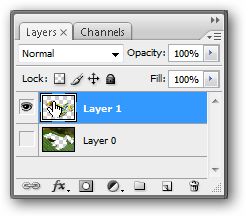
Right click your Background Layer in your Layers Palette, and choose “Layer from Background…” It automatically renames as Layer 0. Simply press OK.
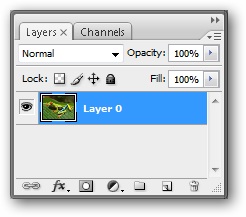
Your Layers Palette should only have a single layer, your newly unlocked “Layer 0.”
Press
to select the Lasso Tool. Check your options on your Control Palette near the top of your Photoshop screen. Make sure that yours looks like this screenshot. Most importantly, be certain that “Anti-Alias” is turned off.
Use your Lasso to draw a rough selection around your image. Don’t worry about being precise—we’re going to cut it out with more precision later.
When your selection is done, press
to move your rough selection to a new layer with “Layer Via Cut.” You can safely delete “Layer 0” and work only in your new layer.
Press
to bring up the eraser tool, or find it in your Toolbox.
Visit your Control Palette again and set your “Mode” to “Pencil.” This ensures your eraser has a hard edge.
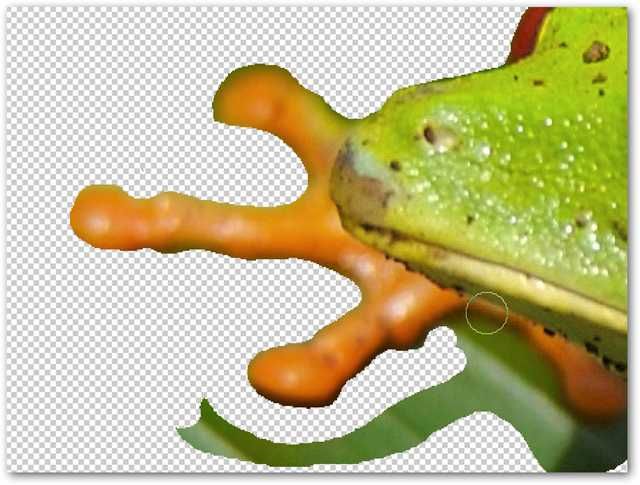
Use the eraser to mouse around and delete the parts you don’t want. Get close to your image, but be careful when cutting into it.
Keep in mind you can always undo with a swift
to undo or
step back through your history(It’s like multiple levels of undo, in case you’re not familiar).
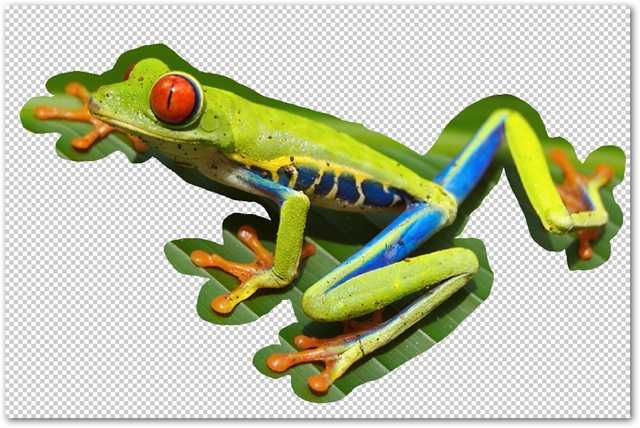
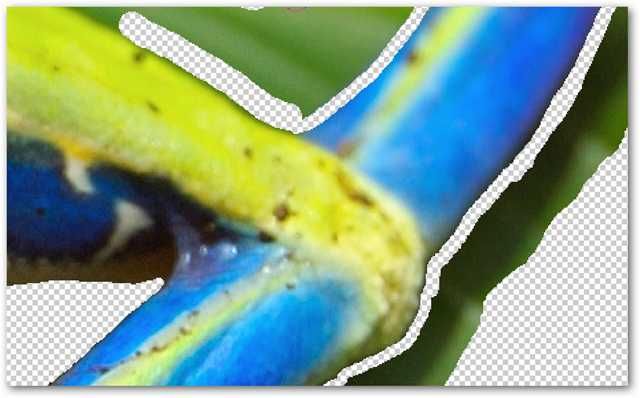
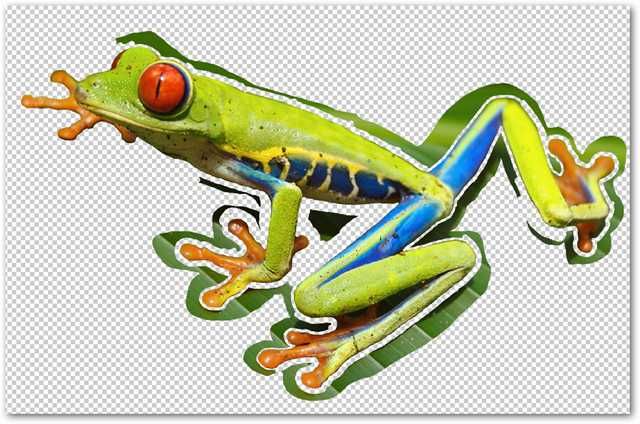
You don’t need to remove every bit at this point. Once you’ve created a continuous gap around your image, we can start to remove the superfluous stuff you no longer need.
Here’s where it gets a little advanced. You can simply use your eraser to remove the remainder of your image, but I don’t like spending more time on a routine task than I need to.
Hold
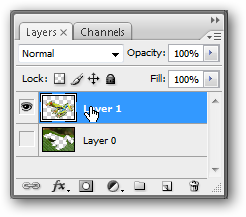
and click your “Layer 1.” This will load a selection around your entire roughly cut out image.
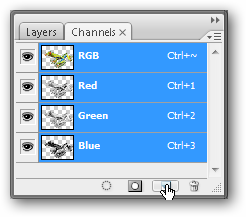
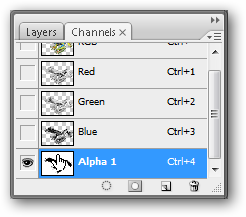
Open the Channels Palette and click the icon
to create a new Alpha Channel.
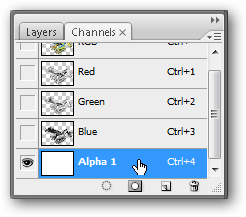
Select this Alpha Channel (likely “Alpha 1”) by clicking it. It also lists a shortcut to it. A simple
in an RGB file will jump right to it.
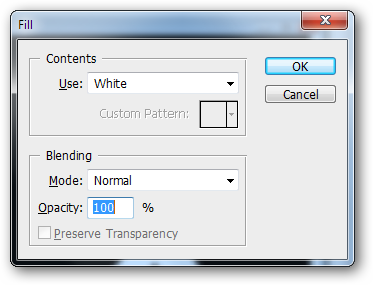
Go to Edit > Fill and set your fill Dialog Box to “Use: White” like I show here and simply press OK.
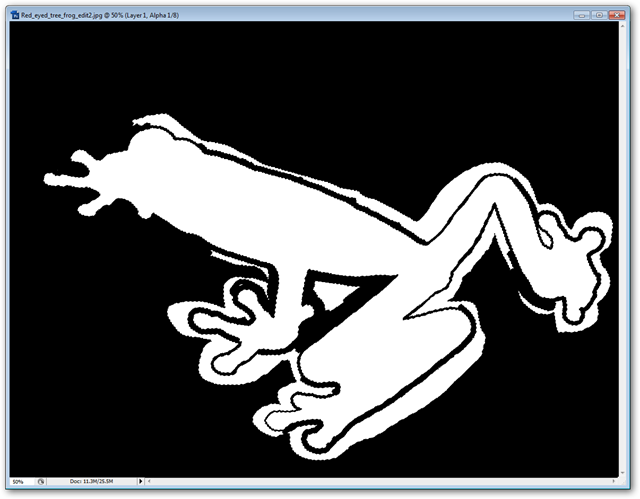
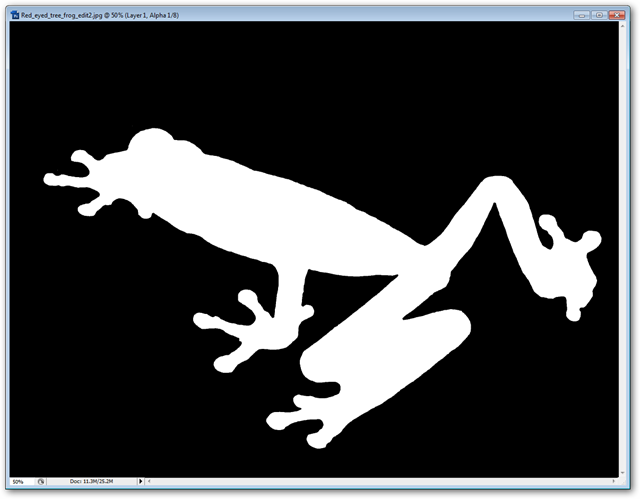
Your Alpha chanel should fill with white in the shape of your roughly cut out image. Press
to Deselect.
Click and hold on the Gradient Tool to bring up the Contextual Menu. Pick the Paint Bucket Tool. Ensure your “Foreground Color” is Black.
Simply click in the areas you don’t want to fill them with black. If any of your superfluous areas touch your image, it will fill as well, so be careful.
and Click on your Alpha 1 Channel to load the new selection you have just made.
Press
to return to your RGB. The Tilde key is located to the left of your
on a USA keyboard.
Return to your Layers Palette. Press
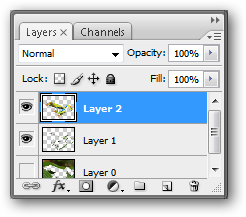
to move your selected image to a new layer. You can safely delete your old layer or simply choose to hide it.
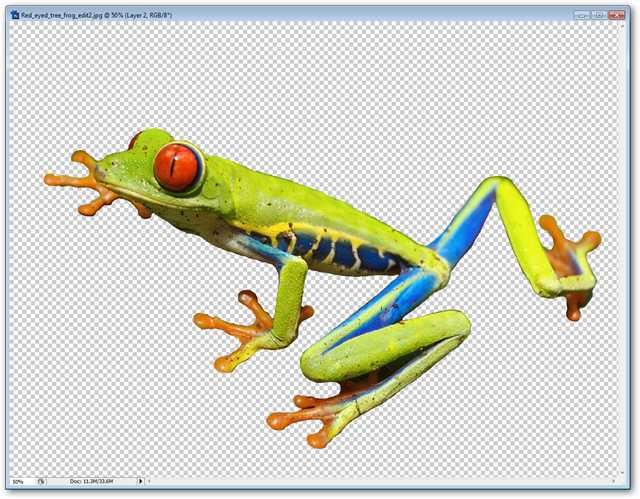
Your image is now precisely cut from your background.
I usually click the
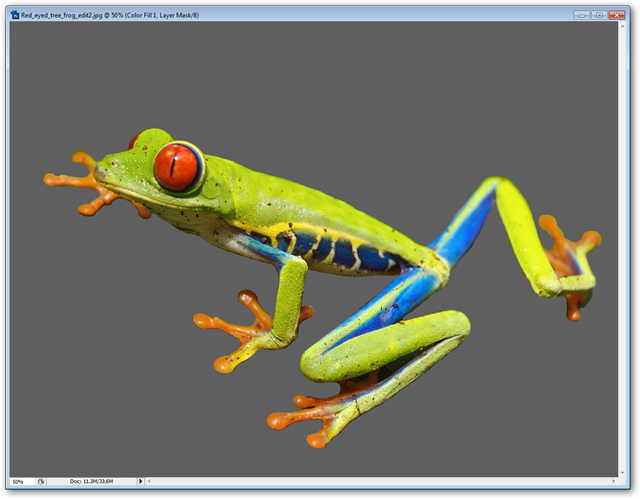
to add a Color Fill style Adjustment Layer at the bottom of my Layers. This helps me check my work for halos and mistakes.
Image by Careyjamesbalboa via Wikipedia, in Public Domain.

