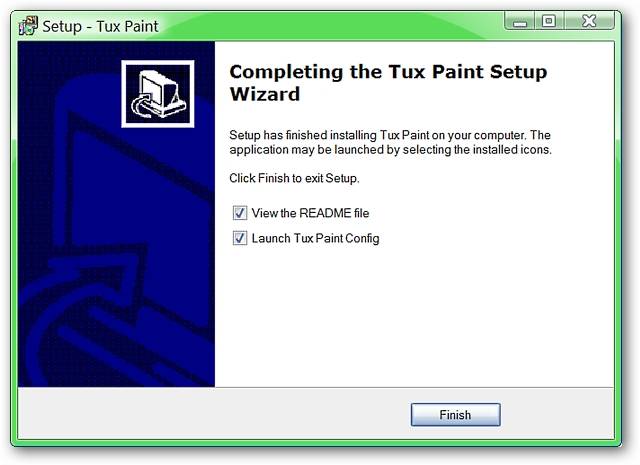
Looking for a wonderful image program for your children (or inner child)? Tux Paint makes a terrific addition to your family’s computer whether you are using Windows, Linux, or Mac. Installation & Setup Installation is quick and straightforward with a total of nine install windows to go through. When the installation is complete, it is recommended to allow Tux Paint Config to launch. This will help you get everything set up nicely before running Tux Paint. When Tux Paint Config launches, it will start with the “About Tab”. Notice at the bottom that there are options regarding “Current User” versus “All Users”, the ability to apply individual changes, resetting the Config, selecting Defaults, and the Config exit.

In the “Video/Sound Tab” area you should choose the screen display size that best suits your needs since you will not be able to resize the Tux Paint Window while the program is running. You can also choose to rotate the screen sizes (width and height), allow a screensaver, enable/disable sound effects, and use an alternate color palette.

The “Mouse/Keyboard Tab” area lets you decide if you would like to use “Fancy Cursor Shapes”, to hide the cursor if desired, enable/disable keyboard shortcuts, and the options that you would like to have active for your mouse while Tux Paint is running.

In the “Simplification Tab” area you can make choices regarding Tux Paint Stamps, text case, Magic Controls, and the ability to disable the “Quit Button” and “Escape Key”.

You can choose the display language desired, Stamp Mirroring, and what you would like Tux Paint to do with your system’s fonts in the “Language Tab” area.

In the “Printing Tab” area you can make any modifications desired for printing in Tux Paint.

The “Saving Tab” area gives you some wonderful choices in how to handle saving images (especially helpful to keep from accidentally overwriting a saved image). You can also choose to have Tux Paint always start with a blank canvas, use an alternate save directory, disable the “Quit Button”, and enable auto-saving pictures on program exit (terrific!).

The “Data Tab” area lets you disable the “Lockfile” (to run multiple instances) and the option to use an alternate data directory. At this point you will have completed the configuration for Tux Paint and can exit Tux Paint Config (program does not auto-start after closing). Before starting Tux Paint you should install the Stamps first if you want the extra functionality added to Tux Paint…

Install the Stamps As with the main program, there are a total of nine install windows to go through with this install file. Here you can see that the Stamps will be installed in the Tux Paint folder in Program Files… Note: The Tux Paint Stamps can be added in at a later time, but it does make it very nice to have everything already installed before starting to use Tux Paint.

You will be able to select the stamps that you would like to install for Tux Paint (very nice!).

The shortcuts for the Stamps will also be added to the Tux Paint folder in your Start Menu to keep everything easy to find and very organized for you (nice!).

Tux Paint in Action Once you have finished installing the Stamps (if desired), this is what the Main Window will look like. Everything is easy to access and ready for lots of fun! Note: You will not be able to resize this window while Tux Paint is running. To make window size changes, close Tux Paint and access the Tux Paint Config.

Here is an image that we fixed with Tux Paint…definitely a great program to have fun with!

Conclusion Tux Paint is a terrific program for your children (or you) to have hours and hours of fun with. This is definitely a recommended install for everyone’s family computer. Links Download Tux Paint & Tux Paint Stamps Works On: Windows 95 - Vista, Linux, and Mac OS X + Installed On: Windows Vista (32 bit), Service Pack 2