Adding pictures to your PowerPoint presentation can make it more visually appealing. However, when you first add a new image, it covers up whatever else is on the slide, including text. Here's how to move pictures and other objects backward and forward to create the layering you want.
Sending an Image Behind Text
If you haven’t already, go ahead and open the PowerPoint presentation you’ll be working with and hop over to the slide with the text and image.
We’ll go over layering images in a bit, but right now we will just be working with a single image and some text.
As you can see in the image above, The Geek image is covering the “How-To Geek” text. To put the image behind the text, first, click the image to select it and then go to the “Format” tab.
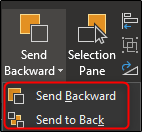
Over at the “Arrange” section, click the “Send Backward” button. A drop-down menu will appear with two options.
“Send Backward” sends the image back one level. “Send to Back” places the object behind all other objects on the slide. For now, select “Send Backward” (we'll talk about layering image more in a bit).
Now, your image will be behind the text.
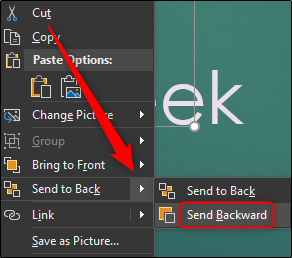
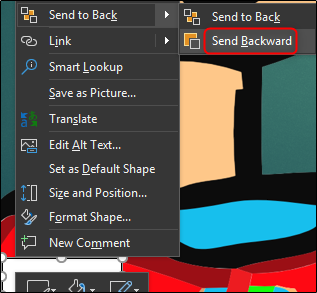
Alternatively, you could right-click the object, click the arrow next to “Send to Back,” and then select “Send Backward.”
The “Bring Forward” and "Bring to Front” options you'll see on the Format tab and the context menu work much the same way. You'd use these options to move an object in front of another. So, in this example, we also could have selected the text and brought it forward to accomplish the same effect.
Object Layering
Now let’s say we have three objects, and we want to layer them in a way that all of them serve their purpose. As an example, let’s give The Geek a name tag. We’ll be using three objects:
- A picture of the How-To Geek logo
- A solid white rectangle
- A text box with black text that reads “The Geek”
What we want is for the image to be in the back, the white rectangle to be in front of the image, and then the text to be in front of the white rectangle. However, we created our text and white rectangle first and then inserted our image, so the image is now in front of everything else.
Note: Yes, we know that we could just type text into the white rectangle shape to make things easier, but we're doing it this way for an easy example of layering.
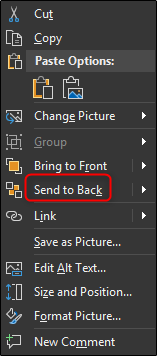
First, we want to select the picture logo and send it to the very back since we want all the other objects to appear in front of it. Select the image, right-click it, and then select “Send to Back” (or use the button on the "Format" tab).
This sends the image The Geek to the very back layer, as you can see below.
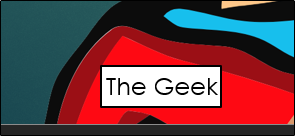
However, as you can see in the above image, our text is hidden behind the white rectangle. Next, select the white box, right-click it, and this time select “Send Backward” from the “Send to Back” options.
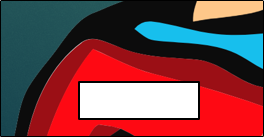
Note that if you select “Send to Back,” your white rectangle will disappear behind The Geek.
Here’s what we have now.
Now, from back to front, we have the image, the white rectangle, and then the black text box in front. That's the order we were after.
While the odds of you needing to give a name tag to a logo in a presentation are pretty slim, image layering is an important part of working with more complex slides.

