The interface of Microsoft Word is optimized for your mouse by default. However, those with touch-enabled screens may find it challenging to select commands using the more compact mouse mode. Enabling touch mode increases the size of your Ribbon, buttons, and menu commands so you can tap them better with your finger.
Enabling Touch Mode
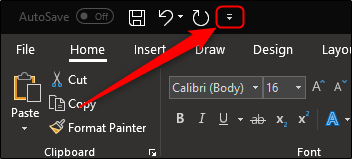
Enabling touch mode requires only a few steps. First, click the small arrow at the right of the Quick Access bar.
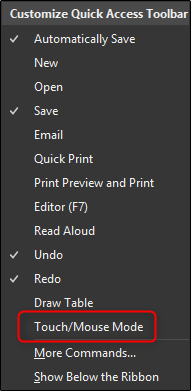
This opens a menu where you can add and remove commands to the Quick Access bar. It also features a “Touch/Mouse Mode” option, which you should enable now.
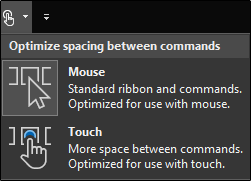
After you add that option to the Quick Access toolbar, a new icon appears that you can use to open a menu where you can move between Mouse and Touch modes.
Go ahead and select the “Touch” option. You’ll notice immediately that the Ribbon and Quick Access bar not only increase in size, but there's more space between each command, too.
Now it should be a little easier to tap commands with your fingers. To switch back to Mouse mode, just hit up that same menu from your Quick Access bar and this time, choose "Mouse."
Using Touch Mode
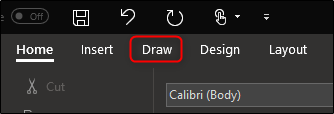
There are several benefits to using Touch mode aside from the more spacious Ribbon. One significant advantage is getting to fully utilize the “Draw” options with your finger or stylus. To see what’s available, switch to the “Draw” tab, which is automatically available for touch-enabled computers.
Here, you have several different options available, including drawing tools, conversion options, and even inserting a drawing canvas into your Word doc.
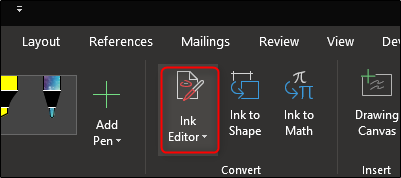
You can also do things like using natural gestures to edit text within a document. To access this option, click the “Ink Editor” button on the Drawing tab.
With the Ink Editor, you can use any of the following gestures to edit your document:
- Draw a circle to select text
- Draw a line through text to delete it
- Choose a highlighter from the “Pens” group and draw across text to highlight it
- Draw a curve to join two words
- Draw a vertical line between words to split them
- Insert text between words by drawing a caret symbol (^) between them
- Draw a backward L shape to make a new line
You can also draw shapes, highlight text, and write words with your finger or stylus using the other commands on the “Draw” tab. Play around with the available “Draw” options and see what else you find useful.


