Quick Links
If contracts are part of your daily workflow, you know how frustrating it is when people change parts of the document or form they shouldn't. Fortunately, Microsoft Word has a developer tool that lets you protect the text in your document while still allowing people to fill in blanks.
Making Your Document Fillable, Not Editable
Let’s say, for example, that you have a non-disclosure agreement that you want to send out to an employee that will be joining your company. You want to give the receiving individual the ability the fill in the blanks in the document, but you also want to ensure that none of the information in the NDA is altered or changed in any way. It only takes a few steps to achieve this in Word. Here’s how.
First, grab the legal document you want to work with. Microsoft provides a few basic templates, but there are also a lot of websites that provide detailed, comprehensive legal templates online for free, drawn up by actual attorneys. In this example, we’ll be using an NDA that we grabbed from the above link.
Once you have your document pulled up, it’s time to add some controls and protection to it. First, you need to get into the “Developer” tab. Word doesn’t display this on the ribbon by default, so let’s go ahead and fix that.
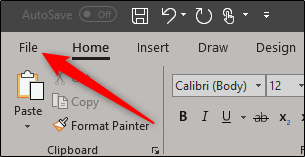
Click “File.”
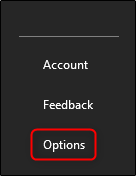
At the very bottom of the menu, select “Options.”
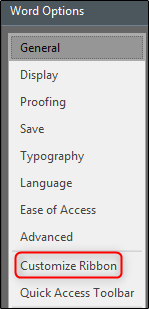
On the left pane of the Options menu, select “Customize Ribbon.”
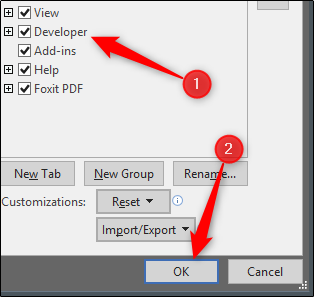
On the right, tick the “Developer” checkbox, which you’ll find under “Customize the Ribbon,” and then click "OK."
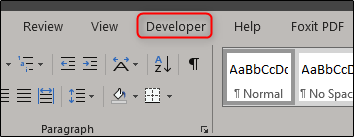
Now you’ll notice the Developer tab appear between the View and Help tabs. Go ahead and switch to the "Developer" tab.
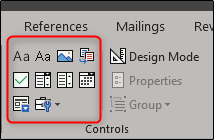
Once there, find the “Controls” group, where you’ll see several content control options for rich or plain text, pictures, combo boxes, drop-down lists, date pickers, checkboxes, or building block controls.
Let’s put it to practice. On the signature section of our NDA template, we’ll insert a date picker and rich text box for us to fill input the date of our agreement and printed name, respectively.
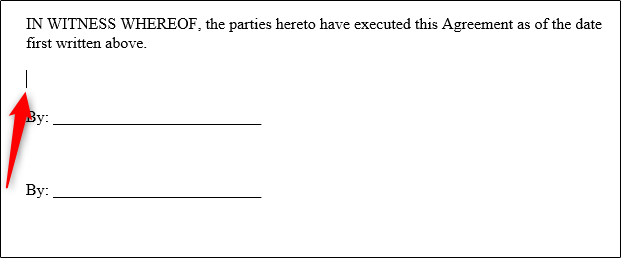
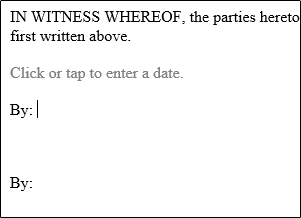
First, bring your cursor to the area where you want to insert a date picker. We’re going to place ours here:
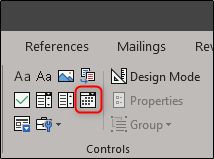
Next, on the “Developer” tab, select “Date Picker Content Control” (it's the calendar icon).
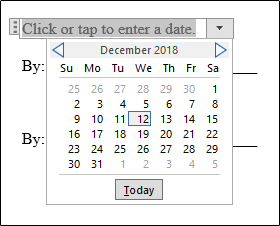
Now you’ll see a box appear. Click the arrow and choose a date from the calendar that pops up.
Next, let’s remove the lines next to “By:” and replace them with a rich text box. Once the lines are deleted, place your insertion point where it needs to go:
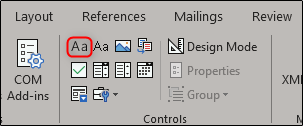
Back at the "Developer" tab, click the “Rich Text Content Control” button.
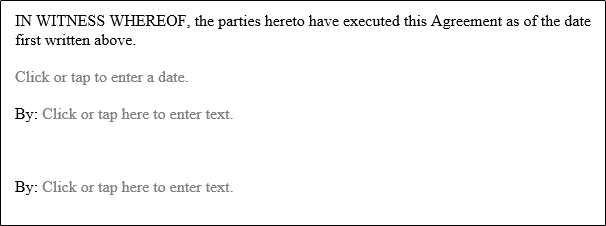
Your text box will now appear. Repeat the steps for the next line where a name should go, and you’ll have something that looks like this:
As you can see, you now have fillable sections for text and a date.
Using this feature is particularly useful for forms that would be sent out often and have several sections that would need to be filled in by the receiving party. Take the first paragraph of our NDA, for example:
That one paragraph alone has seven parts that need to be filled out. It makes sense to turn it into a fillable form.
Moving forward, an NDA is not a document that would often have its content changed. Similarly, when sending out a contract to be signed, you want to make sure that none of the content was altered then sent back to you without your knowledge. Restricting editing rights for the receiving party is a great way to protect the integrity of the document, as well as yourself.
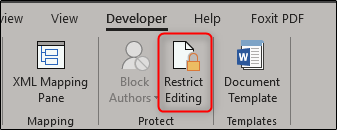
To make a document un-editable, first, select all the text in the document by pressing Ctrl+A. Once all of the text is highlighted, click “Restrict Editing” in the “Protect” group on the “Developer” tab.
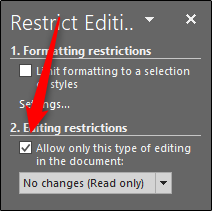
In the “Restrict Editing” pane that appears on the right, select the option under the “Editing Restrictions” section.
Next, in the same section, click the arrow to make the drop-down menu appear and select “Filling in forms.”
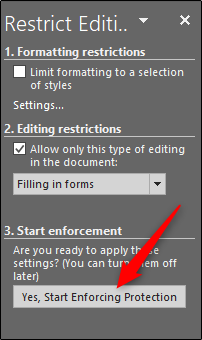
Finally, select “Yes, Start Enforcing Protection.”
To give your document an added layer of protection, you’ll be prompted to create a password. This is completely optional. If you decide to do so, enter a password and then click "OK." Otherwise, just click Cancel.
That’s it. Now you have a fillable document that is protected from unintentional (or intentional) editing. The example we used here is just one of many use cases where this feature would come in handy. Take advantage of this feature next time you have a questionnaire or legal form you’d like to send out!


