Quick Links
Microsoft Word makes it easy to add geometric shapes (and a whole lot more) to your document. You can also add text into these shapes, which is handy when you're creating flowcharts, network diagrams, mind maps, and so on. This being Word, there are plenty of options for doing this, so let's take a look.
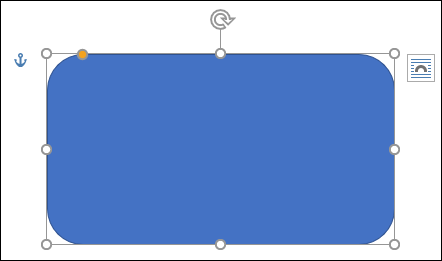
First, you'll need to insert a shape by going to Insert > Shapes. We're going to use a nice rounded rectangle, which by default will be filled in with blue.
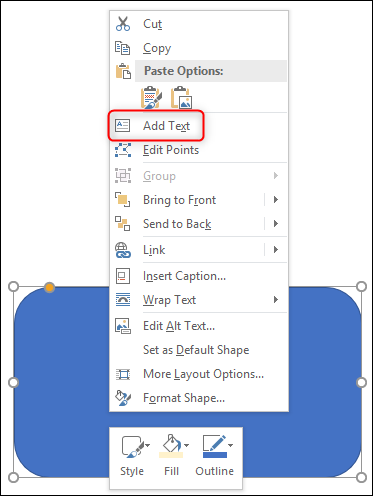
Right-click anywhere in your shape and click the "Add Text" command.
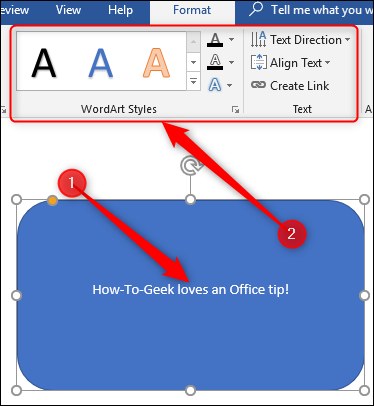
This places an insertion point in the shape where you can type your text. Once you've added whatever you want to write, the "Format" tab has tools you can use to give your text a little pop with things like text styles and shading.
You can also select the text and use the standard Font, Paragraph and Styles tools on the Home tab to format your text, just as if it were a normal part of the document. When you right click your text, you'll find the usual quick options as well.
Add a Text Box
If you'd like a little more control over the placement and boundaries of your text, you can add a text box inside your shape instead. When you insert a new image or select an existing image, Word automatically switches you to the "Format" tab. You'll see two ways here to insert a text box, both of which add a text box in the same way.
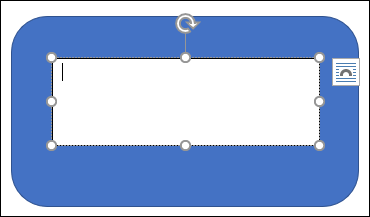
Select one of the options and move the cursor over your image. A yellow "+" mark will replace your pointer. Hold down the left mouse button and drag the "+" mark to create a text box. When the box looks about right, release the left click (don't worry if the text box isn't exactly the right size or location, you can change it afterward), and your text box will be created.
You can use the handles (the little squares) around the text box to resize it or select the whole text box to move it around within your shape. Add your text and format it in whatever way you want.
There are also text boxes with preset formatting that you can add by selecting your shape and then clicking Insert > Text Box. We've only scratched the surface of what you can do with text boxes here, so if you want to know more check out our guide to text boxes and all the things you can do with them.

