Quick Links
Autofocus doesn’t always work as well as you’d hope. Sometimes it’s necessary to go old school and focus your camera manually. Here’s how to make sure you get sharp shots.
Autofocus is excellent on bright days when there’s a clear subject but, if you’re shooting in low light, want to focus on a specific object, or there isn’t a distinct subject, autofocus can struggle. For landscape images, for example, I almost always use manual focus because it gives me total control over the image.
The Basics of Manually Focusing
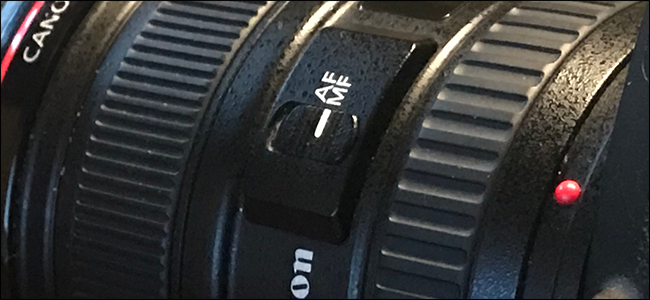
The simplest way to manually focus your lens is just to adjust the focus ring until whatever you are trying to capture is sharp.
Remember, the wider your aperture, the more accurate you’ll need to be, and when you’re focusing through your lens like this, your aperture is always wide open, even if you have it set to something else; it only closes up when you go to take a shot. To get a better idea of what’s actually in focus, you need to use the depth of field preview button.

Unfortunately, this isn’t a practical way to reliably get good shots unless you’re using a narrow aperture. Modern lenses and cameras work on the assumption that people are generally using autofocus, so it’s now much much harder to manually focus by eye than it was with older cameras. Lenses have shorter focal throw distances (the amount of movement required to adjust the focus), lack distance scales, and otherwise just aren’t designed to be quickly and easily focused manually through the viewfinder.
How to Manually Focus the Right Way
The good news is that there’s a great way to focus a modern camera set up manually. It just requires a bit more time and, ideally, a tripod.
Put your camera into Live View mode and if you can, mount it on a tripod. Live View shows a real-time preview, so the depth of field and brightness you see are pretty accurate.

Use the zoom to zoom in as close as you can on the subject you want to be in focus; my camera can go to 10x. The zoom buttons are in different place on different cameras but are almost always close to the Live View screen. This is also a digital preview zoom; it’s not zooming in the lens. It’s just giving you a much better preview than you get looking through the viewfinder.

Next, adjust the focal ring until the subject is sharp and in focus. Since it’s zoomed in on the large screen and you’re getting an accurate preview of the depth of field, this should be easy enough. Take the photo, and you’re done.
When Should You Use Manual Focus
At the start I mentioned a few scenarios when manually focusing your lens is a good idea, but let’s look at them in a little more depth.
In Low Light
Autofocus is at its worst in low light conditions. It just doesn’t work when there’s not a lot of contrast. This means that in low light conditions you’ll be more likely to need to use manual focus to get the shot you want.
If you’re trying to hand hold your camera to take quick shots, things are going to be more difficult than if you’re able to lock down your camera on a tripod and focus on the stars. You’ll just need to find the right balance between speed and accuracy for your shots.
When You Want Everything In Focus
For good landscape photos, you normally want everything from the mountains in the distance to the grass in front of you to be in focus. Autofocus isn’t great for this because it will normally just focus on a subject in the foreground.
When you’re shooting landscapes and want everything to be in focus, one simple tip is to focus one-third of the way into the scene on something in the midground with your aperture set to f/16 or so.

For example, if you want everything from the wall five feet away to the buildings 500 feet away to be in focus, you should try and focus on something about 150 feet away from you. The reasons why this works get quite mathematical and complicated fast, but the gist is that the area in focus in your images is split roughly 33% in front of the focal point and 66% behind. By using a large aperture we guarantee there’ll be a large depth of focus and by focusing a third of the way in, we get it to cover as much of the image as possible. Note, for really distant objects like mountains or the stars, you can just assume a distance of around 1000 feet or so to approximate things.
When You’re There’s a Lot of Distractions
Autofocus normally focuses on the simplest, most obvious foreground subjects. This is great most of the time but if there’s something distracting or opaque in the foreground, like some tree branches or a window it will probably focus on that instead of the real subject.

Swap to manual focus and focus on the subject yourself.
Any Other Time You Want Control or Consistency
Autofocus is just another tool at your disposal. Any time you want control or consistency, there’s a good chance it will do more harm than good. You probably should use manual focus when you’re doing anything like HDR images, macro images, panoramas, or anything else where you’re combining more than one image.
It’s easy to let your camera automatically do everything and come away with decent images. It’s not the way to take great photos though; for that, you need to know how to control your camera properly—even if that means focusing manually.