Quick Links
RAW image files are huge so Adobe Lightroom saves preview JPEG files to speed things up. If worst comes to worst and you lose your originals, you might be able to recover something from the previews.
When you import RAW files into Lightroom, it creates preview files so that it doesn’t have to read 20MB+ of data every time you want to look at an image. These preview files normally don’t have the same resolution—and since they’re JPEGs, the same depth of data—as the originals, but if your original files are unrecoverable, at least the JPEGs are something.

Realistically, you shouldn’t be in this situation. You should always have a second copy of all your important digital files, but things happen so if you are, here’s how to try and recover something from your previews.
A few notes before we begin:
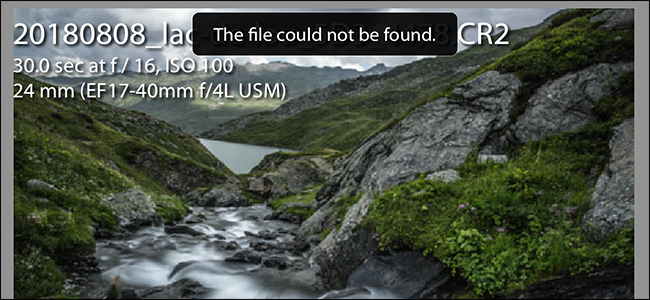
- Don’t expect the world. You’re getting recovered preview files back. Especially of older images, there may be nothing more than a low-resolution JPEG.
- If your lucky and your photos are well exposed, you may have some images that are high enough resolution and with enough data to use.
- Any edits you made won’t have been saved, and all the metadata is stripped out.
- This only works with Lightroom Classic CC; if you’re using Lightroom CC, your photos are backed up on Adobe’s servers.
- Learn from the situation and get a proper backup plan in place.
Recovering Files from Your Previews
Head to this Adobe Help Page and click the "Get File" button. This will download a file named “ExtractPreviews.lua.”

Open Lightroom and head to Edit > Preferences on Windows or Lightroom > Preferences on macOS. Select the "Presets" tab and then click the "Show Lightroom Presets Folder" button.

This will open up your Lightroom folder in Windows Explorer or Finder. You shouldn’t have any issues, but if your Mac decides to kick up a fuss about hidden files, here’s how to view them.

Create a new folder named Scripts and add the "ExtractPreviews.lua" file to it.

Quit and open Lightroom again, so it loads the Scripts folder. If you’ve followed the steps correctly, you should see either Scripts or an icon at the end of the menubar.

Select all the photos you want to recover—if it’s your entire Catalog, press Ctrl+A (Command+A on a Mac). Then click the "Scripts" menu and select the "ExtractPreviews" command.

Choose a location to save the extracted files to and click the "Choose" button.

Navigate to the folder and you’ll see a JPEG file of the best available preview for each of your images. Have a look through and see if there’s anything usable.

No one wants to be in a situation where they’re relying on recovering preview files to get images back but, honestly, every photographer ends up there at least once; I know I have. The big thing is to learn from your mistakes and start backing things up.