Quick Links
Want to give macOS Mojave a spin, but don't feel ready to upgrade from High Sierra? You can quickly set Mojave up in a virtual machine, for free.
Parallels makes it painless to set up virtual machines, and Parallels Desktop Lite is a free version that can make Linux and macOS virtual machines for free. Even better: this software works with the macOS Mojave Beta as of right now, meaning you can get a Mojave virtual machine set up quickly without having to deal with the command line or other nonsense.
All you need to do is download Parallels Desktop Lite, download the Mojave beta, and then install Mojave in a virtual machine. Here's a full guide anyway, so you can see just how it works.
Step One: Download Parallels Lite (Free)

First up you need to download Parallels Desktop Lite from the Mac App Store. It's not hard: open the page and click the button.
That was easy, wasn't it? Gold stars all around.
Step Two: Download macOS Movaje (But Don't Install It)
Next, you're going to download the macOS Movaje Beta. Head to beta.apple.com and sign up for the Mojave Public Beta. You'll be prompted to Enroll your Mac:

After enrolling, you'll download a DMG file with an installer, which you should run.

Next, you'll be prompted to download the beta from the Mac App Store. Do so.

Eventually, the Mojave installer will open.

Do not run the installer. Instead, close it by pressing CMD+Q. If you go ahead and run the installer, it will replace High Sierra on your system, and you don't want that. You just needed to download the installer so Parallels could use it to install Mojave into a virtual machine.
Step Three: Install Mojave in Parallels Desktop Lite
Fire up Parallels Desktop Lite and create a new virtual machine.

Click the option to "Install Windows or another OS from a DVD or image file" and then click "Continue." You should eventually see macOS Mojave as an option:
Select Mojave and then click "Continue." You'll be told you need to create a bootable disk image file.
Click "Continue," and Parallels will create that image. Next, you'll be asked where you'd like to locate your virtual machine. You can also give it a different name if you want.
Next, your new virtual machine will finally start booting up.
Eventually, you will see the installer app. Begin by choosing your language.
Next, select "Install macOS" and then click "Continue."
This will launch the installer.
Click the arrow to continue through the process.
Select your drive, which should be lableled "Macintosh HD." Don't worry: this is a virtual drive, not the physical hard drive on which your regular operating system is installed. Your data is safe.
The installer will now run.
The process will take a while, but when it's done, you'll be ready to set up your virtual Mac.
You'll find all of the usual macOS setup routines here, including creating your account. There's one new thing to Mojave: choosing between a dark and light theme.

Eventually, you'll get to the Mac desktop.

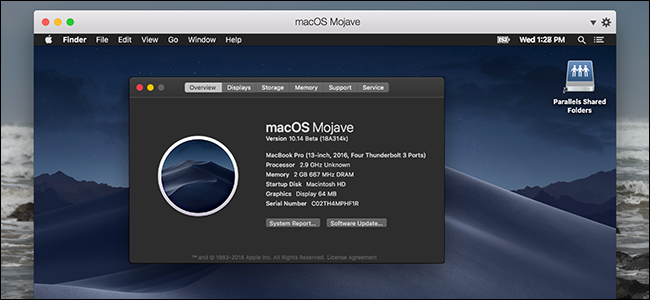
Congrats! You've got macOS Mojave running in a virtual machine. Enjoy testing out all the great features!
Optional: Install Parellels Tools
Virtual machines work better with Parallels Tools installed. These tools add extra virtual drivers that make your virtual Mac run better, and Parallels Tools actually works with macOS Mojave as of this writing. Click Actions > Install Parallels Tools in the menu bar of your host machine, and the installer will launch inside your virtual machine.

You'll have to restart your virtual machine when this is done, but when you do, you'll be able to do things like resize your virtual machine and share folders easily. Enjoy!