Quick Links
If your MacBook is performing hotter than usual, the cooling fans and other areas might be blocked by dust, and that can prevent them from keeping the whole machine cool. Here's how to clean out your MacBook so you can get back to intensive computer work in no time.
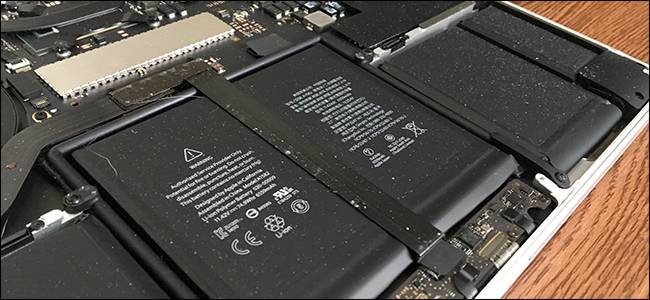
Opening up your MacBook to expose its internals sounds like a daunting task, but it's actually pretty easy since we're only taking off the bottom cover and nothing else. That's all we need to access the main circuitry and cooling fans, which are just a few screws away.
What You'll Need

You'll need a few things before you get started, some of which you may already have. If not, you can easily get them online.
- P5 Pentalobe Screwdriver: Most MacBooks use P5 screws. If you don't already have one, it's best to buy a kit that includes a P5 bit.
- Suction Cup: Needed if you have a 2016 MacBook or newer.
- Guitar Picks: Needed if you have a 2016 MacBook or newer.
- Compressed/Canned Air: An easy way to get rid of most of the dust.
- Cotton Swabs: Great for removing or loosening up stubborn particles of dust and/or dirt.
- Organization and Patience: You'll want to keep track of screws and take your time with something like this.
Step One: Remove the Bottom Cover
This step is pretty much the same for any modern MacBook, except for the newer Touch Bar models (more on that below). Flip over your MacBook so that the bottom is face up. Take your P5 pentalobe screwdriver and remove the screws around the perimeter of your MacBook. Keep track of each screw and where it goes, because some of them are different lengths.

Once you have all the screws removed, you can lift up the bottom cover from the back. Some MacBook models also have a couple of small clips that hold the cover in place from the center, but you can carefully just pry up the cover to unclip it.

Now, beginning with the Touch Bar MacBook Pro in 2016 (including the non-Touch Bar models), Apple introduced a new step to the removal of the bottom cover. In addition to the pentalobe screws, you also have to use a suction cup and a guitar pick to get the cover completely off. This iFixit guide shows you how to do that.
Step Two: Inspect the Inside and Locate the Fan(s)
With the bottom cover out of the way, you now have access to the internal components of your MacBook. Take the time to inspect everything for dust buildup. You probably won't have to look that hard.

Next, locate the cooling fan(s). You may have more than one, depending on your specific model, but they're easy to spot. Just look for the circular black turbine-looking things. This is likely where there's the most dust buildup, since cooling fans suck in air from the surrounding area. So if your house is particularly dusty, you might have a decent cleanup job ahead of you.

Step Three: Gently Blow Out Any Dust
Next, take your can of compressed air and gently begin blowing out dust anywhere you see it. You don't want to necessarily give it wide-open throttle, since there's the risk of damaging components.
When you get to the fan, be sure to use a finger to hold the fan in place and keep it from spinning while you use the compressed air. Otherwise, the fan will spin up way faster than it's designed to, which could damage the fan motor and the fan bearings.

If there's dust that's particularly stubborn, you can use some cotton swabs to loosen it up and then blow it out, but most of the dust should escape without much trouble.
Once you're done, just reattach the bottom cover and make sure you press in the clips in the center to seat them in place. From there, screw it back on and you're back in business.