Quick Links
The Switch is great! Nintendo’s dock design is...less great. While buying a third-party dock can be risky, there’s an alternative: replace the plastic shell on the original to make it a lean, mean, fast-docking machine.
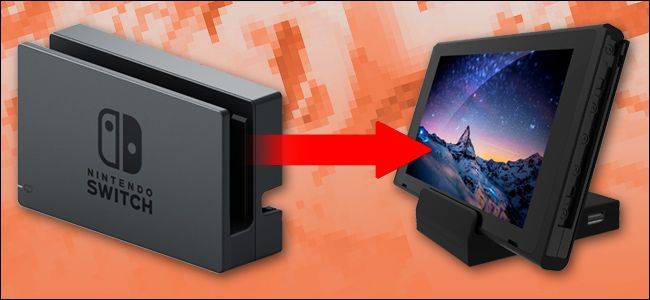
Accessory makers have begun selling alternate dock shells. They’re really just pieces of plastic, and they’re designed to hold the electronic guts of the official Nintendo dock in a new and much more user-friendly position. This modified layout allows the dock to be about a third of the size of the bulky original for much more convenient travel, while also displaying the Switch’s tablet screen for handy desktop play while it’s charging.

Because it’s using Nintendo’s genuine dock circuit board and USB-C port, the modified dock retains all of the charging, video-out, and USB connections of the original without the bricking danger of some third-party alternatives. You'll need to assemble it yourself, but it's worth the effort.
What You'll Need
All you need to complete this project is one of these third-party shells and about 20 minutes. This shell costs around $15 on Amazon, and it comes with the custom tri-wing screwdriver you’ll need to open Nintendo’s dock. You might want to use your own small screwdrivers, though, since the cheap ones included with the dock are flimsy and uncomfortable.

Here’s a bigger, better tri-wing screwdriver if you’d like a permanent Nintendo-specific addition to your toolkit. A few cups or bowls to hold the loose screws will also be useful.
Step One: Open the Nintendo Switch Dock
To get started, remove your Switch’s dock from its normal place by the TV and unplug all the hardware from it. Flip up the cover on the back to reveal the connection ports. Remove these eight screws with your tri-wing driver:

With these screws removed, you’ll be able to pull out this plastic piece and expose the circuit board of the dock.

The board will be sitting loose in the shell.

Step Two: Remove The Circuit Board and USB-C Port
There are two cables connected to the board: the ribbon cable coming from the USB-C port, and the power cable going to the LED. The ribbon cable is on top in this orientation, so grab it first. Pull up the tab holding it in place on the connector, and then pull the cable out.

Now lift the circuit board up gently, and you'll see a red and black power light cable connected underneath. Disconnect that, and then you can then completely remove the circuit board.


You can leave the power light cable where it is, but you’re going to need to go after the USB-C port at the bottom of the dock. To access this component, you’ll need to switch to a standard Philips-head screwdriver and remove these nine different screws. Six of them are deeply recessed, so you’ll need a short, skinny screwdriver to get them out.

With the nine screws removed, you can pull off the next piece of the plastic shell.

Flip the remaining part of the dock around to access the port assembly on the bottom.

Gently pull the ribbon cable to the side, and remove these four screws. This will let you pull off the retention plate, which holds the springs onto the sliding USB-C port. Try not to let the springs get too close to each other: they’ll tangle themselves easily once they’re loose.


There are two very, very small screws holding the USB-C port in place on the sliding assembly. You’ll want the smallest screwdriver you have that still includes a good grip for this step. Remove those screws, set them aside, and then pull out the USB-C port.

Step Three: Install Components in the New Shell
Now you’re almost ready to move the components over to the new dock. Plug the USB-C ribbon cable back into the port on the circuit board, and snap the latch closed. The blue side of the connector should face up, and once you’ve fully closed the latch, you shouldn’t be able to see any blue on the cable:

Don’t worry about the LED light in the original dock: it’s just an indicator and won’t be part of your finished modified dock. With the USB ribbon cable reattached, take the USB-C port on the end of the ribbon cable and insert it into the oval hole in the top shell piece.

Now grab the same two tiny screws you removed from either side of the USB-C port in the original Switch dock (in the last part of Step Two). Use them to affix the port to the new shell, this time screwing them in from the bottom.

Fold the circuit board over the longest portion of the USB-C ribbon cable. The ports on the board should fit snugly into the cutouts in the shell. If the excess ribbon cable is getting in the way, use your finger to push some of it into the curve of the upper shell piece.


Use three of the screws that came with the replacement shell to screw down the circuit board in these locations. The circuit board should now be snugly in place, with the various ports aligned with the upper half of the shell.

Place the lower portion of the shell on to the upper part, and use four more screws to affix it. It will only fit in one way.

Remove the rubber feet from the replacement shell package and stick them over the screw holes.
Step Four: Check Your Work
And you’re done! Check around your newly modified dock to make sure there’s plenty of clearance for all the ports. If there is, plug in your power and HDMI cables and test it with your television. You should see the Switch’s picture on your TV.


Note that, because the original circuit board is still being used, the Switch itself thinks it's in the original dock when you plug it in. That means that it will turn off its screen when it's inserted. If you want to use the modified dock as a desktop charging stand, try using another, non-Nintendo USB-C charger and unplugging the HDMI cable. I've found the one from my Android cell phone lets the Switch screen stay active while it's charging, allowing me to play at the same time.

Now that the original dock’s components are in the new shell, reassemble the original dock shell so you can keep it if you ever want to go back. The only tricky part is making sure the spring assembly is properly aligned with the plastic spikes holding them in place. For everything else, just replace the original screws, following Step Two and Step One above in reverse.