Quick Links
RAW is an image format that contains a lot more data than JPG. It's designed so that you can capture as much data as possible with your camera, giving you more editing flexibility later. Here's how to capture RAW photos on your iPhone or iPad.
Modern iPhones---starting with the iPhone 12 Pro and iPhone 12 Pro Max---now have built-in support for Apple's ProRAW format. Be sure to try Apple ProRAW if your iPhone supports it.
The Difference Between RAW and JPG
JPG is a great format for sharing your images. It's widely supported, relatively small, and supports pretty much any image size or quality. However, it's got some serious limitations when it comes to capturing photos: a modern sensor can just detect a whole lot more information than can get stored in a single JPG file. This is where the RAW format comes in.
RAW is normally used with DSLRs and other high end cameras, but is now available on smartphones. It can contain all the information your camera captures, such as the full dynamic range of the sensor and loads of additional color information. Where a JPG shot with my iPhone 7 Plus is around 1.5MB, a RAW file is upwards of 10MB. That's a lot more information to work with.
Here's a side by side comparison of a JPG (left) and RAW (right) file pretty much straight off my iPhone's camera.

And here's what they look like after some pretty aggressive editing.

While you never really want to push a photo this far, you can see that the texture in the leaves in the RAW file still look alright whereas they've gone to mush in the JPG. There's also a little more subtle blue in the sky.
Since storage is cheap and you almost always want to work with the highest quality file possible, it makes sense to shoot RAW on your iPhone if you are serious about taking good photos. They just give you more options.
Shooting RAW on Your iPhone
The stock iOS Camera app doesn't support capturing RAW photos, so you'll need to use a third-party app, instead. There are quite a few options, but our two favorite are VSCO (free) and Halide Camera ($5.99).
VSCO
As of early 2021, the VSCO Camera app can no longer take photos in RAW format. This feature was discontinued and removed from the app.
VSCO is one of the best editing apps available on iOS and its built in camera can capture RAW files. The great thing is that you can shoot a photo, and then edit it right away with VSCO's awesome editing tools.
Download VSCO and launch it. Tap the camera icon at the top of the screen.


By default, the camera will only capture JPGs. To capture RAW files, tap the little RAW icon in the bottom left. If it's dimmed, you're capturing JPGs; if it's solid white, you're shooting RAW. One thing to note is that RAW files can only be captured with the rear camera. No RAW selfies for me, unfortunately!


One handy feature of VSCO is that it makes it really easy to see any RAW photos you've captured. On the main screen, tap the "Studio" dropdown menu, and then select the "RAW" option.


RAW photos also have a little R in the bottom right corner of their thumbnails.
Halide
VSCO is great editing app, but it's not the best pure camera. For that, you want Halide. At $5.99, it's expensive for an app, but it's worth it if you use your iPhone as a camera regularly. As well as RAW support, you get fast, easy to use manual controls so you can have full control over your exposure.
Download Halide and open it.


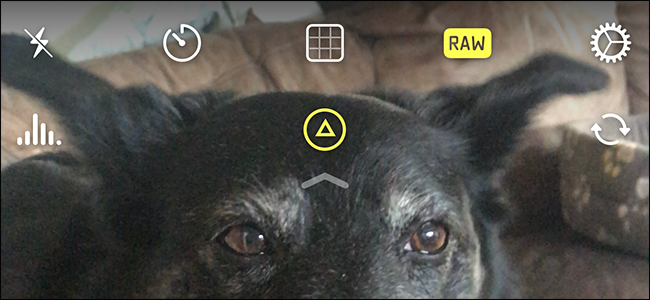
By default, Halide will capture RAW files. If you want to turn them off, pull down from the top of the screen, and then tap the "RAW" option. When it's yellow, you're capturing RAW files; when it's white, you're shooting JPGs.


Like with VSCO, you can only capture RAW files with the rear camera.
Editing RAW Photos on Your iPhone
While you can edit RAW files with iOS's Photos app, it's not the best tool for the job. It doesn't have particularly powerful tools to make the most out of the extra data, and once you edit a RAW file with it, you won't be able to edit the RAW data in any other image editing app. They will see your RAW files as the standard JPG preview of your edits that iOS has attached to them.
The best apps for editing your RAW files on your iPhone are VSCO (free), Snapseed (free), and Lightroom Mobile (free-$9.99/month).
VSCO's real strength is as an image editing app. If you're capturing RAW files using its camera, you might as well just edit them with it. You can also import RAW files you shoot with a different camera.
Snapseed is one of the best mobile editing apps out there. It's my go to for most things. If you want a general purpose editing app that can handle RAW files too, it's the one to go for.
Lightroom Mobile is the smartphone version of Adobe Photoshop Lightroom. Lightroom is more than just an editor: it's a catalog and image management app as well. The Mobile version has all the desktop app's best features, including incredible RAW support. If you're shooting a lot of images, want to sync your photos to the Lightroom catalog on your computer, or just want the best tools, it's the app to use. The only downside is that to unlock all of Lightroom Mobile's features, it costs $4.99/month for the mobile app only or $9.99 as part of the Adobe Creative Cloud Photography Plan.
Shooting RAW files instead of JPGs gives you a lot more flexibility with your iPhone photography. You'll need to edit them to make the most of it, but if you're serious about taking great pictures, it's worth it.