Quick Links
If you play games, watch movies, listen to music, or consume other kinds of entertainment on your Mac or PC, you can sync up your Philips Hue lights to whatever you're playing or watching. Here's how to make it happen.
To accomplish this, you'll obviously need some Hue lights (only colored bulbs allow syncing), as well as the Hue Sync app installed on your PC. First, though, you'll need to set up an Entertainment Area in the Hue app on your phone. The Hue Sync app uses Entertainment Areas to determine which lights to sync.
Step One: Set Up an Entertainment Area in Your Hue Mobile App
To set up an Entertainment Area, open up the mobile Hue app, and then tap the "Settings" tab in the lower-right corner of the screen.

Select "Entertainment Areas" from the list.

Tap "Create Area" at the bottom.

Select the room where you want to synchronize lights with entertainment. Since my Mac is in my home office, I'm selecting that room.

Next, select which individual bulbs in that room you want to sync with entertainment, and then hit "Continue" at the bottom.

If you have selected any 2nd-generation Hue bulbs or older, you may get a warning that your lights aren't optimized for this kind of activity. Don't worry, though: they'll still work just fine for this. Tap "Got It" at the bottom to continue.

Next, turn on the lights you'll be using, and then tap "Lights Are Ready" in the app.

From there, you'll drag and drop each bulb icon in the app, and then place them where they are at in your actual room. When you're done, hit the "Test Area" button at the bottom.

The bulbs will begin blinking. Make sure it matches what's shown in the app, and then hit the "Perfect Match" button to move on.

Now, each bulb will take turns blinking by themselves in order to confirm the correct location of each bulb. If everything checks out, tap the "All Good" button at the bottom.

Step Two: Set Up the Hue Sync App On Your Mac or PC
Your entertainment area has been created and you can now move onto setting up the Hue Sync app on your Mac or PC. To get started with that, download and install the app as usual (the process is the same as any other app). Fire it up, and then click the "Search for Bridge" button.

When the app finds your Hue Bridge, check the box next to the terms and privacy policy, and then hit the "Connect" button.

After that, you'll be instructed to press the big round button on your Hue Bridge, and you'll have about 15-20 seconds do so.

Next, select the entertainment area that you created in the Hue mobile app.

You're now ready to begin using Hue Sync. The section at the top shows your entertainment area, and gives you a button for turning the lights in the area off, as well as a slider for controlling brightness. It's just a convenient way to control your lights without using your mobile device.
Underneath that, you'll see four buttons that represent the four things you can control with the app: Scenes, Games, Music, and Video.
Tap the "Scenes" button and at the bottom of the window, you'll see buttons corresponding to the scenes you have set up. These don't sync your lights to your PC; they just provide shortcuts to activate different static scenes.
The other three buttons (Games, Music, and Video) work much basically the same. They provide buttons that let you set the intensity of the lights (i.e., how dramatic the color changes are). The "Music" mode also lets you select from a handful of color palettes.
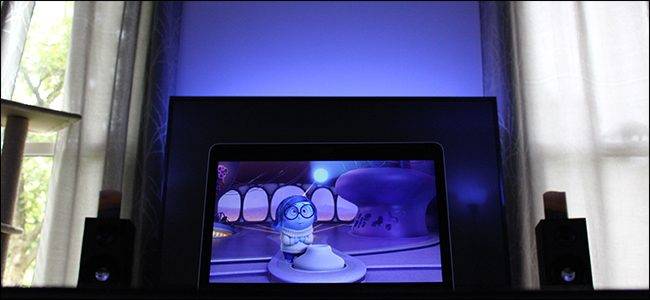
As far as the lights syncing to games and videos, it's actually nothing more than matching whatever colors are displayed on your monitor (and, optionally using audio to determine some of the effects). So you don't necessarily need to be playing a game or watching a movie for your lights to sync. However, if you're playing a video of some kind, you'll want to make sure it's in full-screen mode so that Hue Sync isn't picking up colors from your desktop or other windows.
Unfortunately, when you're finished using Hue Sync and close it out, your Hue lights won't go back to the state they were in before you fired up the app, so you'll need to go in and manually switch back your lights to how they were. The app also doesn't support non-colored bulbs, which makes sense, but it'd be great if there was at least some kind support for all Hue lights.