Odds are pretty good that you create the same types of Excel spreadsheets over and over again. Creating a custom template can help make that process a lot smoother.
When faced with creating similar spreadsheets, many people pop open an existing sheet, delete the data they don't want there, and then save it as a different file. Worse still, some just create the file from scratch every time. A custom template can make this go a lot faster. Template files are more or less the same as standard Excel files, but with formatting and boilerplate content already set. You just use the template to create a new Excel file, and fill in the data. You can create a custom template from scratch, or you can save an existing spreadsheet as a template, and then clean it up a bit. The only difference is whether you start with a new, blank sheet or one you've already created.
Create a Template
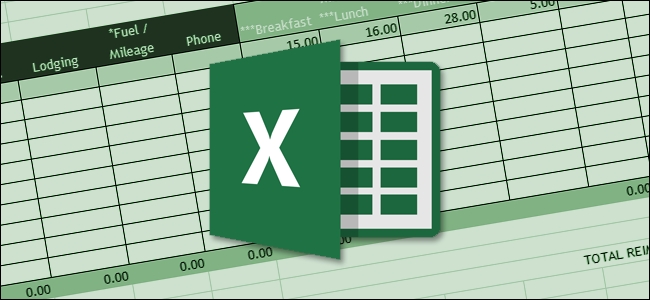
For our example, we're going to create template from an existing spreadsheet. Here's a standard sheet we use at How-To Geek for expense reports.

The file is just a regular Excel file saved with the .xlsx extension. Ours is already nicely formatted, so we just need to delete any actual data we don't need to be there. If you're adapting an existing sheet (or creating a new one), go ahead and clean it up. Set up the base sheet, add your headings, include formulas, format cells, create borders, whatever. In short, make it so that when you create a new file based on the template, you can just start typing in data.
When you've got things looking the way you want, you need to save the file as a template. Open the "File" menu, and then click the "Save As" option.

In the file type dropdown (just underneath the file name text box), select the "Excel template (.xltx)" option.

By default, Excel likes to save templates in Documents\Custom Office Templates, but you can save them wherever it makes sense to you.

If you want an even more organized approach, you can change the default location where Excel saves templates. On the "File" menu, click the "Options" command. In the "Excel Options" window, slick the "Save" category in the left column.

On the right, you'll see a "Default personal templates location" box where you can type a path to a custom save location for templates. There's "Browse" button for some reason, so type the full path to the folder you want to use or copy and paste the location from a File Explorer address bar.

Use a Template to Create a New Document
Now that you've got your template saved, you can use it to create new documents. And you can do this in one of two ways.
If you save your templates in the official custom templates folder Office uses (whether that's the default Documents\Custom Office Templates location or you configured a new save location in Settings), those templates become available on the Office splash screen. That screen shows featured templates by default, but you can see templates you've saved by clicking the "Personal" link.
Just click the template you want to use, and Excel creates a new document for you based on that template.

You can also create a new file based on a template by just double-clicking the template in File Explorer. The default action on template files is to create a new file rather than open the template file, so double-clicking a template immediately opens a new Excel file for you.
If you want to open the actual template file to modify it, you can right-click the file, and then choose "Open" from the context menu.

In the end, template files are functionally much like regular excel files. The big difference lies in how Excel handles those files, making it easy for you to create new documents based on them.