If you're using the free and open source LibreOffice suite of programs, your word processor is probably way more powerful than it needs to be. Writer has at least as many standard features as the paid Microsoft Word, and getting more acquainted with some of them can help dramatically streamline your workflow. In other words, spend a little time setting stuff up and you'll fly through your documents like a 60WPM Superman.
Today let's take a look at the Styles tool, and how you can better adjust it for your particular work needs.
What Are Styles?
In Writer, a style is a collection of formatting information that you apply all at once, quickly and easily. A Style contains any combination of the following attributes:
- Indents and spacing
- Alignment
- Text Flow
- Font and Font Effects
- Position
- Outline and Numbers
- Bordering
- Transparency
- Highlighting
- Drop Caps
- Tabs
In other words, pretty much anything you can apply at the character or paragraph levels with the formatting tools one at a time, you can apply all at once by selecting a Style. This is incredibly useful if you're creating a document that shifts regularly between text styles, like a press release with lots of titles and citations, or a data-heavy presentation with text charts and plenty of sub-heads. It makes applying all that formatting much easier, and also helps keep formatting consistent.
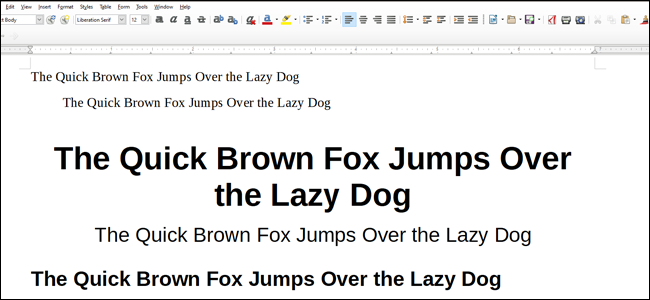
Writer comes equipped with a collection of commonly-used styles preinstalled. You can apply any of them by selecting any amount of text (a word, a sentence, a paragraph), clicking the Style dropdown menu, and then choosing a style.

If you can't see the Style drop-down menu next to the font selector above the text area, click View > Toolbars, and make sure "Formatting (Styles)" is enabled.

To see all of the styles available at once, click the "Styles" dropdown menu, and then click the "More Styles" option at the bottom of the list. This opens a sidebar menu that shows all of the available styles in their formatted text.

Note that different Styles are used for different purposes and will affect different groups of text based on their properties. A character style applies formatting only to the selected characters. A paragraph style applies formatting to an entire paragraph---even if that paragraph style only contains character-level formatting. There are also specific styles for lists, frames, and pages.
Editing a Style
Let's say you prefer to stick with the default LibreOffice Styles, but you want to make an adjustment to one of them. Click the dropdown menu, click the down arrow to the right of the Style you want to modify, and then click the "Edit Style" option.

Alternatively, you can click the "Edit Style" button (the wrench with the little blue window icon), or right-click a Style on the sidebar and then click the "Modify" option.

From this menu window, you can adjust pretty much everything about a style. Any changes you make in any of these tabs are saved and applied to the Style you're working on. Click "OK" to save your changes, "Apply" to see them in action on the text document (even without any text selected!), or "Reset" to change it back to the Writer default setting for that Style.

You can do this for any of the Styles available to you.
Making a New Style
If you'd rather start from scratch with your own Style, you can start the process by either 1) clicking the "New Style" button on the menu bar (the wrench with the yellow star), right-clicking the "Styles and Formatting" sidebar and then clicking the "New" option, or 3) pressing Shift+F11 on your keyboard.
Give your style a new name---something that's easily discernible from the names of the standard styles.

Okay, maybe just a little more useful.

There we go. When you're done, click the "OK" button
The new style appears in the list under the section of the last style you selected. Modify it in the same way as we talked about in the previous section.

From here, you can adjust anything you'd like among the Style formatting list above in the various tabs. Font changes will be applied to fonts, paragraph changes will be applied to paragraphs, et cetera. When you're done, click "OK" again.

There's another way to do this, and you might prefer if it you're more comfortable working directly on your text rather than diving through the menu. Make a text selection, and then make whatever changes you'd like to apply to it. For example, here's a specific title format I like, with Lucidia Bright font at size 18 in in italics with a modified tab at .5 inches.

Now select the text you've modified, then look on the Styles and Formatting sidebar for the "New Style from Selection" button. It's the little paragraph button, right here:

Click "New Style" to make a completely new style that matches all the changes you've made to the text, or "Update style" to apply those changes to whichever style you have selected at the moment. (Warning: if you haven't selected any style, this will apply it to the default paragraph text style.)
Handy Shortcuts
As you get used to working with styles, you'll want a faster way to manipulate them. Here are some shortcuts you might want to practice:
- F11: Open the Styles and Formatting Window.
- Ctrl+F11: Create a new Style.
- Ctrl+Shift+F11: Update the style you currently have applied with your text selection.
- Ctrl+0: Apply the default paragraph style.
- Ctrl+1-5: Apply Heading 1-5 style, respectively.