In the last few years, Emoji have become a huge part of pop culture. There's even a movie about them (although I'm trying my best to forget that). With Photoshop CC 2017, Adobe added proper support for Emoji, so let's look at how to use them.
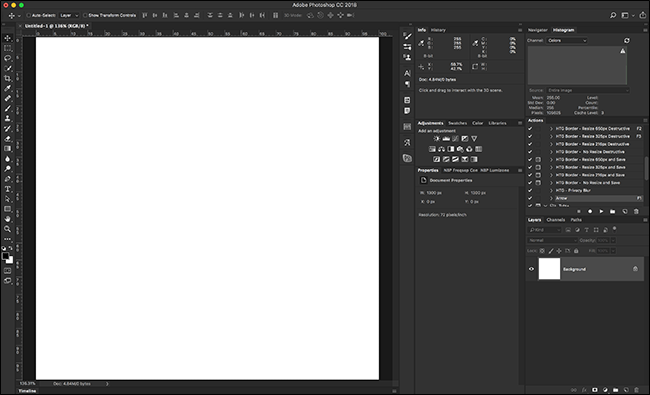
Open the document you're working on (or a blank one) in Photoshop.
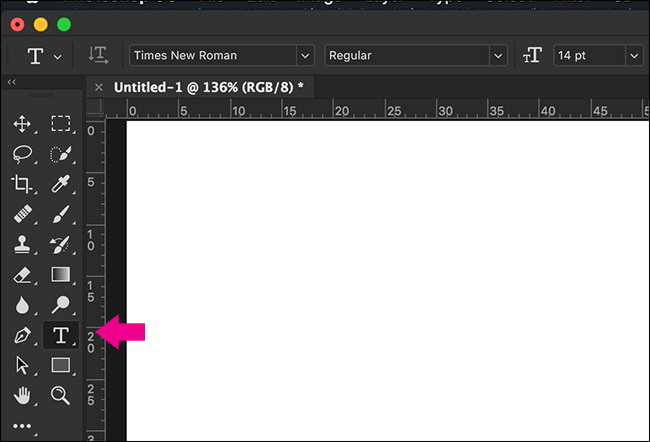
Select the Type Tool with the keyboard shortcut T or from the Tools Menu.
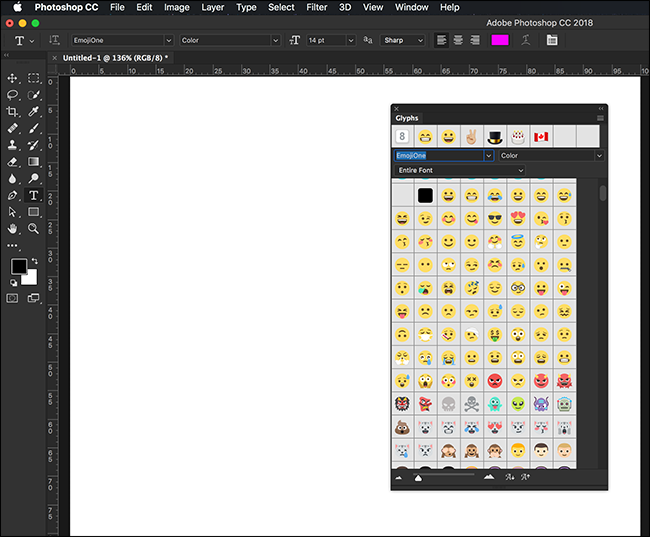
In the menu bar, select the font dropdown and start typing "emoji".
I'm on a Mac, so I've got two options: Apple Color Emoji and EmojiOne Color. If you're on a PC, you'll just see EmojiOne Color. Select the font you want to use.
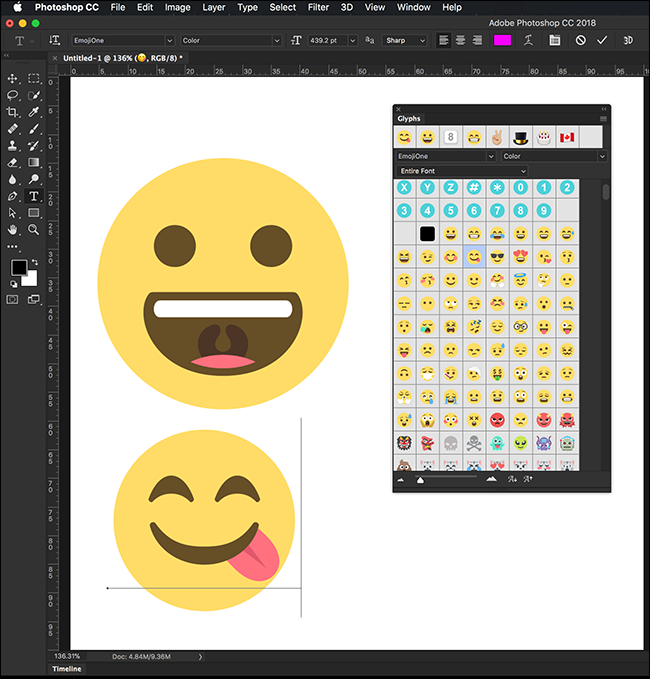
Once you select an Emoji font, the Glyphs Panel will pop up.
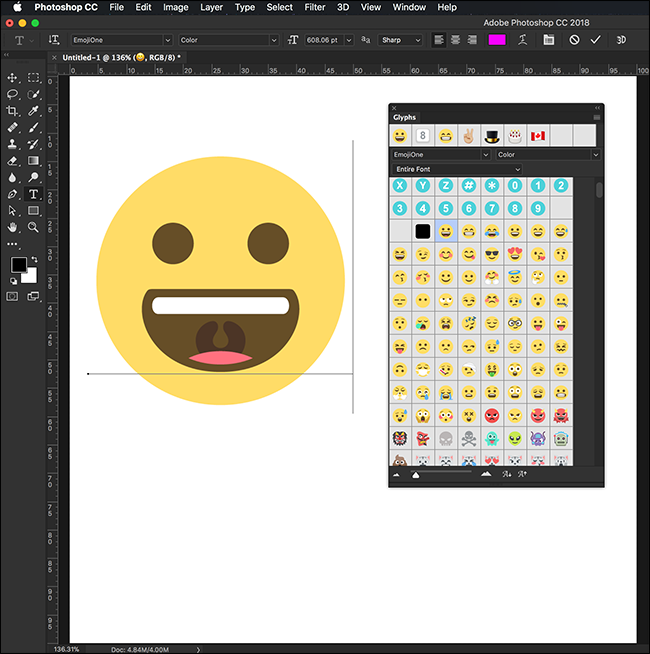
Click anywhere in the document to start a new Type Layer and then select whatever Emoji you want to add by double clicking on it in the Glyphs Panel.
You can add more Emoji by double clicking on them, or clicking elsewhere in the document to start new Type Layers and adding them there.
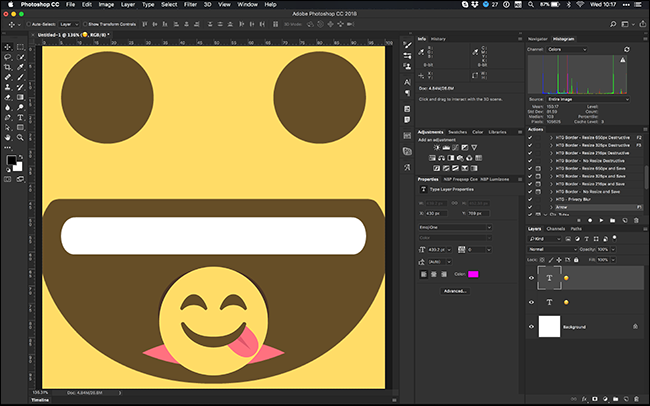
The best thing about the Emoji fonts is that each glyph is a vector image. This means they can be scaled up or down without ever losing quality. Just press Control+T (Command+T on a Mac) to access the transform tool and resize the Emoji as big as you'd like.
Emoji are a big part of how people communicate. If you're making a poster for an event or mocking up graphics for a website, you might want to use them in Photoshop. Now you know how.


