Quick Links
While not necessary for everyone, VPNs can be a crucial tool for online safety---especially if you use public Wi-Fi a lot. There are tons of one-click solutions out there that make it really easy to hit a toggle and activate a VPN, but for the most robust options, manual setup is key. Here's how to do it on Chrome OS.
Use an Android App (The Easiest Solution)
If your Chromebook has access to Android apps and is running Chrome OS version 64 or higher, good news: Android VPN apps now work system-wide. Since Android apps are containerized, VPN apps previously only affected other Android apps, leaving the rest of the Chrome OS system wide open.
Thanks to the move that allows Android VPN apps to now work with the entire system, this is by far the simplest way to use a VPN on a Chromebook, since most Android apps are simple one-click solutions. If your Chromebook doesn't have access to Android apps, jump down to the next section for the next best option.
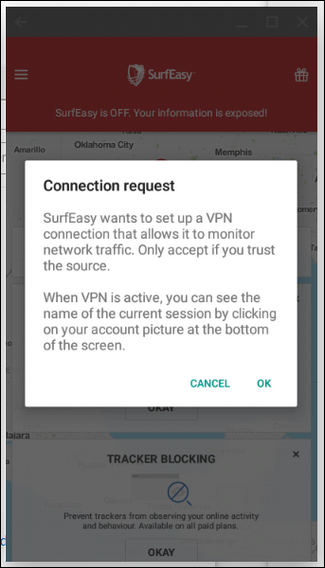
Here at How-To Geek we have a few favorite VPN services. The easiest options offer standalone solutions, like SurfEasy and its quick and easy Android app. Once you install SurfEasy from the Play Store, go ahead and fire it up. You'll need to run through the normal setup stuff---allowing permissions and whatnot. After that just sign if in if you already have an account or set one up if you don't.
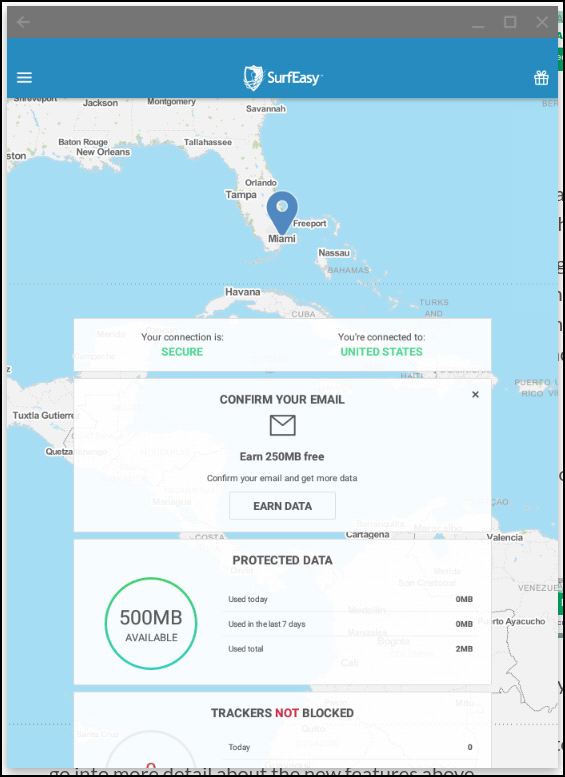
The app should turn on automatically, securing your connection with ease.
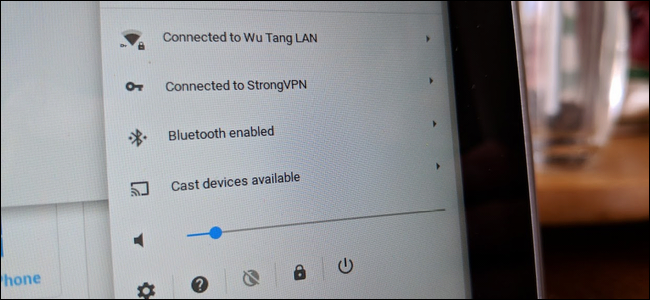
The app itself will be blue to indicate it's connected, but you'll also see a small key next to the Wi-Fi icon in the Chrome OS system tray.
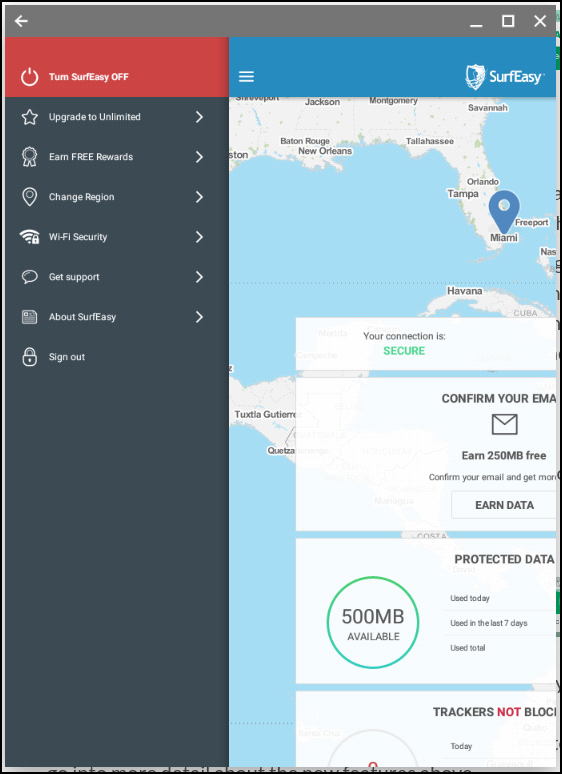
When you're finishing using the VPN and want to close the connection, just open SurfEasy's menu and hit the toggle at the top. (Surf)Easy peasy.
Use Your VPN Provider's One-Click Chrome Extension
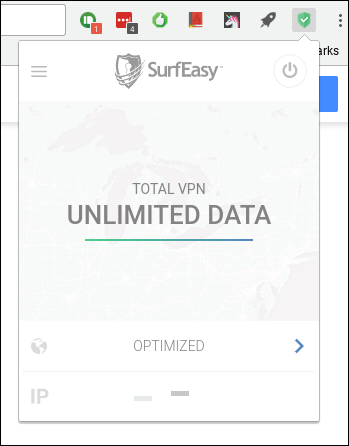
If your favorite VPN provider offers a Chrome extension (like SurfEasy does), you can use that too. Simply install it, click the toggle, and bam, you're done.
That's literally all there is to it.
However, not all VPNs are going to support Chrome OS directly (more often they have dedicated Windows or Mac apps), so if yours doesn't have an Android App or a Chrome extension, you'll need a VPN that also allows for manual setup---in my case, I use StrongVPN.
Chrome OS' Built-in VPN Support Using L2TP
You have a few options when it comes to manual setup of a VPN. In general, we recommend using OpenVPN servers when at all possible---they're generally far more secure than anything out there. The biggest issue with OpenVPN is that on Chrome OS, like Android, it's not natively supported. After much research and many attempts to get connected to OpenVPN on a Chromebook, I simply couldn't get it to work. As a result, we can't really recommend trying it---it's far more complicated than it should be, unfortunately.
Ergo, if you plan on manually integrating a VPN into your Chrome OS setup, you'll have to go with something that uses L2TP servers, which are usually less secure due to the use of pre-shared keys. But if it's your only option, it's your only option.
To set up a manual L2TP VPN in Chrome OS, you'll need to get all the credentials from your VPN service. With StrongVPN, this is all found in the Customer Area. There's a nice little table that makes it stupid-easy to parse. Tangentially, I recommend opening this on your phone or somewhere else---once you open the VPN dialog box on Chrome OS, you can't navigate away from it.
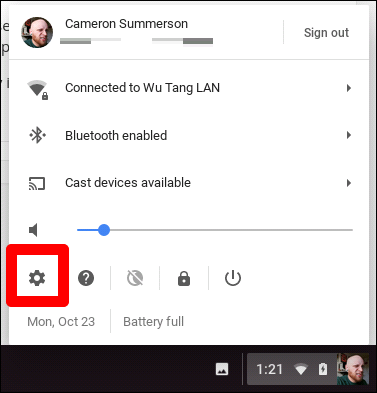
With the proper information in hand, click the system tray in the bottom right corner, then the gear icon to open Settings.
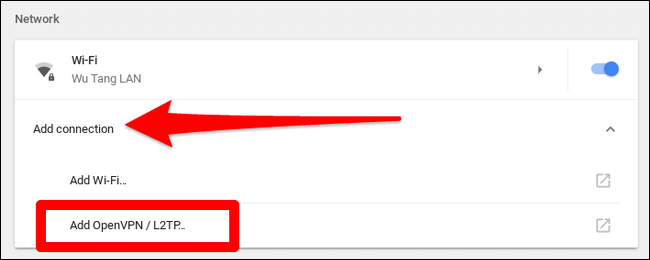
In the Settings menu, click on "Add Connection" under the Network section, then choose "Add OPenVPN/L2TP."
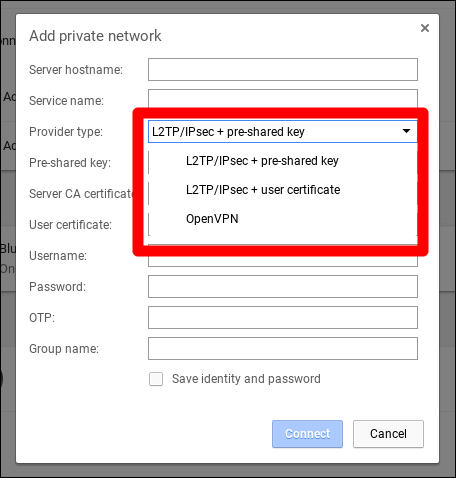
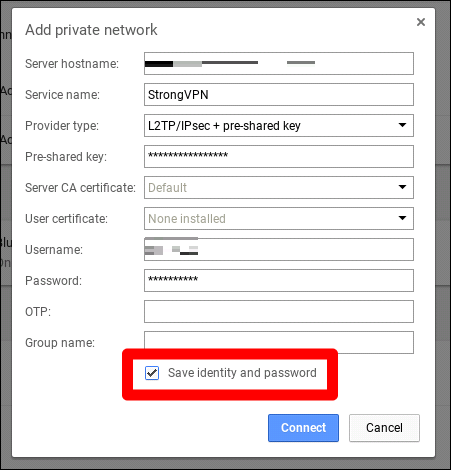
A popup box should show up---this where you'll need all those credentials from your VPN. Go ahead and enter your info, making sure to select the proper protocol. I'm using L2TP with a pre-shared key here, so you'll need to change that option if you're using a user certificate.
NOTE: While there is an OpenVPN option listed here, most services don't provide the credentials required to connect to it, but rather a .ovpn file, which isn't supported in Chrome OS.
Once you have everything entered correctly, go ahead and tick the "Save Identity and Password" box at the bottom so you don't have to re-enter it every time you need to connect. After that, just click the Connect button.
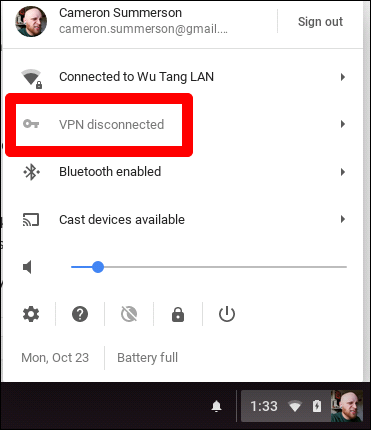
After a few seconds, it should be connected, assuming you entered all your info correctly. You'll know when everything is up and running because there's a little key icon next to the Wi-Fi icon in the tray. Also, the menu will have a new option for VPN, and show that it's connected.
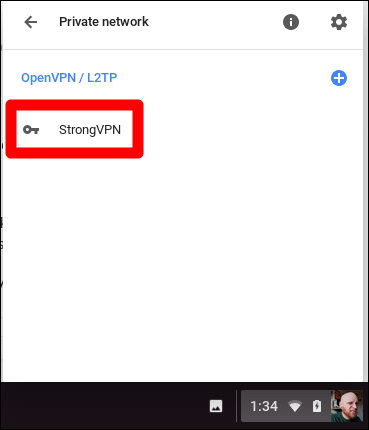
From that point forward, any time you want to connect to your VPN just click the tray, click on the VPN entry, then choose your VPN. It'll connect in seconds and you're ready to roll. Enjoy.

