Facebook Groups are a great way for people with a common interest or who are members of the same club, society, or community to communicate. I’m in Groups for hobbies like Photography, but also for local things like the village I live in.
You’re probably already a member of a few Facebook Groups, but if you want to start your own, here’s how.
Open Facebook, click the downward facing arrow in the top right and select Create Group.

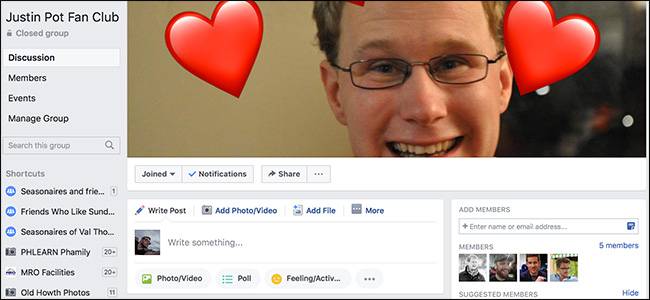
Start by giving the Group a name. I’ve gone with Justin Pot Fan Club.

Next, select who you want to invite to join. I’ve invited a few of my coworkers who I know are also big Justin Pot fans. Facebook will also suggest some Friends you might want to add.

You also need to set the privacy for your Group. You have three options: Open, Closed, and Secret. In a Public Group, anyone can join whenever they want. Anyone can also see what members post in the group. In a Closed Group, anyone can ask to join, but they’ll need to be approved by another member to see posts---posts in Closed Groups are hidden from non-members. A Secret Group is even more private than a Closed Group. New people have to be invited by members. Only current and former members can even see it exists.

Select the privacy setting that best suits your needs and click Create. I’ve gone with a Closed Group.

Every Group needs an icon. This is what appears in the Facebook sidebar next to its name. Select one and click OK.

And that’s the Group created.

Now you can customize it to your liking. Add a Cover Photo, Description, Location, and Tags so people can see what it’s about. You can also invite more members if you want to.

That’s the Group up and ready for use. Now any member will be able to use it.