Quick Links
Microsoft's stripped-down Windows 10 S is now shipping on PCs like the Surface Laptop. If you want to try it before you buy, you can install it yourself in a virtual machine or a PC you have lying around.
Update: "Windows 10 S" as its own edition of Windows is no more. Now, any edition of Windows 10 can be put into "S Mode." You can install Windows 10 in S Mode by creating an unattend.xml file and applying it to a Windows 10 image with DISM. Consult Microsoft's documentation.
MSDN Subscribers: Install Windows 10 S From an ISO
Microsoft has released ISO files of Windows 10 S, but only through MSDN (because Windows 10 S is meant for "education", even though Microsoft is inexplicably shipping it on a flagship laptop). If you have an MSDN subscription, you can download Windows 10 S from Microsoft. The ISO files can be used to install Windows 10 S in a virtual machine or on actual PC hardware, just like you'd install any other version of Windows.
Most people don't have MSDN subscriptions, though, so hopefully Microsoft will make Windows 10 S ISO files more broadly available in the future. However, there is an alternative for Windows 10 users---see the last section of this article.
Surface Laptop Users: Reinstall Windows 10 S from a Recovery Image
If you have a Surface Laptop that shipped with Windows 10 S and you want to reinstall its Windows 10 S operating system, you can download a recovery image for your Surface device from Microsoft's Surface website. Just sign in with the Microsoft account your Surface Laptop is registered to or enter its serial number. You'll get a recovery image you can use to reinstall Windows 10 S on this device.
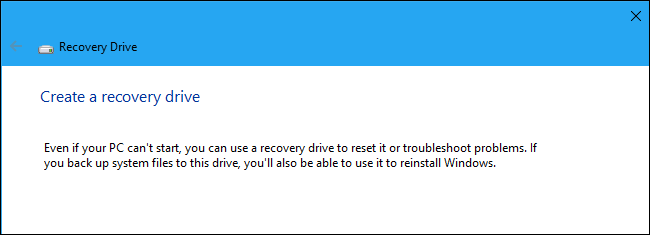
Follow the instructions in Step 3 on the Surface recovery page. You'll be asked to use the Create a recovery drive tool on an existing Windows PC and then copy the files from the recovery image .zip file to the USB recovery drive you created.
Everyone Else: Convert a Windows 10 PC to Windows 10 S
Microsoft has released a Windows 10 S installer implemented as an .exe file. You can run this on Windows 10 Professional, Education, or Enterprise to convert your existing Windows 10 installation to Windows 10 S.
This won't work on Windows 10 Home, which makes some sense. Windows 10 S is actually based on Windows 10 Professional, according to Microsoft.
You could use this to install Windows 10 S in a roundabout way. First, install Windows 10 Professional in a virtual machine or on a PC. Second, run the tool to convert your Windows 10 installation into a Windows 10 S one. (And you don't need a product key to install Windows 10, so anyone can do this to set up a quick and dirty virtual machine to test Windows 10 S.)
If you're installing Windows 10 S on a PC, be aware that you won't be able to run non-Store applications afterwards, some features may not work, and that some of your personal files will be deleted during the installation process. We recommend not installing Windows 10 S on your primary PC. If you are installing Windows 10 S on an important PC, be sure to back up your files and create a system recovery drive ahead of time, just in case.
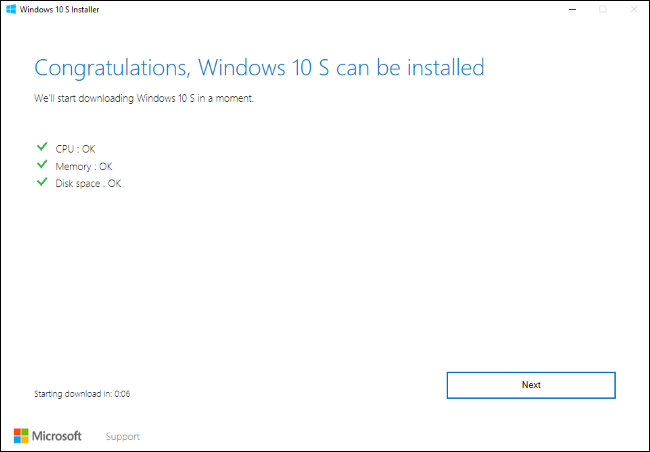
When you're ready, visit Microsoft's website and download the Windows 10 S installer. Launch it and click through the wizard. It will download and install Windows 10 S on your PC for you. When the download is complete, the tool will restart your PC and finish the process.
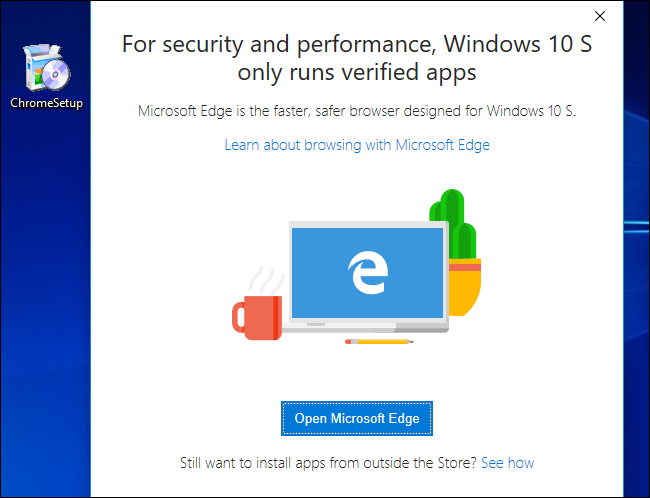
You'll be able to use Windows 10 S with all its limitations after the installation completes. All your desktop applications will be removed. You'll only be able to install applications from the Store, and some hardware devices won't work if they require drivers that aren't available through Microsoft.
You can test whether your peripherals work on Windows 10 S, whether Project Centennial desktop apps from the Windows Store work properly, or just see how you can live with Windows 10 S's limitations.
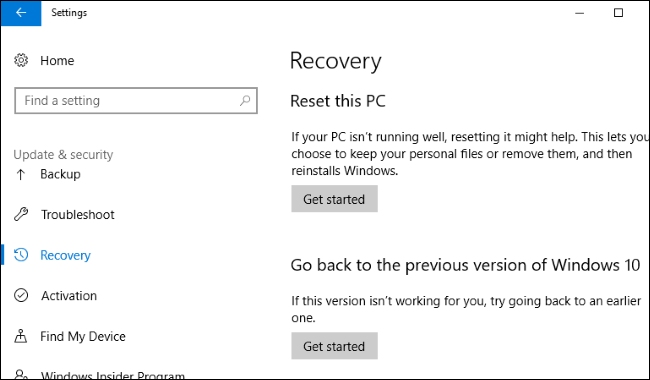
If you decide you want to ditch Windows 10 S and roll back to your previous version of Windows 10, you can do so. This only works within the first 10 days, and only if you haven't deleted your windows.old and $windows.~bt folders.
To do so, head to Settings > Update & security > Recovery. Click the "Get started" button under Go back to the previous version of Windows 10. If you don't see that option here, it's either been over ten days or you deleted the windows.old or $windows.~bt folders.
If this option isn't available, you may need to use the Settings > Update & security > Recovery > Reset this PC > Get Started > Restore factory settings option, or reinstall Windows 10 from installation media.

