If you find yourself routinely using the same tools and applications on your Synology NAS, it makes sense to arrange the layout of your virtual workspace to save yourself a bunch of unnecessary trips into the menu system.
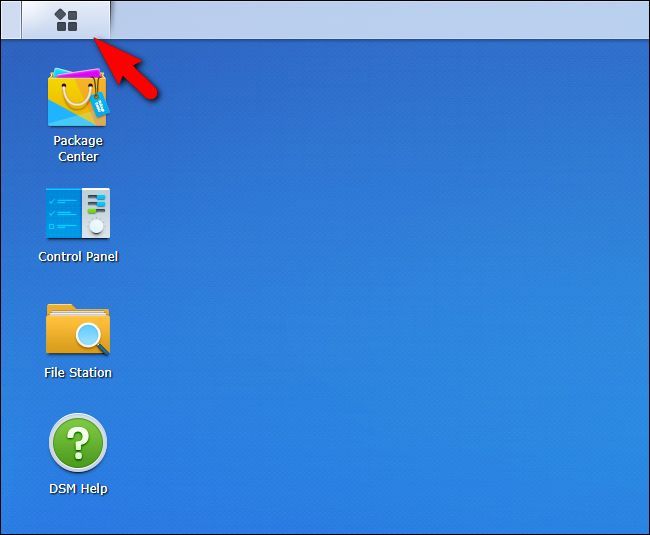
By default, the operating system on Synology NAS units, DiskStation Mananger, parks four handy shortcuts on the "desktop": Package Center (where you install and manage apps), Control Panel (were you update the OS and customize settings), File Station (where you can browse and manage the files on your NAS), and DSM Help (the help system for your NAS). To access any additional installed applications, default or user-added, you need to tap on the menu icon in the upper left corner of the desktop, seen below.
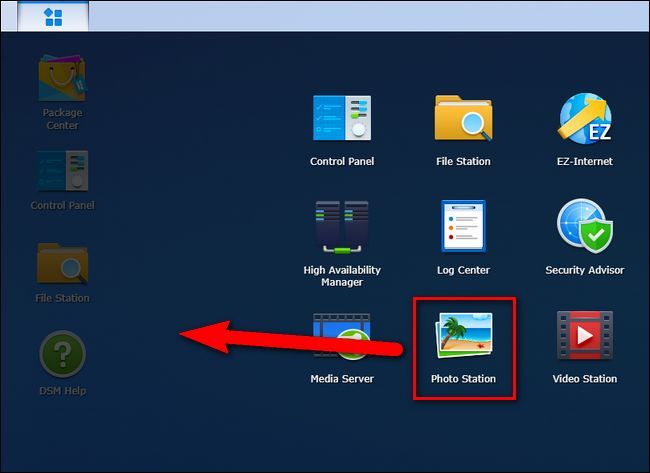
To add a shortcut, simply select the shortcut for whatever application it is that you wish to park on the desktop. In the example below we've selected "Photo Station". While still holding the mouse down to select the icon, drag and drop it over to the desktop area.
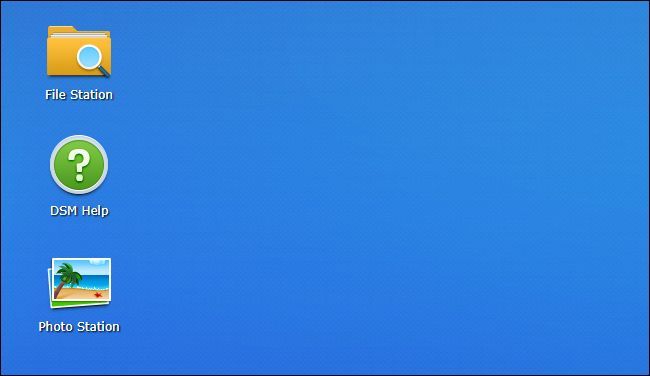
The shortcut is now on the desktop at the bottom of the shortcuts column.
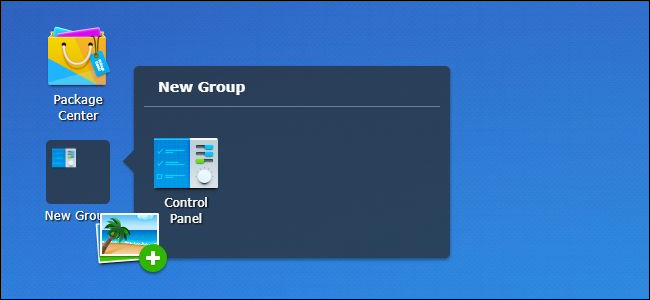
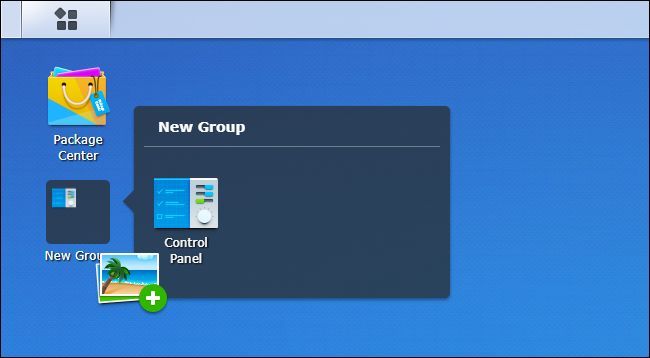
You can leave it where it is or you can do one of three things. You can click and hold on it to drag it, reordering the icons to suit your preference, or you can even hold it over another icon to create a group---similar to how mobile operating systems like iOS handle application grouping. Once created, you can rename the "New group" by clicking on the name and replacing it.
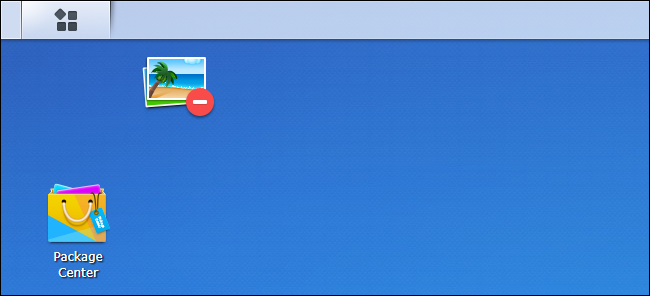
Finally, if you decide you don't need the shortcut on the desktop, you can again click and hold, but then drag the shortcut up onto the menu icon/toolbar area. The shortcut icon will update to include a little red minus sign and, upon release, it will be removed from the desktop (but will still be accessible via the main application menu).
That's all there is to it: with a little tweaking you can put your most used Synology NAS tools right at your fingertips.

