Quick Links
Key Takeaways
- Download the Discord app or open the Discord web interface.
- Create an account or log in.
- Click the "plus" icon in the sidebar or accept Discord's invitation to create a new server.
- Choose a category for your server or skip this step.
- Name your server and upload an image if you want.
- Click "Create" and your new Discord server is ready.
Discord is a quickly growing text and voice chat application aimed at gamers---but not just for gamers. Its sleek and simple design makes it an excellent alternative to apps like Teamspeak and Skype. It's easy and free to get started with your own Discord server.
How to Create a Discord Server
Creating a Discord server is straightforward. First, you must either download the Discord app (Windows, macOS, Linux, iOS, or Android) or open the Discord web interface. Create a free user account if you don't already have one, and log in.
When you first open Discord and sign in, you'll be asked if you want to create or join a server. If you already use Discord and have skipped this initial screen, you can create a new server by clicking the large plus button in the Discord interface.

Either way, you'll see the same screen. Click the "Create My Own" button to create a new blank server. You also use the available templates to speed the process along.

Now it's time to tell Discord what your server is for. Choose between "a club or community" or a server for you and your friends. You can skip this for now if you'd rather not pick a label.

Now give your server a name and upload a picture if you want, and then click the "Create" button.

Your new server is created, and you're automatically connected to it. Select your new server on the left and then click the drop-down arrow next to its name to see options for inviting friends, changing server settings, creating channels, and more.

Set Up User Roles to Make Permissions Easier to Manage
Roles in Discord give users specific permissions. You could, for example, create a role for moderators and give that role the ability to ban users and delete messages. Any users you assign to that role would inherit those permissions. Using roles saves you from having to assign permissions to every user. You could also use roles to do something as simple as giving your friends a unique rank and color.
To manage roles, open the server settings and click the "Roles" category on the left. You can add new roles by clicking the little "Create Role" button to the side of the "Roles" title on the page.

Select a role to manage associated permissions. There's a long list of permissions, but the important ones deal with the ability to manage the server by creating new channels or roles, manage users by banning or deleting messages, and move users in and out of voice chat. There's also an Administrator role, which gives every permission except server-owner-specific ones (like deleting the server, for example).

Note the "Display role members separately" toggle that will make people in that role show up in their own category in the Users panel. You can do some neat tricks by turning this setting off for certain roles. For example, if you have a bunch of admins, but want to make yourself a different color, you can make a new role and put it above admin, but leave that option off so that it won't create a whole new category.

Here, we've created a "Cool Color" role and assigned it a color. Any user assigned to the "Cool Color" role will be displayed in yellow.
You can also use this trick with permissions. For example, you could make a "Server Administrator" role with the Administrator permission, and give it out selectively instead of giving it to everyone.
Once you're done setting up the roles you want to use, you can assign users to those roles by right-clicking their name and enabling the appropriate box on the "Roles" menu.

If you have a particularly large server, you can search for people under the "Members" tab in the settings panel, so you don't have to scroll down the list or @ them.
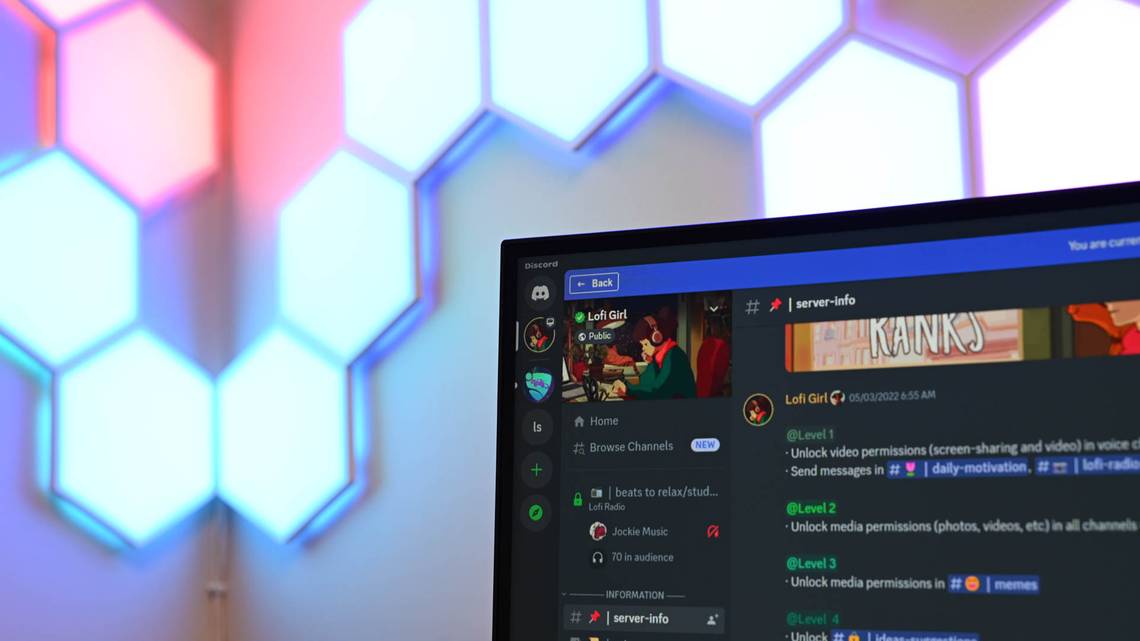
How Do I Organize Channels?
Each channel on your server is organized into categories. To create a new channel or category, right-click anywhere in the channel pane and click either the "Create Channel" or "Create Category" command.

When you create a channel, give it a name and choose whether it should be a text or voice channel. Channel names cannot contain spaces (typing a space just creates a hyphen) or capital letters.

When you create a category, all you have to do is give it a name. Category names can contain spaces, and while you can type capital and lowercase letters, they end up displaying in all caps no matter what.

Channels also have their own channel-specific permissions, which you can access by clicking the gear next to a channel. These permissions default to sync with the category to which the channel belongs, but if you change them, they'll stay that way until you sync again.

You can also make categories and channels private. When you go to create a channel, check the "Private Channel" toggle and then select which roles you want to be able to access the channel.

If you want only to add a few people to the channel, it's best to make a new role for that channel, and then add users to that role.
Avoiding Abuse
With large Discord servers, you need to take a few precautions when assigning roles and channels---otherwise, you risk problems like server raids. For example, if you've created a private channel and a new role, but the role is below another role with "Manage Roles" turned on, people in that role can give themselves the new private role and access your channel.
There are a lot of other cases like this, so here are some basic guidelines to follow:
- All channel-specific roles should be above the highest administrative role.
- Custom color roles placed above admin will give those roles the ability to make new admins, since they're higher than admin, technically.
- "Manage Channels" also gives people the ability to delete channels, deleting all the messages in the process. Because of this, you should probably not assign this permission too often. The same is true for Administrator.
- In read-only channels, members can still add reactions with emoji. Because there's a whole alphabet of emoji, people can spell out things in reaction to your messages. You can't delete these, so if you have a problem with people spelling out things they shouldn't, you can turn that ability off under @everyone in the channel-specific settings. You can also hover over the reactions to see who placed them there.
- If you have rogue admins, the "Audit Log" under the server settings keeps track of all administrative actions, such as deleting messages or banning users. This allows you to track down who is causing problems and remove them.
- If you have a problem with outside spam, you can set the auto-mod level under "Moderation" in the settings. This requires new users to verify their email or be an active Discord user before joining. There are many more ways of managing Discord spam if you're having trouble.
Now Add a Discord Bot
Discord bots can help simplify the job of managing a busy server. You can use bots to moderate for you without having to give up permissions to people you're unsure of. Learn how to add a bot to your Discord server
If you're getting into Discord, make sure you brush up on some of the more common Discord scams and how to avoid them. It's also very important that you never give out your Discord token.