The macOS cursor isn't tiny, but some people have trouble seeing it. If you're one of them, you might want to make it bigger, and it's not hard to do so.
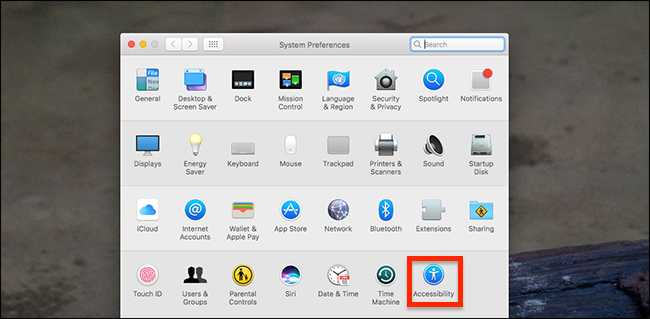
Head to System Preferences, which you can find by clicking the Apple logo at top-right, then clicking "System Preferences." We want to open the Accessibility pane.
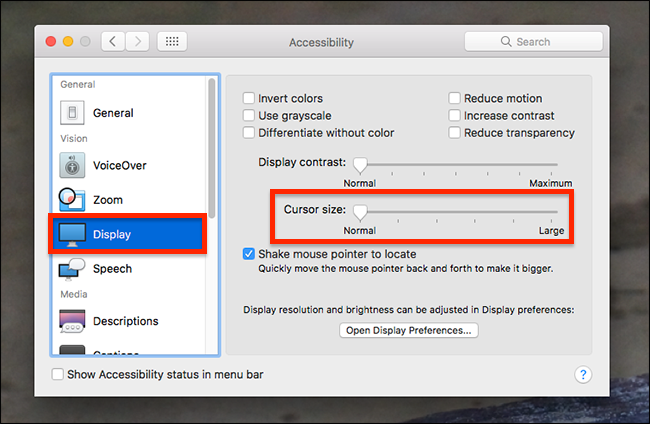
Click "Display" in the left panel and you'll find a "Cursor size" slider.
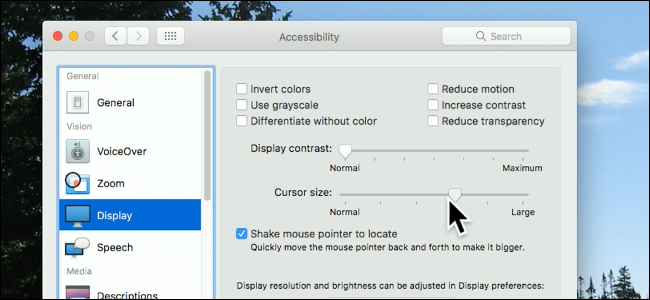
Move that slider to adjust the size of your cursor. You'll see the results in real time.
Neat, eh? That's all you need to know to change the size of your cursor. The giant cursor can be a little unwieldy, but if your vision is limited we think you'll appreciate a little more heft. Consider also making text and other items bigger by adjusting the scaling on your retina display.
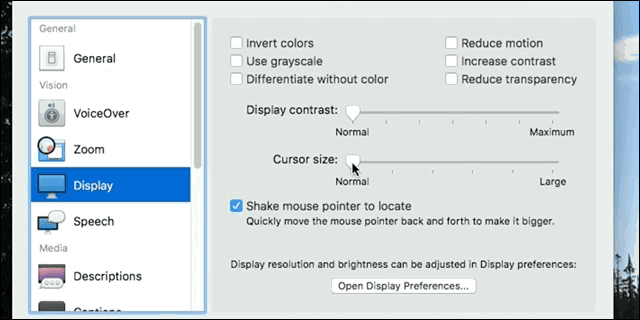
Lastly, in the Accessibility panel, take note of the option under the cursor size, "Shake mouse pointer to locate." If this is on, you can temporarily make your cursor huge for a second by shaking your mouse. Like this:
If your main problem with the default small cursor is finding the dang thing, consider using this feature instead of leaving your cursor perpetually massive, because the big cursor can be a little tricky to use full time.


