Your Chromebook automatically connects to Wi-Fi networks you've previously connected to. But, if multiple known Wi-Fi networks are in range, you might want to configure which one gets priority. For example, you can prioritize your home network over your neighbor's network, which is nearby but faint.
This feature is also available on Windows 7, Windows 8 and 10, and macOS.
How to Set a Preferred Network
First, open your Chromebook's settings screen. Either click the tray at the bottom right corner of your screen and click the gear-shaped "Settings" button or click menu > Settings in a browser window.

Ensure you're connected to a Wi-Fi network you want to prefer---for example, your home or workplace network.
Click the "Wi-Fi network" option here to open the list of Wi-Fi networks, and click the name of the network you're connected to in the list.

Check the "Prefer this network" box and click "Close". Your Chromebook will prefer this network over other ones when automatically connecting to Wi-Fi networks.

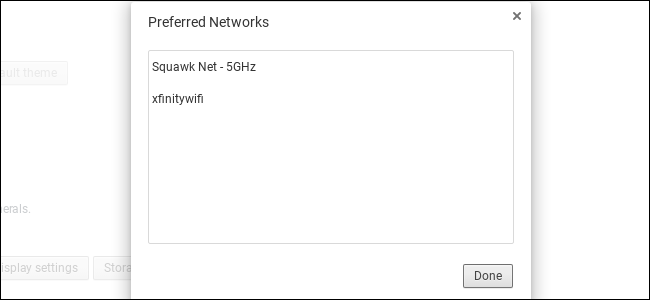
How to View Your Preferred Networks
To view your preferred networks in the prioritized order, click the "Wi-Fi network" option on the Settings screen and click "Preferred networks" at the bottom of the menu.

You'll see a list of the Wi-Fi networks your Chromebook remembers. If multiple saved networks are available near you, your Chromebook will prioritize the ones at the top of the list.
To delete a saved network and ensure your Chromebook never tries connecting to it in the future, hover over a network in the list and click the "x" to the right of it. You'll have to manually select the network and enter its passphrase again if you ever want to connect to it in the future.

Yes, these options are a little silly, and nowhere near as easy as macOS' simple drag-and-drop prioritization window. But at least it's better than Windows, which only allows you to do it from the Command Prompt.