Windows 10's Creators Update added a new virtual touchpad that works like the touch keyboard. You can use this touchpad to control the mouse cursor on a device with a touch screen.
To enable the virtual touchpad, either long-press or right-click the taskbar and select "Show touchpad button". This option isn't available on devices without a touch screen.

You'll see a new touchpad icon on your taskbar, near the touch keyboard button. Tap or click it to open or close the virtual touchpad.

To use the virtual touchpad, just place your finger on the touchpad on your touch screen and move it around like you would on a normal touchpad. The mouse cursor will move around the screen as you move your finger.
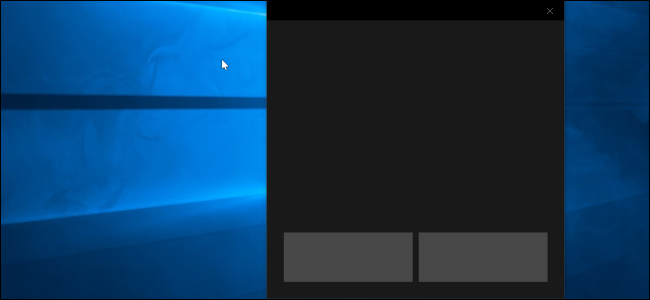
You can move the virtual touchpad window wherever you like on your screen. Just touch the title bar of the window and move your finger to move the window.

The virtual touchpad works exactly like a physical touchpad. You can left-click or right-click by tapping the left or right mouse buttons at the bottom of the window, but you can also perform a single-finger tap to left-click or a two-finger tap to right-click.
More advanced actions work, too. Place three fingers on the virtual touchpad and swipe them upwards to open the Task View interface for switching windows, for example. Place three fingers on the touchpad and swipe downwards to show your desktop.

You can configure the virtual touchpad's settings from the standard Settings > Devices > Touchpad screen.
For example, to change the cursor's speed, adjust the "Change the cursor speed" slider here. It will adjust the cursor speed on both the virtual touchpad and any physical touchpads the system may have.
The standard tap and swipe touchpad actions you can view and configure here will also work exactly the same on both a virtual touchpad or physical touchpad.
