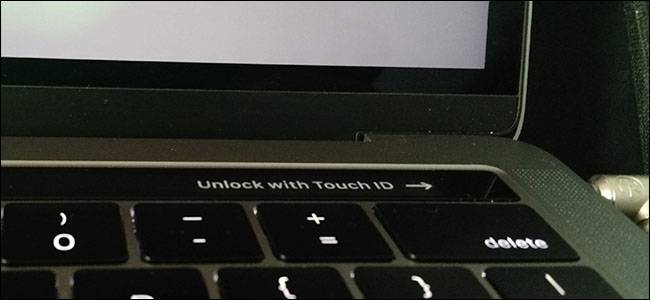
Touch ID on the new MacBook Pro makes logging in so much easier: just place your finger on the power button, and you're in. It's a small thing, but it makes waking up your computer and logging in nearly instant.
By default, this works with whatever finger you choose when you first set up your Mac, but sometimes you might want to use a different finger. Maybe you're carrying your MacBook with your right hand, and want to log in with your left index finger, or even your right thumb. Or maybe you just want your family to be able to log in using their fingers.

Whatever your reason, adding more fingers is easy, just like adding additional Touch ID fingerprints to iPhone or iPad. Head to System Preferences, then head to the Touch ID section.

Tap the "+" button to add a new fingerprint. You can only add up to three fingerprints, after which the "+" button will not longer appear, so if you don't see a "+" button that's probably why. When you do hit "+," you'll be asked for your password. (Apparently, you can't use Touch ID to add more fingers to Touch ID. Go figure.)

Next, you'll have to repeatedly tap your finger on the power button, just like when you set up Touch ID with your first finger.

When you're done, your finger is added!
If you'd like to remove a finger, just hover over it with your mouse, then click the "X" icon that shows up.

If you want to keep track of which finger is which, you can add a label. Just tap the text below a fingerprint's icon and you can type a custom name.

Naming the additional fingers is useful if a particular finger isn't working consistently: you can check out our tips on how to improve Touch ID fingerprint recognition , then delete and add the finger again using the techniques you learned.