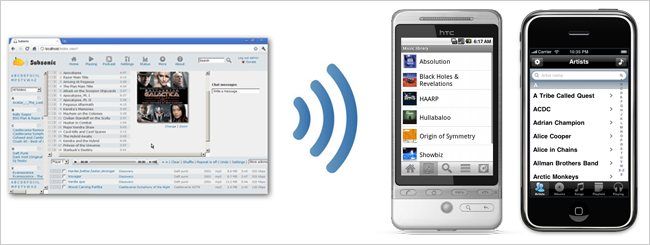
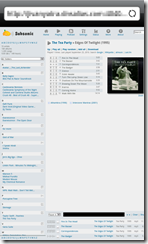
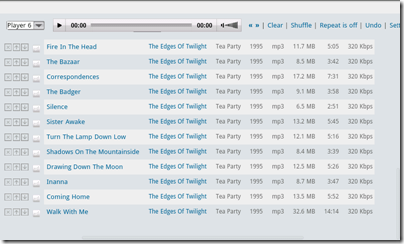
Have an iPhone or Android phone and a music collection too large to sync to it? Want to share your library with friends? Here’s how to sync your library with your smartphone over the internet, or stream it in any browser.
How We’ll Accomplish This
Subsonic is a powerful little cross-platform solution to these problems and more—it’s an open source media streamer that is based on both Java and donations, so it’s a cross-platform solution that is free for basic usage utilizing the web interface.
Note: In this guide we’re going to be showcasing two mobile clients which use the Subsonic API which is NOT free. You’ll get a 30-day window to try out the setup, after which you’ll be required to make a minimum €10 donation, which will give you access to all the clients including an Adobe AIR client, and a few bonuses, like removing the ad from the web interface, free future upgrades, and a yourname.subsonic.org server address. If you choose to not donate, you can continue using the web client at no extra cost. You can more details at the Subsonic Apps page.
Install Subsonic
Head over to their download page and grab the installer for free. Double-click the file and Subsonic will be installed as a service which will automatically start with Windows. Note: While installing Subsonic on Mac OS X and Linux is also relatively quick and easy, to get support for transcoding requires a little more effort. Be sure to check the Installation Instructions.
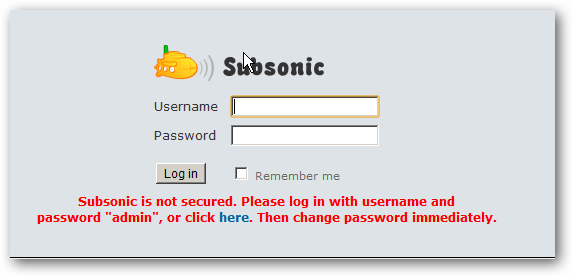
Once you’ve installed Subsonic, open up a browser and point it to http://localhost/. Under the login, you’ll notice a warning message that gives you the default username and password and reminds you to change it as soon as you login.
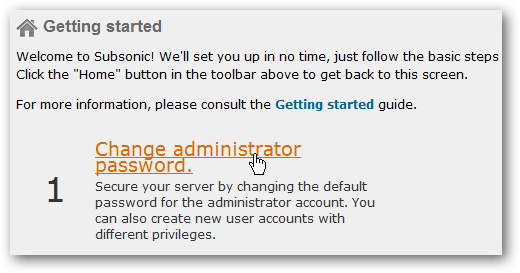
Once you log in, the first thing you’ll see in the center pane is a prompt to change the administrator password, so let’s click on that link.
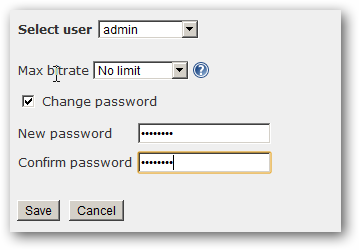
Go ahead and change the password. Be sure to make it strong!
Add Music to Your Library
Subsonic organizes your music by folder and assumes the following directory structure:
Artist\Album\Track
This means that when you navigate through your collection, it’ll be presented to you in that manner. This shouldn’t be a problem for people who have an organized music library and is actually ideal for people who have eclectic managing and naming conventions (compilation albums, anyone?). Subsonic does read ID3 tags for searching purposes, however, so you can still differentiate and find tracks that way.
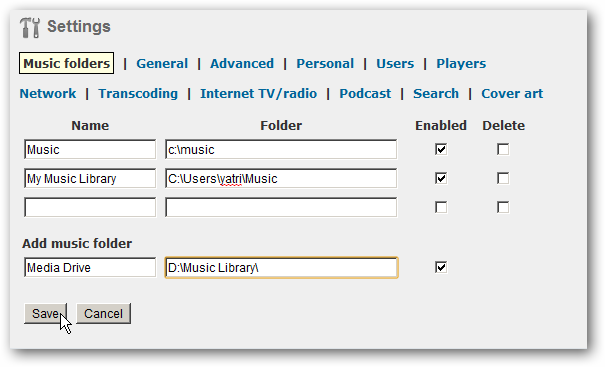
Click on Settings in the top bar, then click on Music Folders.
Extra Configuration
Now that we’ve added music to the library, let’s take a look at a few other options we can tweak.
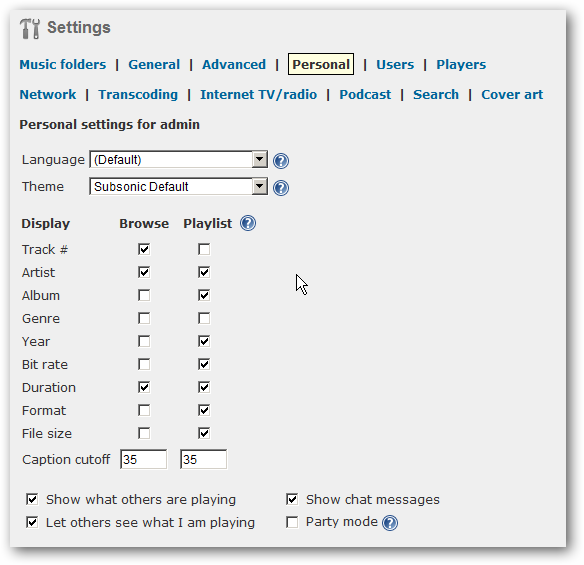
First, let’s change our display options. Click on Settings in the top pane, and then click on Personal.
Here, you can change the default language, the theme for the web interface, and the options you see as your browse your library.
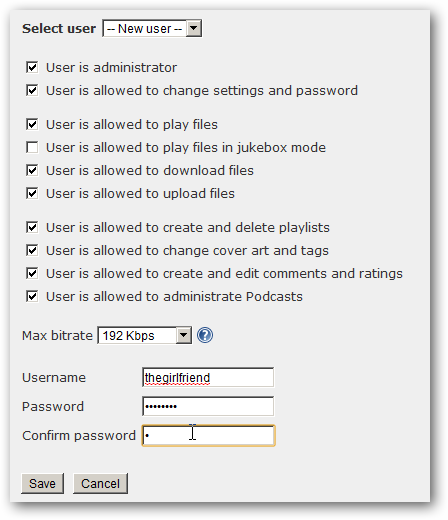
Next, click on the Users link.
Here, you can create and edit options for users. Notice how I changed the max bitrate for someone who isn’t on my network.
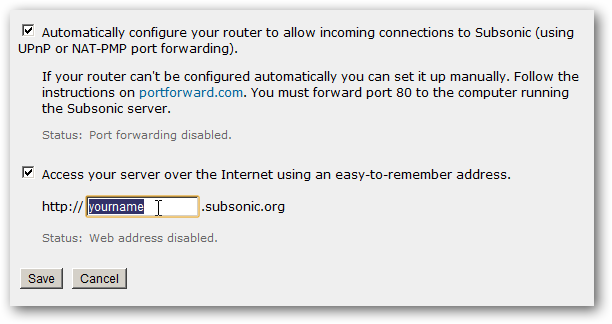
Now, let’s take a look at the Network options.
Be sure to have Subsonic automagically configure port forwarding on your router, as this is how you will be able to get access from outside of your network. If you donated to the Subsonic project, you can also put in your username for your custom URL, which will come in handy when setting up your mobile phone client.
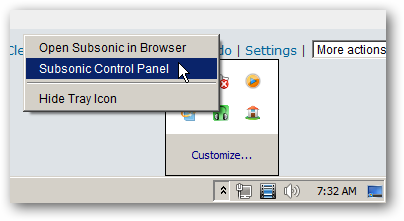
Lastly, right-click on the Subsonic icon in your system tray, and go to Subsonic Control Panel.
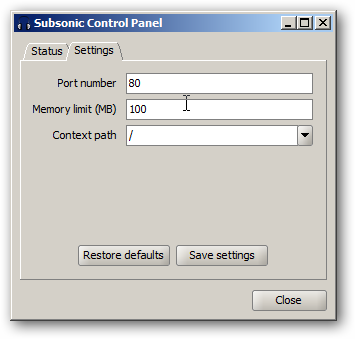
On the Settings tab, you can alter the port number if you wish, or you can change the upper memory limit, which is useful if you’ve added a lot of user or if you’ve got just that big of a library.
Overall, there are a lot of options. You can add and manage podcasts (which you can then stream), set up transcoding functions for specific file types and for specific users, and you can also add internet radio stations. This, coupled with its cross-platform ability and ease of maintenance – set it and forget it – makes this one very useful system on its own.
Using the iPhone Clients
There is a great iPhone client called iSub and is available in the app store for $4.99. That does appear to include free updates.
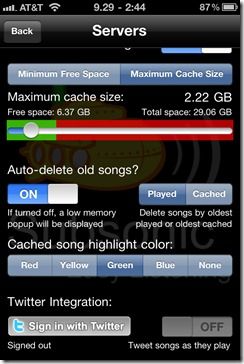
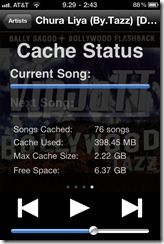
iSub allows you to configure a cache size, so you can store cached songs on your iPhone indefinitely. You can manually cache individual songs, albums, and even playlists. The highlight of this is how it works with deletion: you can set iSub to automatically delete songs according to oldest cached or oldest played. This allows you to play songs as you wish and new songs will automatically cache, replacing older songs you haven’t listened to. It’s essentially a smart, automatic synching function that works on-the-fly wherever you are.
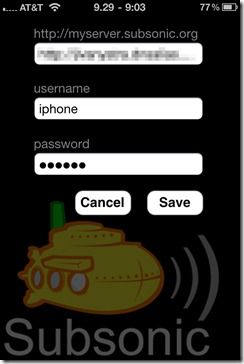
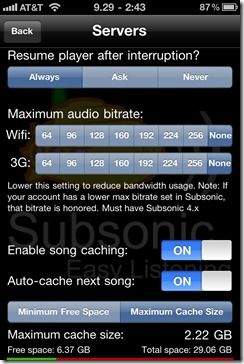
Here are a few screenshots of the settings panes for iSub (click to enlarge):
On the first settings pane, input the location of your server. If you’re going to be synching from inside of your server, you can input your IP address, but if you want the freedom of using it from anywhere, you’ll have to have either a domain name for your computer, or you can utilize the custom web address you get by donating to Subsonic. You will then be able to input yourusername.subsonic.org as the server name. Then, put in the username and password you set up for your Subsonic server.
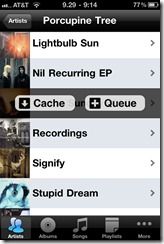
Make a note of the “Enable song caching.” “Auto-cache next song,” “Maximum cache size,” and “Auto-delete old songs” options, as these will be what provides you with the synching functionality on the iPhone. You can also configure different bitrates for caching from WiFi and from 3G. Then, you can go ahead and start playing songs, making playlists, and so forth. You can swipe from left to right on a song, album, or artist to either queue songs to the playlist or to cache them.
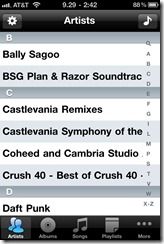
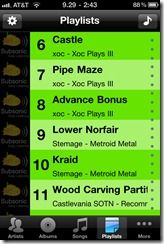
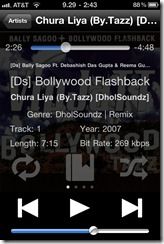
Here are a few screenshots of the user interface (click to enlarge):
Yes, you do have to pay for the app, and yes, you have to donate to the Subsonic project independently of that as well, but this is by far one of the most powerful streaming options available to the iPhone, and it’s unique in that it allows local caching and automatic deletion. It’s also one of the few that is maintained for Linux, Unix, and Solaris.
Using the Android Client
The Android client can be downloaded right off the Marketplace, and unlike the iPhone client, is free in and of itself. Once again, in order to use the client past the 30-day limit, you will have to make a donation to the project.
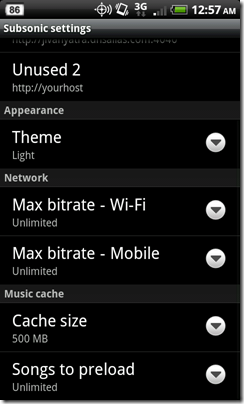
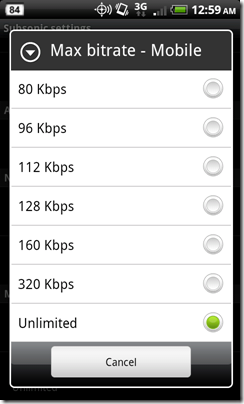
The Android app is very similar to the iPhone ones. You can manually cache and delete songs, you can queue songs in playlists, and you can set different maximum bitrates for transcoding over Wi-Fi and 3G. The one thing the Android app is missing is an auto-delete cache feature, but there are a number of features waiting to be added and the app is still in development at the time of writing.
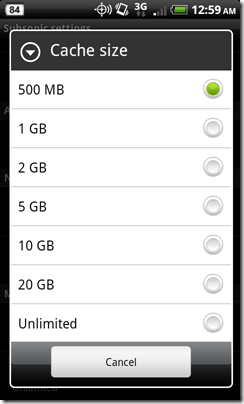
Here are a few screenshots of the settings panes (click to enlarge):
Once again, when you set up your server domain, the same situation applies. You can plug in your IP address for use within your network, but in order to use this to its fullest potential, you’ll need to either have your own domain to get access to your Subsonic server, or you’ll need to donate to get your own custom subsonic.org domain.
Overall, the options are fairly similar to iSub’s, though there’s no “Automatically delete cached songs” option to be found. Once you fill up the cache, you’ll have to manually delete songs, although the streaming itself appears to work fine without doing that. And, just like iSub, you can provide different bitrates for both WiFi and 3G.
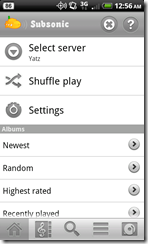
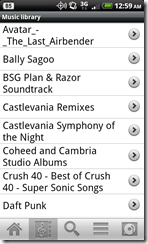
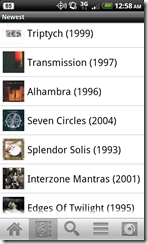
Here are some screenshots of the user interface (click to enlarge):
One thing you can do on Android is utilize the web interface of your server. During testing, both the HTC Incredible and Droid X used allowed you to login through the browser, queue songs, save playlists, and – most importantly – play songs using the flash-based media player. This is one way to use the service without being forced to give a donation (although I’d still highly recommend it).
Subsonic, as well as its clients, are in active development. The Android client in particular needs a bit of work to catch up with iSub. But for what it’s worth, while there are a decent number of alternative available (some for free), I have yet to see a solution that works as elegantly. Linux users in particular may find this to be a great app, as there are few solutions for multimedia streaming available to them after SimplifyMedia shut down.
As you can see, with the right configuration, you can have a fairly automated synching system for your mobile phone, as well as access to your entire music library from any computer. You can configure users to allow other people to share your library, and you can do it regardless of what platform you’re on or where you are.

