Quick Links
Windows 10's Creators Update adds themes to the Windows Store, making it easy to customize your desktop with new backgrounds, sounds, and colors. These are the same types of desktop themes originally offered in Windows 7.
How to Choose a Desktop Theme
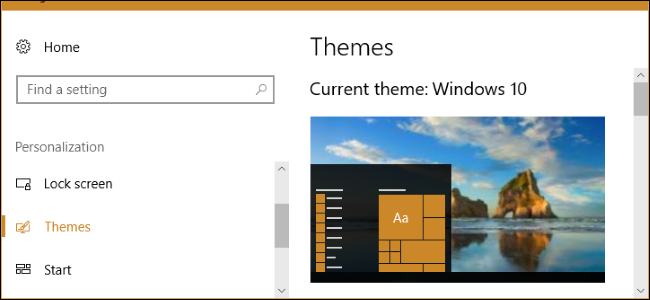
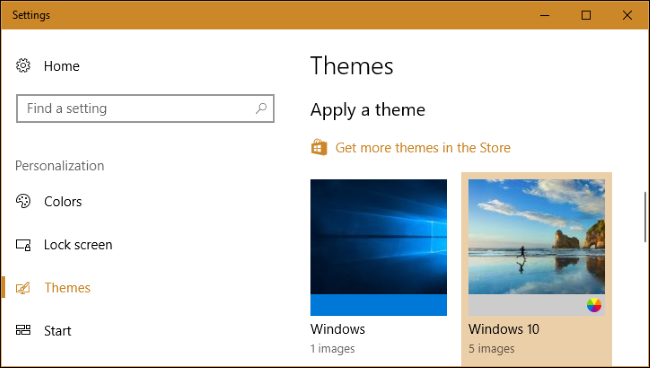
Head to Settings > Personalization > Themes to view your installed themes. Under "Apply a theme", you'll see the different installed themes you can select. Click "Get more themes in the Store" and you'll be taken to a list of themes in the Store application.
At the launch of the Creators Update, there are 174 themes available in the Store. All of them are free. Click any theme to open its page and see details about the theme.
On a theme's page, click the "Get" button to download the theme to your PC.
Windows downloads the theme from the Store, where it appears in your list of installed themes in the Settings app. Just select the theme to use it.
How to Customize Your Desktop Theme
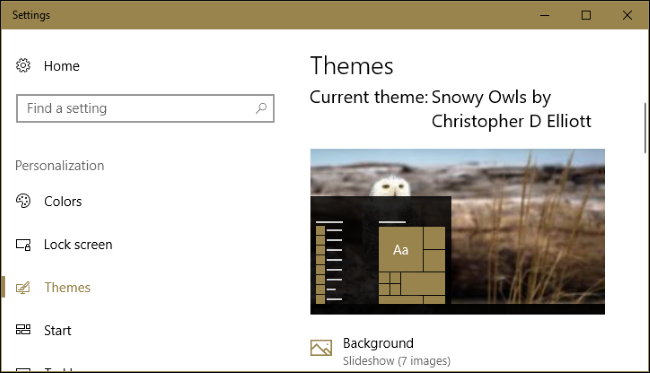
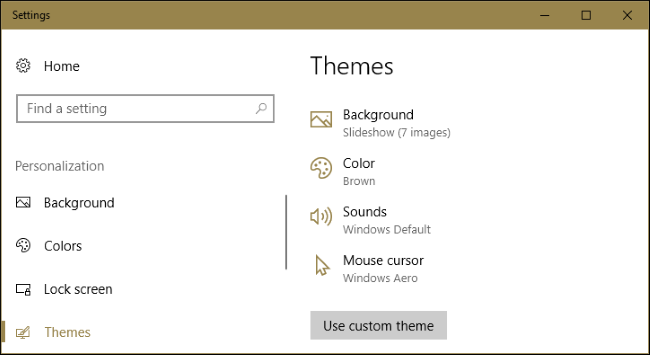
Themes can include four elements: one or more desktop backgrounds, a color, a set of sounds, and set of mouse cursors. In practice, you'll find that most themes provide a slideshow of desktop backgrounds and a color. They leave the sounds and mouse cursor alone, choosing "Windows Default" for sounds and "Windows Aero" for the mouse cursor.
You can view and customize these elements by clicking the "Background", "Color", "Sounds", and "Mouse cursor" options on the Themes pane, and we're going to go over each of those in turn.
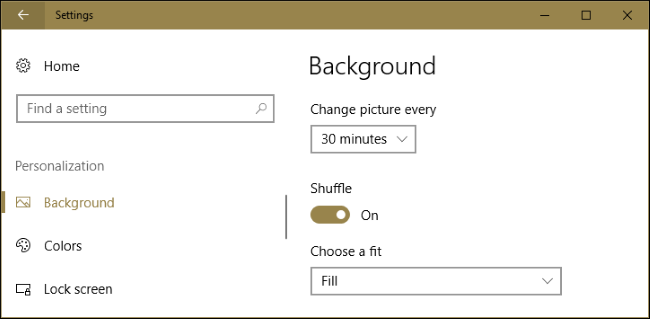
You can customize your background by clicking "Background". Most themes provide multiple background images and set up a slideshow. You can control how often your desktop background changes or set the slideshow to "Shuffle" so it chooses a random image from the slideshow each time it changes.
The "Color" option allows you to select which "accent color" Windows users for different interface elements, including on your Start menu and taskbar.
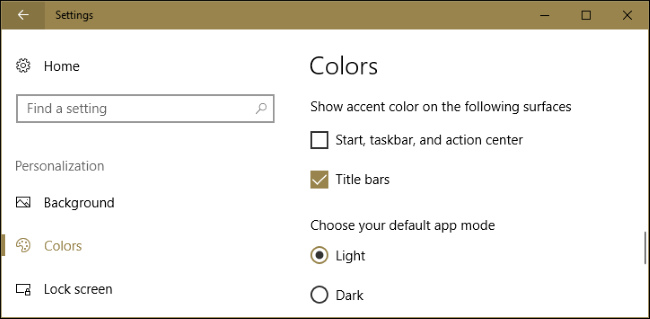
If you want your theme's accent color used for your window title bars, you'll need to scroll down on the Color screen and enable the "Title bars" option under "Show accent color on the following surfaces." If you don't, Windows 10 will use its default white title bars.
At the bottom of this screen, you can choose your default "app mode" to select between Windows 10's built-in Light and Dark themes for applications.
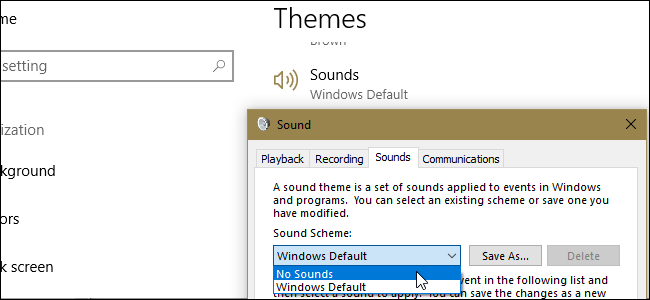
Windows re-enables the "Windows Default" sound theme whenever you choose a new theme. Click "Sounds" to customize these settings. Choose "No Sounds" in the Sound Scheme box and click "OK" if you want to disable Windows 10's desktop effect sounds.
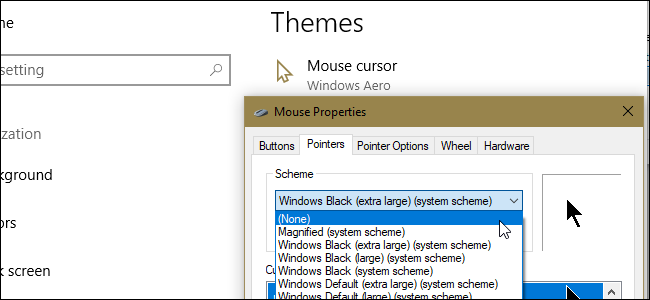
The "Mouse cursor" option allows you to select a mouse cursor scheme, or customize what individual mouse cursors look like. For example, you can switch to "Windows Black" for a black mouse cursor instead of a white one or enable a shadow under the mouse pointer.
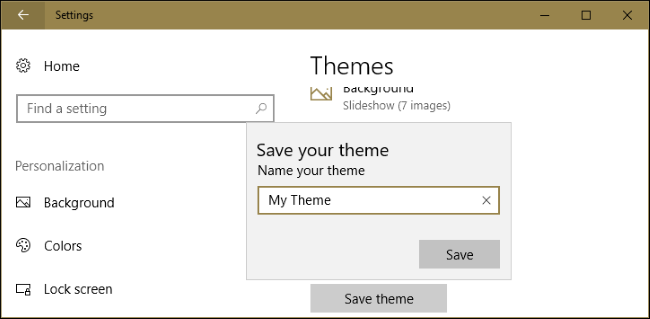
If you change anything, the name of your theme will change to "Custom" and you can click the "Save theme" button to save it for the future. Give the theme a name and it gets added to your list of themes. You can then easily switch back to your custom theme, even after trying out other ones.
How to Remove an Installed Theme
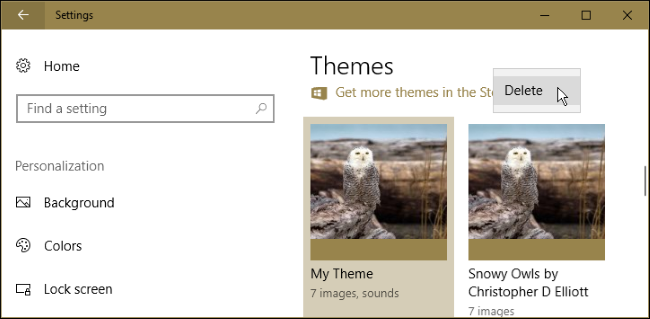
To remove an installed theme from the list, right-click it and select "Delete". Note that you can't remove the default themes Windows 10 comes with---only those you have created or downloaded.
How to Save and Share a Custom Theme
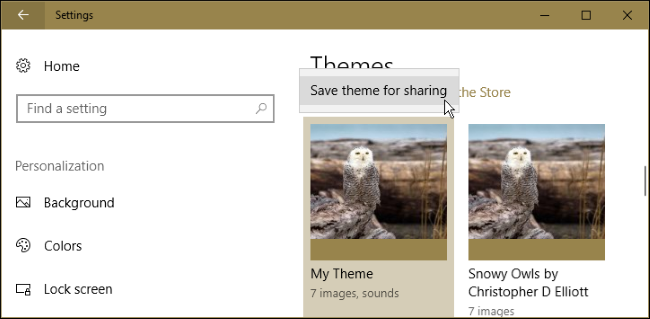
To save a custom theme to a file and share it with someone else, right-click the theme and select "Save theme for sharing."
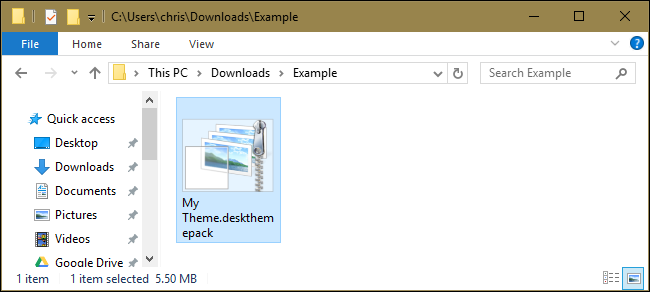
Windows saves the theme to a .desktopthemepack file, which you then can share with other people. After you send them the .desktopthemepack file, they just have to doubpe-click it to install it on their PC. The theme then appears as an option in the Themes pane, just like themes you get from the Store.
How to Choose Whether Your Theme Syncs
If you sign in with a Microsoft account, Windows 10 automatically synchronizes your desktop theme between your Windows 10 PCs by default. Change your theme on one PC and it will automatically change on your other computers. Set up a new PC in the future and it will automatically use your chosen theme after you sign in.
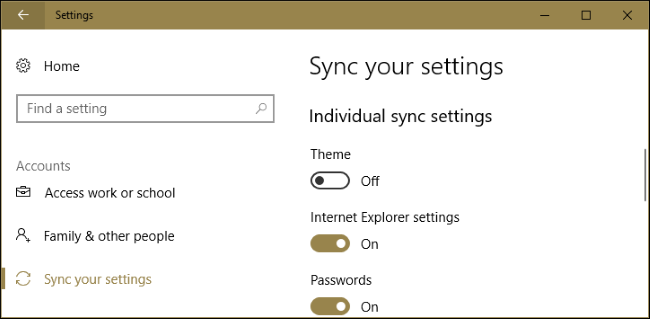
If you don't want your theme settings synchronizing between your PCs---for example, if you want to use different themes on different PCs---you can disable this. Head to Settings > Accounts > Sync Your Settings. and set "Theme" to "Off".
There is one other thing you should be aware of, here. For the purposes of syncing, Windows considers any of these personalization settings you change to be part of your theme. So, even if you don't apply a new theme---say you just change your color or background---changes you make get synced to other PCs on your account as well (assuming they also have theme syncing turned on).
The themes offered in the Windows Store and Settings app are different from the more advanced "visual styles" you may have heard of. Third-party visual styles are still not officially supported in Windows and still require modifying system files to install.

