Quick Links
Key Takeaways
- Taking ownership in Windows gives you the right to change permissions and ensures access to a file or folder even if there are conflicting permissions.
- You may need to take ownership to have unrestricted access to modify or delete a file or folder, especially if it was created by a deleted user account or if you're working on a different PC.
- To take ownership in Windows 10 and 11, log in with an administrative account, right-click the file or folder, go to Properties > Security > Advanced, and change the owner to your user account.
Ever come across a file or folder that won't let you do anything with it? Taking ownership can solve that problem.
What Does Ownership Do in Windows?
In Windows, a user that has ownership of a file or folder has implicit rights to change permissions on that object. That user is also always allowed to access the file or folder---even when other permissions seemingly contradict that access. When you create a file or folder, the user account under which you're logged in automatically gets ownership.
Why Would You Take Ownership of a Folder or File?
You'll typically need to take ownership of a file or folder when you need unrestricted access to it in some way — typically to modify or delete it. Maybe you've got files or folders that were created by a user account that has since been deleted. Maybe you've got a hard drive from another PC that you're working on. Or maybe you just need access to a particular system file---like "notepad.exe"--- so you can apply a hack. Whatever your reason, here's the official way to take ownership of a file or folder. And once you've learned how to do it, why not make it even easier and add a "Take Ownership" command right to your context menu?
How to Take Ownership on Windows 10 and Windows 11
First, make sure you're logged on with an account that has administrative privileges. By default, any administrative account can take ownership of a file or folder in Windows.
Right-click the file or folder and choose "Properties" from the context menu.
Windows 11 has a different right-click context menu, but you're still looking for the "Properties" option.

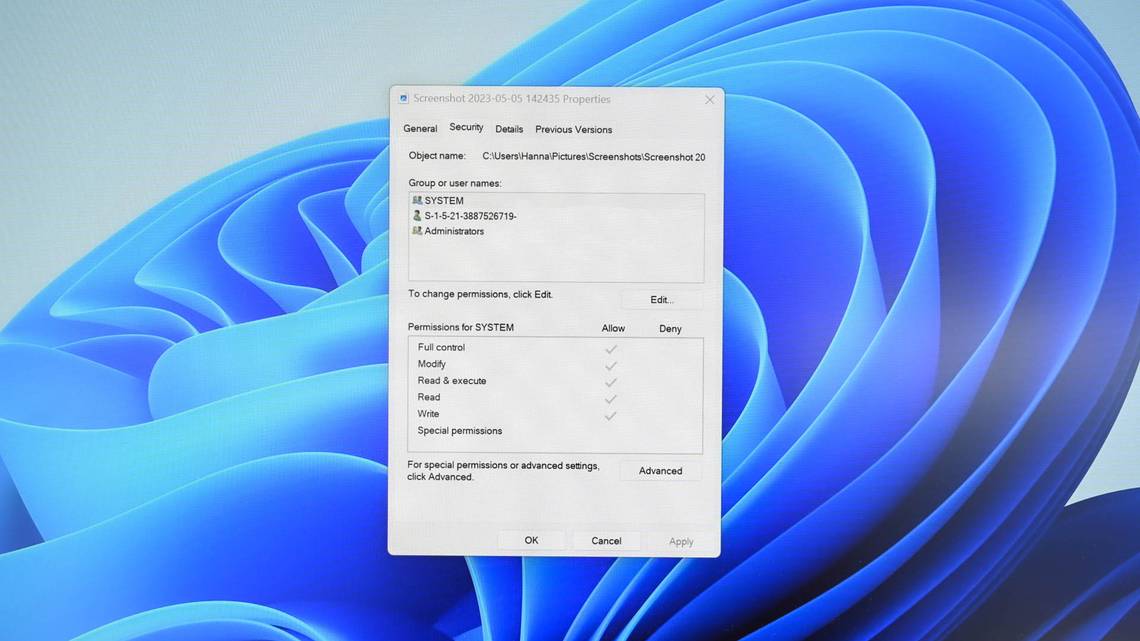
In the Properties window, switch to the "Security" tab, and then click the "Advanced" button.

In Windows 10 or Windows 11, in the "Advanced Security Settings" window, click the "Change" link next to the listed owner.

In the "Select User or Group" window, in the "Enter the object name to select" box, type your user account name, and then click the "Check Names" button. If you typed a valid name, the name should change to show the full user name path with the PC name before it. You can then click the "OK" button.

If you're using a Microsoft account (rather than a local account), your official user name is just the first 5 letters of the full email address you used to set up the account. You've probably also noticed that those five letters were also used to name your user folder.
Back in the "Advanced Security Settings" window, you'll see that your user account is now listed as the owner of the object. If it's a folder, you'll also see an option under the owner named "Replace owner on subcontainers and objects." Make sure that's selected and then click "OK."

And back on the "Security" tab of the file's Properties window, click the "OK" button.

You should now have full ownership of and access to your file or folder.