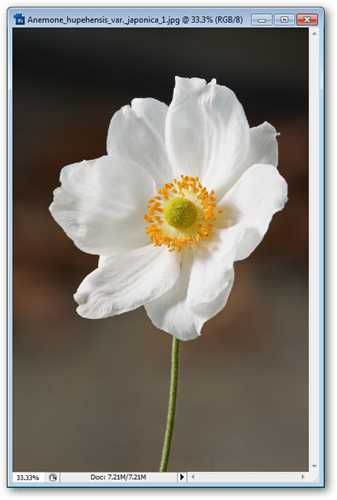
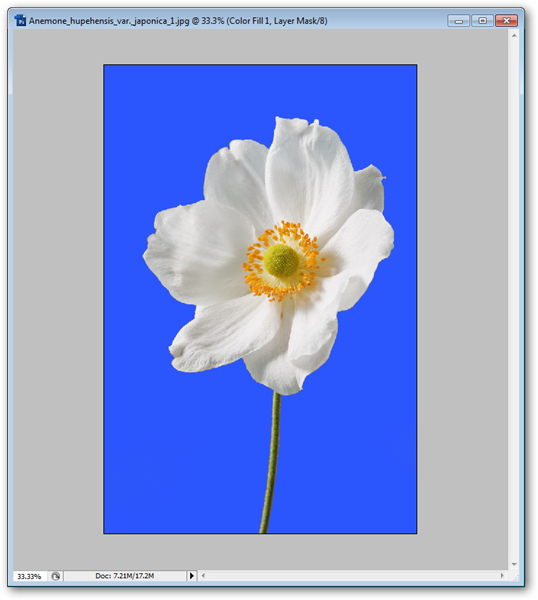
There are those occasions where the Magic Eraser is just too frustrating to use and there's an opportunity to remove the background without all of that tedious erasing. In this How-To, you'll see how to use Channels to remove your background with minimal use of the Eraser tool and no use of the clunky Magic Eraser tool at all.
Beginner Photoshop users be warned---this How-To is aimed at intermediate-level and higher Photoshop users. If you are unclear on how to use Channels and want a primer, you can look at my article about Demystifying Channels.
If not, there is little to do except find your Channels Palette and dive in. It should be on screen by default when you open Photoshop. If you've lost it, you can always reclaim it by going to Window > Channels.
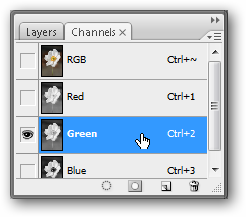
When you flip to the Channels Palette, thumb through your RGB channels by clicking off two of the three channels. If you have a CMYK image, don't worry, this will still work just fine for you, simply click off three of the four channels (although, if you want, you can convert to RGB by going to Image > Mode > RGB Color).
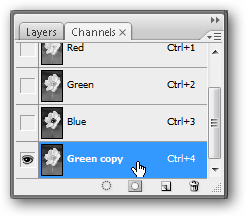
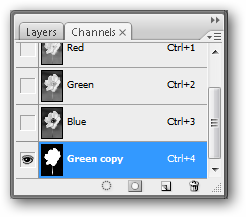
You want to find the channel that gives you the best contrast. Your image should look the brightest, while your background should look the darkest. Make a copy by dragging the channel you want to the
icon or by right clicking and choosing "Duplicate."
Press
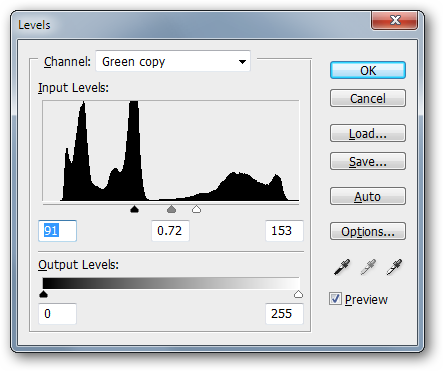
to bring up Levels. Adjust them intensely, bringing your darks and lights close together. You can copy my values (91, .72, 153) but I recommend you eyeball it. Every image is going to work a little differently.
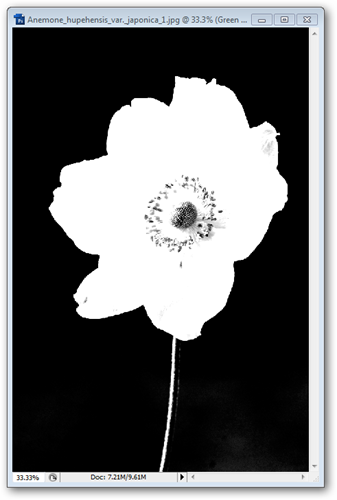
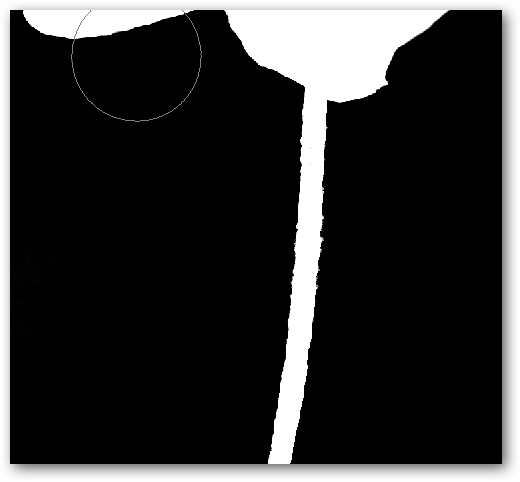
Our flower has lightened up, while our background has become solid dark. This is the look we want at this stage, so make sure you adjust your image with similar contrast with bright white where you want your cutout to be. From here, we need to erase the grays, clean out the inside of the flower, and then see what we can do about the stem, as some of it has been lost by our overzealous Levels.
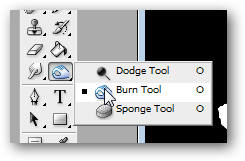
Start with the Dodge Tool, shown here. If that spot has the Burn or Sponge Tool, click and hold it to open the contextual menu and pick the Dodge Tool.
On your Control Palette, you'll need to set your options on your burn tool. You need to set it to Range: Highlights to only affect the lightest grays, ignoring the darkest colors.
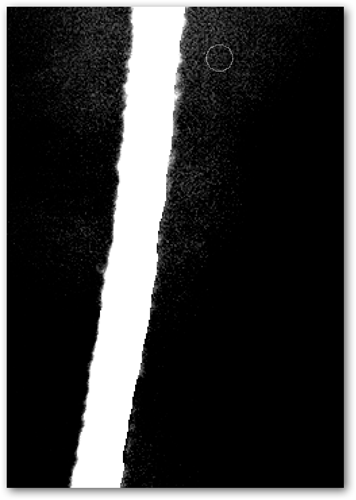
Using your mouse, paint over the gray parts of your image. Most, if not all, of them should disappear.
You'll want to avoid areas around the stem as we actually want to get them darker. But we'll work on that in a minute.
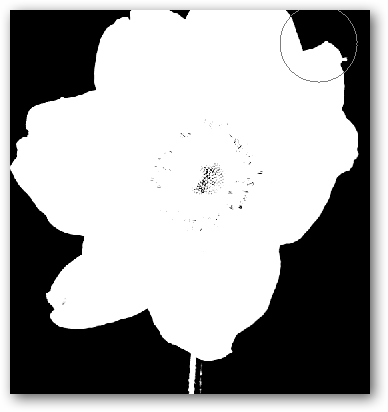
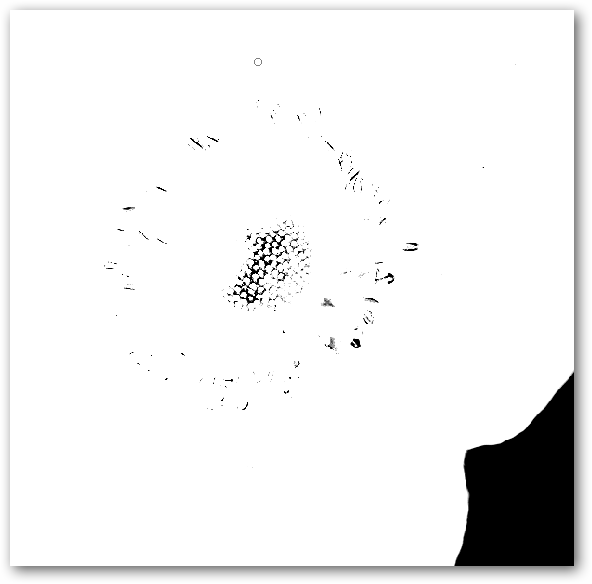
You should have some internal areas you want to clean up. You can simply use the Eraser tool to quickly take them out.
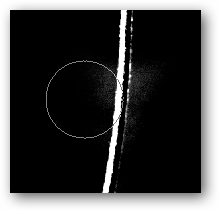
We also use the eraser tool to clean up the stem, where it had become dark from adjusting levels before.
Pick your Burn Tool from the Contextual Menu.
To be useful in this situation, you have to set it to "Range: Shadows."
Paint over any dark areas that aren't 100% black. Your whites will remain white.
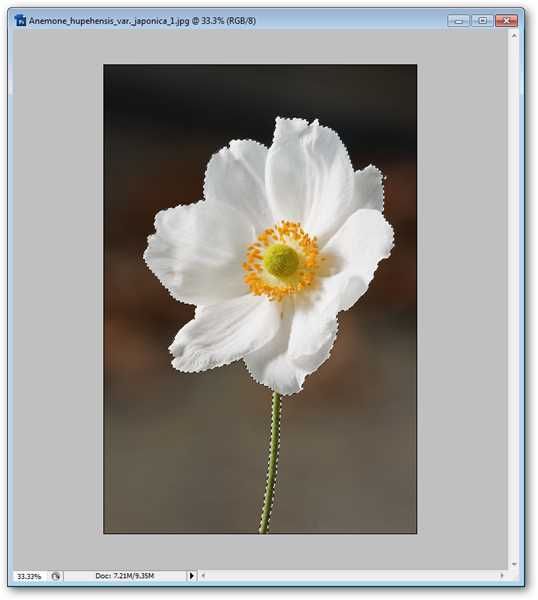
and Click on your channel to pick the selection you just created.
Return to RGB by pressing
. The Tilde key should be to the left of your
key if you're using a USA keyboard.
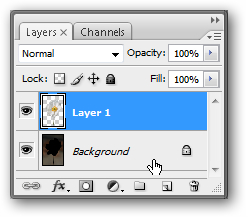
On your Layers Palette, go to your Background and press
to create a new layer using the cut command.
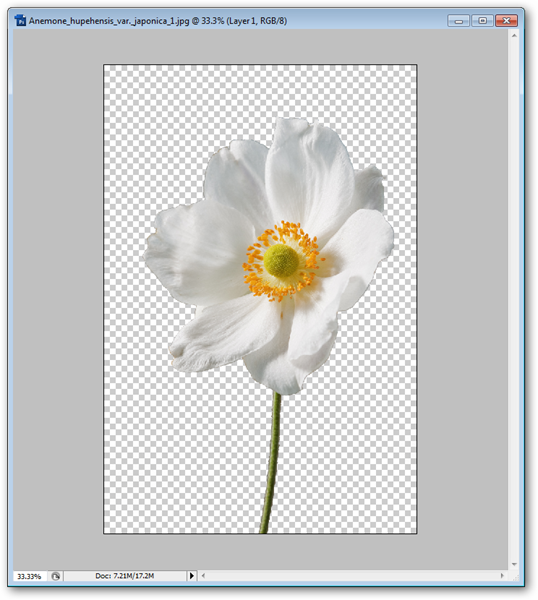
You can turn your "Background" layer off at this point and see the fruits of your labor.
This method may seem intimidating to a beginner user, but it is the method I always prefer to use, as it is one of the fastest, most robust ways to remove an image background. If you can master this, congratulations! You've dug your way through one of the darkest, most intimidating areas of Photoshop.
Image by NoodleSnacks via Wikipedia, released under GNU License.

