Quick Links
Are you getting notifications about a full Time Machine drive? Do you feel like your backups are taking too long? A bigger, faster hard drive might be the best solution, but you can also help by excluding particular folders from your backups.
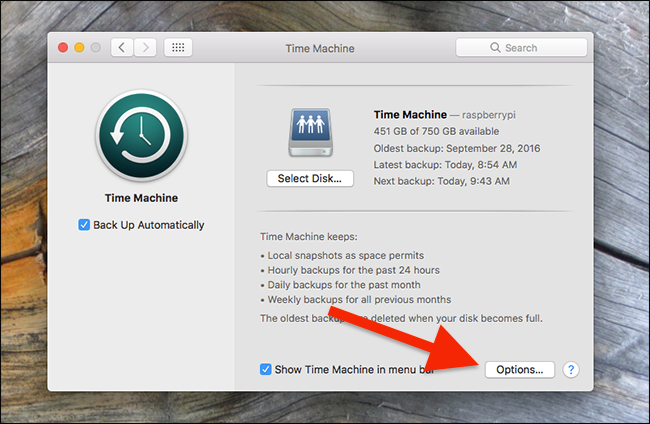
We've shown you how to back up and restore files with Time Machine, including how to exclude particular folders from being backed up. To exclude a folder, just head to System Preferences > Time Machine > Options.
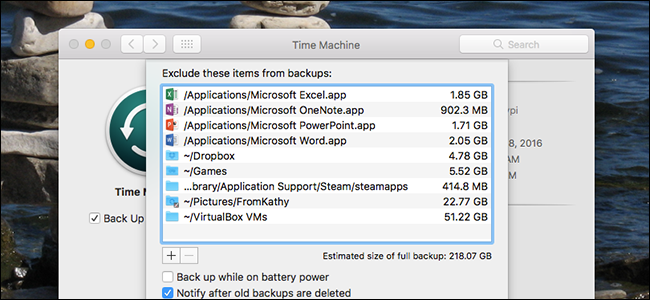
Some more options will slide down, giving you the ability to exclude particular folders from your backups. But which folders can be safely disabled? And are any disabled by the system already? Let's take a look.
What Does Time Machine Exclude By Default?
Time Machine already excludes a bunch of things you don't need backed up: your Trash, caches, and indexes. And you know how you can use Time Machine even if your drive isn't plugged in? The local backups that make that possible are also not backed up, as that would be redundant. So you don't need to worry about excluding system-level things like logs and caches---Time Machine already has you covered.
If just knowing that system-level stuff is already excluded is enough for you, go ahead and skip the rest of this section. But if you're interested in seeing the complete list of folders excluded by default (or just want to prove to yourself that something is excluded), here's how to do it.
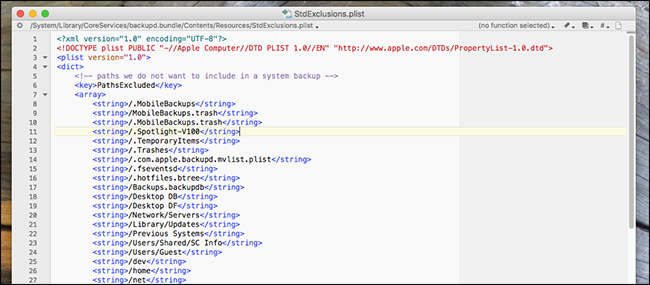
A file named "StdExclusions.plist" outlines everything that Time Machine excludes. You can find that file in the following location:
/System/Library/CoreServices/backupd.bundle/Contents/Resources/
You can quickly open that file by running the following command in the Terminal (which you can find at Applications > Utilities > Terminal):
/System/Library/CoreServices/backupd.bundle/Contents/Resources/StdExclusions.plist
The list is too long to include here, so you should just check it out yourself.
Individual programs can also mark particular files to not be backed up. Typically, this includes caches and other temporary files. You can find a list of these exempt files by running the following command in the Terminal:
sudo mdfind "com_apple_backup_excludeItem = 'com.apple.backupd'"
To summarize, though, you don't need to worry about stopping Time Machine from backing up caches or your Trash folder, because it already knows not to. And a big thanks to Brant Bobby on Stack Exchange for pointing out the commands that prove this.
What Other Items Should I Consider Excluding?
Now that you've seen what Time Machine excludes by default, let's take a look at some of the other items you might consider excluding to free up some space.
Your Dropbox Folder, or Any Folder You're Already Syncing
If you're using Dropbox, OneDrive, Google Drive, or any other syncing service, you already have those files stored in at least two locations---on your local drive and in the cloud. If you're syncing files to other devices, as well, then you have those files stored in other locations as well.
Just be careful. Most cloud services offer a grace period to recover deleted files. Dropbox, for example, gives you 30 days, and keeps older versions of the files it has---just like a backup. But if your cloud service does not provide this feature, you probably don't want to exclude those files from your Time Machine backup, since you may not be fully covered if you accidentally delete an important file. Keeping that caveat in mind, though, you can probably leave such folders out of your Time Machine backups.
Your Virtual Machines
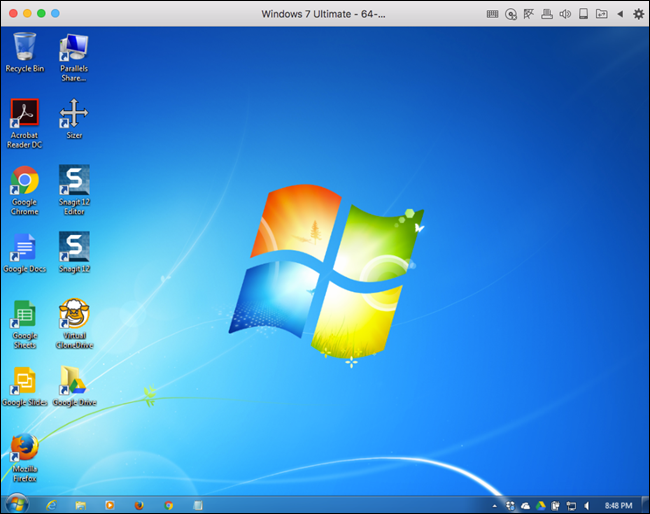
If you've created virtual machines to use Windows or Linux applications on your Mac, it's probably a good idea to exclude those from your backup. Each virtual hard drive is a single file, meaning every time you use your virtual machine, a 20 GB+ file needs to be re-backed up. This is less of a problem if you use Parallels, which is built with this in mind, but other virtual machines can struggle with it.
We recommend doing a one-time backup of your virtual machines to some other hard drive and excluding them from your Time Machine backups.
Your Steam Library, and Other Games
If you play a lot of Steam games on your Mac, you probably don't need to back them up. After all, getting your games back is as easy as opening Steam and re-downloading them.
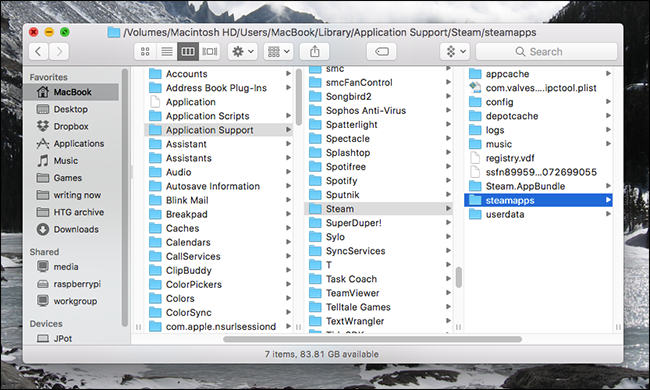
To find where your Steam games are located, you'll need to know how to access the hidden Library folder on your Mac. You can find the Steam settings folder at the following location
~/Library/Application Support/Steam
The games themselves are stored in the steamapps folder. Exclude that folder and you'll save a bunch of storage space without really losing anything that you can't get back quickly. Your game save files are saved elsewhere in the Library folder, so you won't need to worry about losing them by excluding the steamapps folder.
And this advice doesn't apply just to Steam games, either. Games in general tend to be very large, and are easy to re-download should you need to---no reason to waste backup space on them.
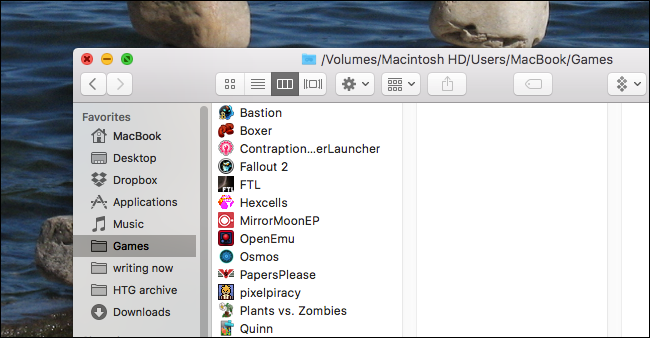
We recommend putting all of your games in a separate folder, and then excluding that folder from your Time Machine backups.
Large Applications You Can Easily Get Back
If you're still running out of space, you might want to apply the same logic used for games to other large applications. Head to your Applications folder and look for large programs that you could easily reinstall. Things like Microsoft Office and Adobe Creative Suite are easy to re-download later, and constant updates mean you're probably backing up new copies of these applications with some frequency. If you find applications that take up a lot of space on your Mac, consider excluding them from your backups.
Large Files That You Might Not Need Backed Up
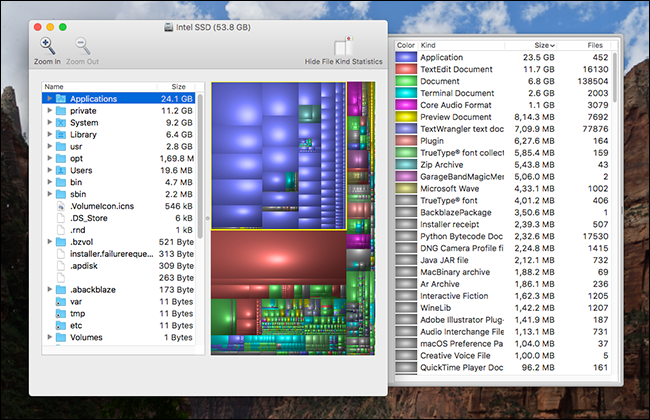
We've shown you how to find your largest files in macOS. Excluding those files might be the simplest way to free up a bit of space on your Time Machine drive. In particular, look for large files you wouldn't miss or that are easily replaceable. For example, movies that you could re-download are prime candidates for exclusion. If you find multiple such files, stick them in their own folder and then exclude that folder from your backup.
Your Downloads Folder
If you're like me, your Downloads folder is a place full of files that you look at briefly before deleting or filing somewhere else. If you want to reduce the size of your regular backups, excluding the Downloads folder is probably a good move---though depending on what you store there, the savings probably aren't going to be huge. If you have downloads that you want to keep around, our advice is to store those somewhere other than your Downloads folder and then just exclude your Downloads folder.
The Extreme Approach: Exclude All of Your System Files and Applications
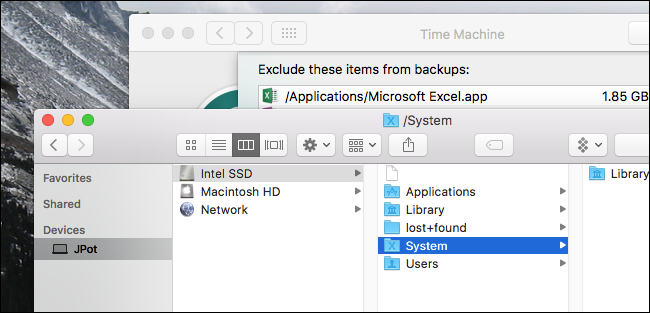
If you're still running out of space---even after making all the exclusions you feel comfortable with---you might need a bigger hard drive. But you do have one additional (and somewhat extreme) option: excluding all System Files from your backup. To do this, open the Finder and select your computer under the "Devices" category. From there browse to your primary hard drive, then to the "System" folder.
Drag this folder to your list of Time Machine exclusions, and you'll be asked if you'd like to exclude all of your System Files.
Doing this means you can't restore your complete installation from Time Machine. If your hard drive fails, you'll have to re-install the OS. If you're willing to put up with that, excluding your system files is another way to save a pretty good amount of space on your backup drive.
At the end of the day, it's your irreplaceable files---photos, videos, documents---that you want to save more than anything else. Everything else can be re-downloaded and re-installed. The easiest recommendation is to just buy a bigger hard drive that lets you back up everything. If you can't do this, though, excluding certain items from your backup could give you a little more space for the things that matter most.

