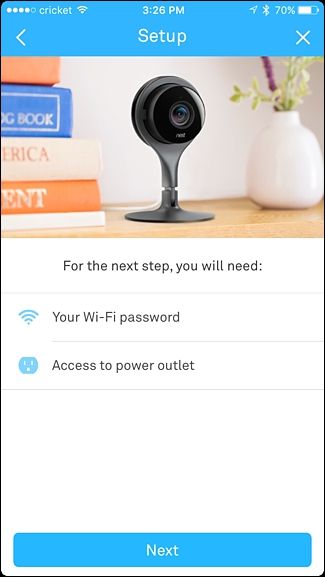
The Nest Cam is an easy-to-use security camera that plugs into any outlet and connects directly to your Wi-Fi so that you can keep tabs on your home, no matter where you are. Here's how to set it up.
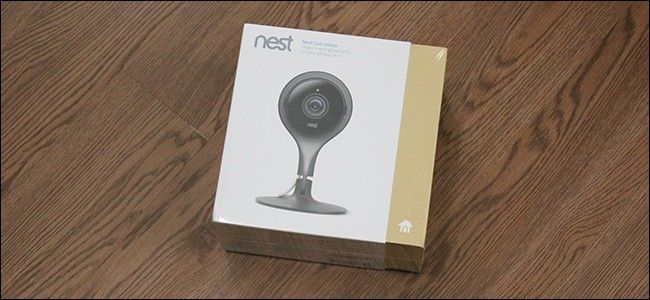
To start, obviously, you'll need a Nest Cam---it comes in both indoor and outdoor varieties. Both retail for around $200, and work the same apart from their form factor.
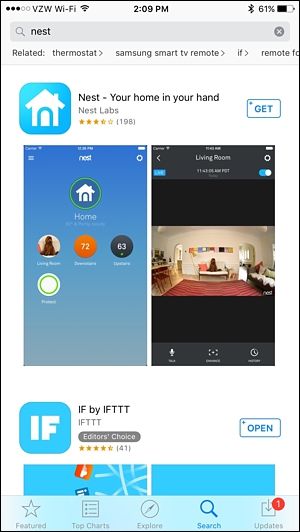
Once you have your Nest Cam unboxed, download the Nest app to your phone. It's free and it's available for iOS and Android devices.
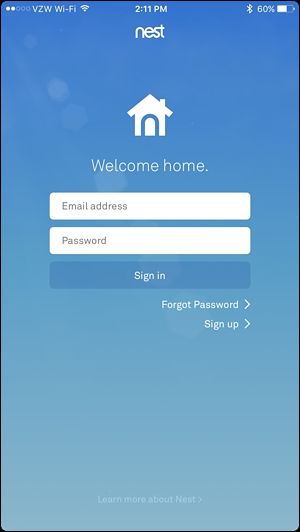
Once downloaded, open it up and select “Sign up”.
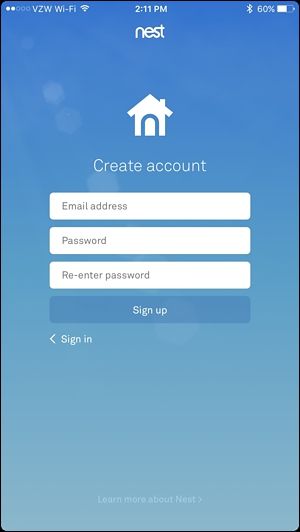
Enter in your email address and come up with a password for your Nest account. Then tap “Sign up”.
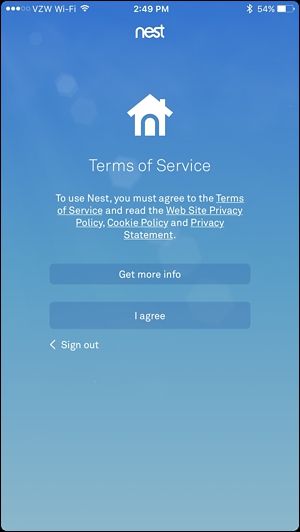
Select “I agree” to agree to the Terms of Service and Privacy Policy, and tap “Continue” at the bottom of the next screen.
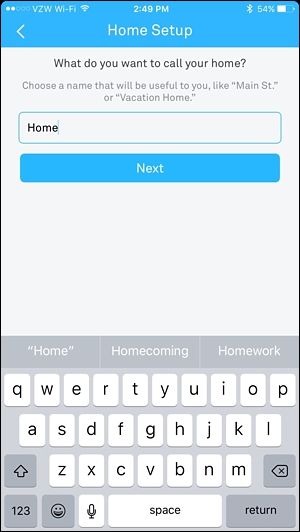
When prompted, give your home a name in the app and tap “Next”.
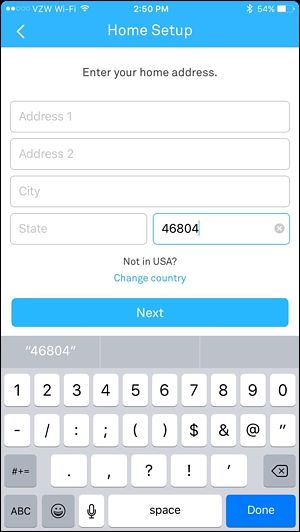
The next screen will ask you for your address, but your zip code is the only thing that’s required. Hit “Next”.
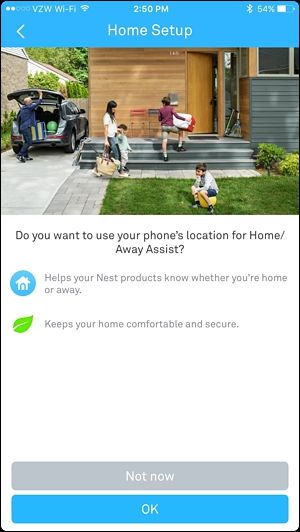
On the next screen, you can set up Home/Away Assist, which uses your phone’s location to determine whether you’re home or not---that way, it can automatically turn your Cam on when you leave the house. You can choose not to set it up right now (you can do so later on).
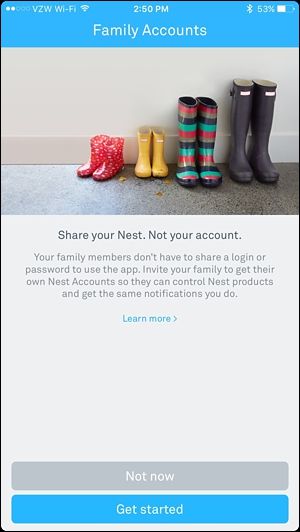
You can also share your Nest Cam with other people in the house so they can monitor and change the temperature from their own phone. You can also set this up later.
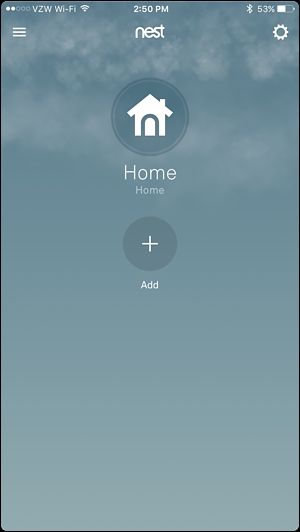
You’ll then be taken to the main screen. Tap on the “Add” button to add your Nest Cam to the app.
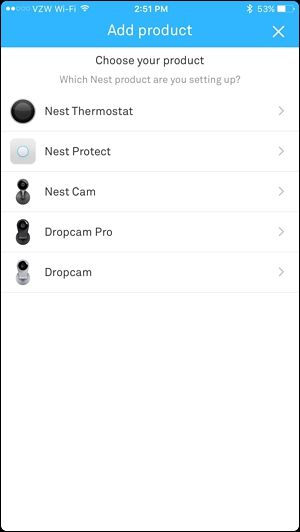
Choose “Nest Cam” from the list.
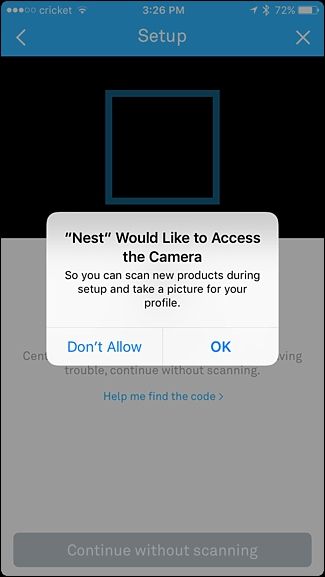
Next, you'll need to give the Nest app access to your phone's camera so that it can quickly scan the QR code on the back of the Nest Cam. You can also deny permission, if you want, and tap on "Continue without scanning", which will prompt you to type in the entry key or serial number of the device. Either way, locate the code on the back of the Nest Cam and scan it with the app or enter in the serial number.
Once that's done, hit "Next" on the following screen.
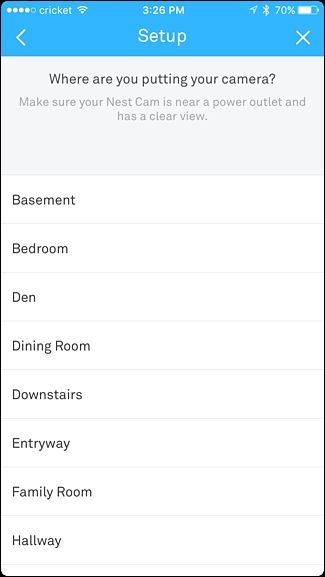
Choose from the list of locations in your house where your Nest Cam will be set up. This makes it easier to tell them apart if you have multiple Nest Cams.
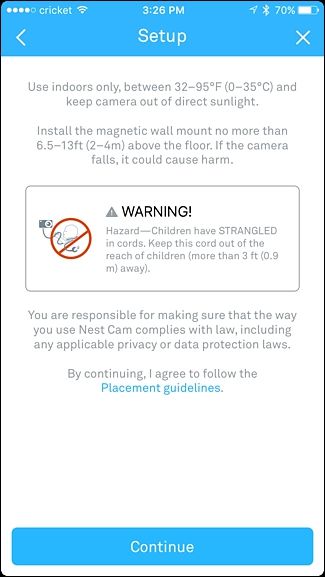
The next page lists multiple warnings, like not to put the indoor Nest Cam in direct sunlight or in places where the temperature drops below 32F or above 95F. If you want to place it outdoors, buy the outdoor version instead. Tap on "Continue" in the app to move on.
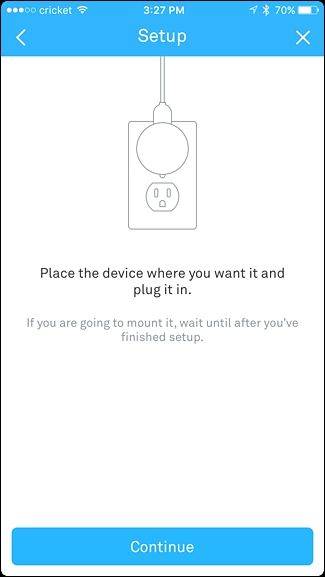
If you haven't already, place your Nest Cam where you want it and use the included cable and adapter to plug it into a nearby outlet. Hit "Continue" in the app.
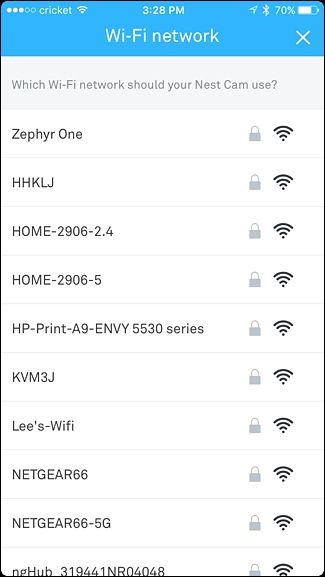
Wait for the Nest Cam to boot up and then select your Wi-Fi network from the list.
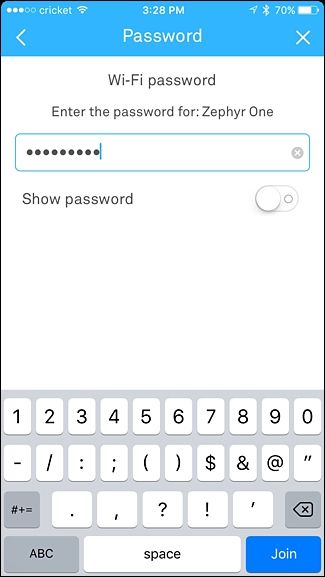
Enter in the password for your Wi-Fi network and tap "Join" down at the bottom.
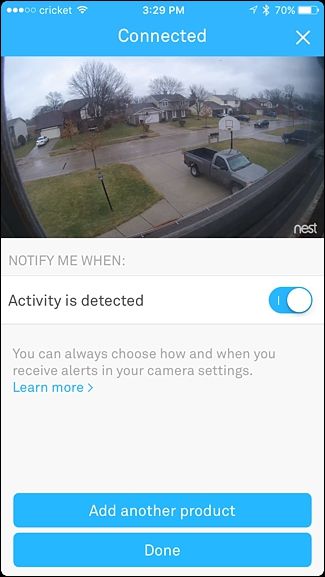
Wait a few moments while the Nest Cam connects to your Wi-Fi network. Once it connects, the next screen will show a live view of your Nest Cam and will have you choose whether or not you want to receive notifications whenever activity is detected. By default, it's set to yes, but you can turn it off using the toggle switch to the right. Then, tap on "Done" at the bottom.
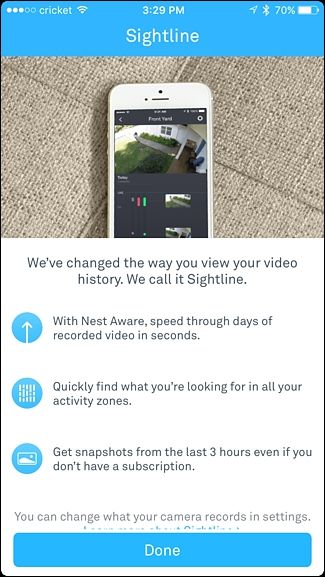
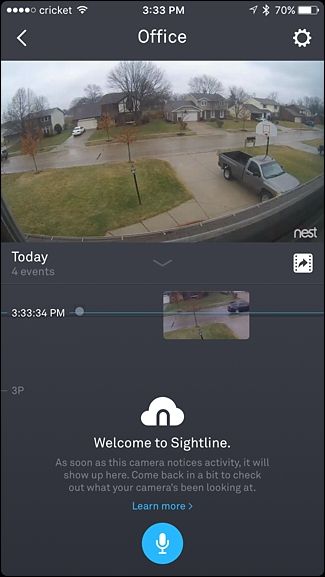
The next screen will teach you about Sightline, a Nest Cam feature that lets you quickly scroll through hours of footage and go to specific points when activity was detected. Hit "Done" at the bottom.
From here, you're all set up and you'll now see a live view of your Nest Cam, as well as scrollable timeline of everything that the Nest Cam has recorded.
If you want to see a full-screen live view, you can tilt your device horizontally, and if you want to speak into the camera to talk to the person on the other side, you can tap and hold on the blue microphone icon at the bottom.
Keep in mind that while I have my Nest Cam pointed out of a window looking outside my house, the infrared lights on the camera for night vision will reflect off the window's glass and create a giant glare, making it pretty much useless at night. Again, if you're really wanting a cam for outdoor use, it's best to get the outdoor version of the Nest Cam, but the indoor model can work just fine in a pinch.

