HomeGroups make sharing files and printers with other PCs pretty simple. But if you don't use it and would prefer not to see it in File Explorer at all, it's not too hard to disable.
Windows networking can get pretty complicated. If all you want to do is share your files and printers with a few other Windows PCs on your local network, though, the HomeGroups feature makes that task much easier. Still, if you don't use it at all and would prefer to not see it in your File Explorer---or Open/Save As dialog boxes---you can disable the HomeGroup service. You'll need to disable a couple of services and then---if you're running Windows 8 or 10---take a quick dive into the Registry. Here's how to get it done.
Step One: Leave the HomeGroup if Your PC is Currently Part of One
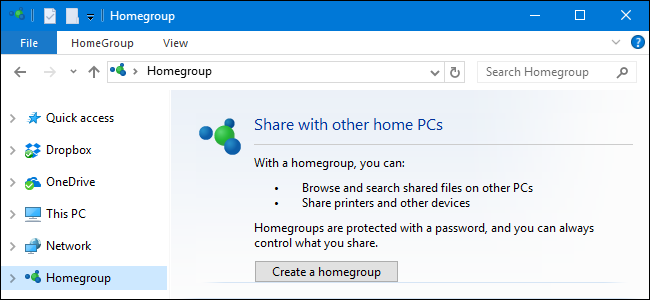
If your PC is part of a HomeGroup, you'll need to leave the HomeGroup before disabling the service. Click Start, type "homegroup," and then click the "HomeGroup" control panel app.

In the main "HomeGroup" window, click "Leave the homegroup."

On the "Leave the Homegroup" window, confirm that you want to leave by clicking "Leave the homegroup."

When the wizard finishes removing you from the HomeGroup, click the "Finish" button.

Now that you're no longer part of a HomeGroup, you can disable the HomeGroup services.
Step Two: Disable HomeGroup Services
To disable the HomeGroup feature in Windows, you'll need to disable two HomeGroup services. Click Start, type "Services," and then click the "Services" app.

In the right-hand pane of the Services window, scroll down and find the "HomeGroup Listener" and "HomeGroup Provider" services. Double-click the "HomeGroup Listener" service to open its properties window.

In the properties window, select "Disabled" from the "Startup type" drop-down menu and then click "OK."

Next, you'll need to disable the "HomeGroup Provider" service in exactly the same way. Open its properties window and set "Startup type" to "Disabled."
If you're using Windows 7, that's all it takes to disable the HomeGroup feature and remove it from your File Explorer window. In fact, as soon as you stop and disable the "HomeGroup Provider" service, HomeGroup will disappear from File Explorer in Windows 7.
If you're running Windows 8 or 10, the steps you've taken so far will disable the HomeGroup feature, but you'll need to move on to step three and make a quick Registry edit to remove it from the File Explorer window.
Step Three: Remove HomeGroup from File Explorer by Editing the Registry (Windows 8 or 10 only)
In Windows 8 or 10, you'll need to take the extra step of creating a Registry key that you can use to remove HomeGroup from File Explorer.
Standard warning: Registry Editor is a powerful tool and misusing it can render your system unstable or even inoperable. This is a pretty simple hack and as long as you stick to the instructions, you shouldn't have any problems. That said, if you've never worked with it before, consider reading about how to use the Registry Editor before you get started. And definitely back up the Registry (and your computer!) before making changes.
Open the Registry Editor by hitting Start and typing "regedit." Press Enter to open Registry Editor and give it permission to make changes to your PC.

In the Registry Editor, use the left sidebar to navigate to the following key:
HKEY_LOCAL_MACHINE\SOFTWARE\Classes\{B4FB3F98-C1EA-428d-A78A-D1F5659CBA93}

By default, this key is protected, so you'll need to take ownership of it before you can do any editing. Follow our instructions on how to gain full permissions to edit protected Registry keys and then you can proceed with the instructions here.
After taking ownership of the {B4FB3F98-C1EA-428d-A78A-D1F5659CBA93} key, right-click it and choose New > DWORD (32-bit) Value. Name the new value "System.IsPinnedToNameSpaceTree."

When you create the new System.IsPinnedToNameSpaceTree value, it's value data is already set to 0, which is the setting you want for removing HomeGroup from File Explorer. Changes should take effect immediately, so open a File Explorer window and double-check to make sure that HomeGroup has been removed.
If all was successful, you can go ahead and close Registry Editor. If you ever want to reverse this change, just go back into Registry Editor, double-click the System.IsPinnedToNameSpaceTree value to open its properties window, and change the "Value data" box from 0 to 1.
How to Re-Enable HomeGroup After Disabling It
If you want to enable HomeGroup again, you'll just need to reverse the instructions we've covered here.
-
Use Registry Editor to set the
System.IsPinnedToNameSpaceTreevalue to 1 or just delete the value altogether. - Use the Services app to set the "HomeGroup Listener" and "HomeGroup Provider" services back to "Manual."
You should then be able see HomeGroup in File Explorer and create or join a HomeGroup again.
Even though having the HomeGroup item showing in File Explorer won't be a big deal to most people, it's still nice knowing that you can remove it if you want to. It can be especially handy if you share your computer and just don't want people accidentally stumbling across a way to share your files with other computers.