If you've used Kindle devices or apps for a while, you know how easy it is for old devices to accumulate on your list. Why not make things easier on yourself by clearing out old devices and better organizing the ones you still use?
It can get kind of old going to buy a new Kindle book and then trying to send it to your device, only to see a long list of devices with names like "4th iPhone," "5th iPhone," and so on. Fortunately, Amazon provides decent online tools for managing your devices and ebooks. Managing your device lists becomes especially important if you share books with your friends and family's Kindles. But, fear not. It's really not that hard to get your device list better organized.
To start, go to amazon.com, log in, and then click "Your Account."

On the account menu, select "Manage Your Content and Devices."

On the management page, click the "Your Devices" tab.

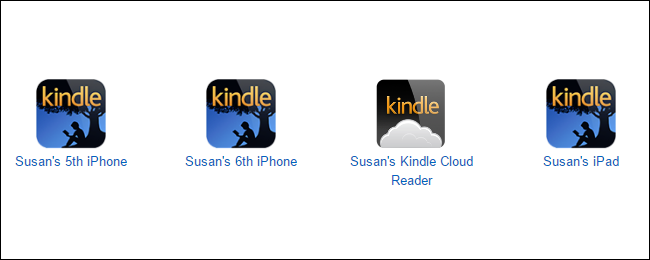
This tab shows all Kindle-related devices you have registered to the account, whether those are actual Kindles, kindle apps installed on other devices, or even the Kindle Cloud Reader. If you can't tell which device is which, there's no super easy way to identify them. Instead, note the email address listed under a device when you select it. Each device gets its own email address so you can send it certain types of documents--like Word documents, PDFs, some ebook formats, and image files. One way to determine which device is which is to send something simple, like a JPG or GIF image file, to the address and then see which device it shows up on.
The first step to organizing your devices is to give them better names. You can rename actual Kindle devices from the device itself, so that may be a better option if you're unsure which device is which. Kindle apps on your phone, tablet, and computer don't have that ability, though, so you'll have to use Amazon's site. To rename a device, select the device and then click the "Edit" link to the right of the current device name.

Type in a new name for the device and then click "Save."

The next step in organizing your devices is clearing out the ones you don't need. If you have old devices you don't use anymore, a device you plan to sell, or you just installed an app and then decided you didn't want it, you can remove it from your account by selecting the device and then clicking "Deregister."
Another little tip: if you have lots of devices and figuring out which is which is too much of a hassle, you can always go nuclear and just deregister all your devices. Then you can re-register just the devices and apps you actually use. When you register a device again, you'll have to set it up and re-download your books.

You'll get a confirmation window letting you know that content will be removed and you'll have to register your device again to use it. Click "Deregister" to remove the device from your account.

And now that you've cleaned things up, whenever you go to buy a new Kindle book, you'll be rewarded with a nice clean device list that helps you make sure you're sending books or samples to the right place.

Cleaning up your Kindle device list can take a little time and effort, but it's well worth it in the end. Not only is it easier to figure out where to send books, you also get the security of knowing that only the devices you actually still use are registered to your account.