If you use an iPhone or iPad to email important clients, friends, and relatives, then you probably want to try to minimize as much unnecessary typing as possible.
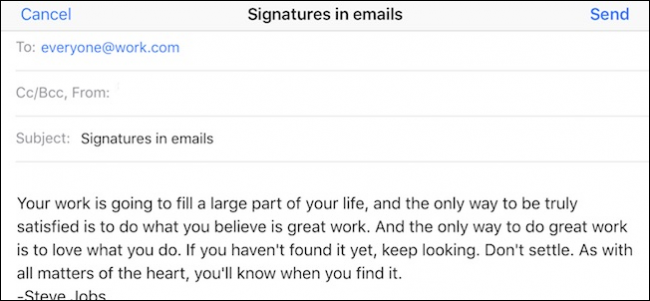
Signatures are great for when you need to include your work address and phone number, an inspirational quote, or any other information you think necessary for your recipients to know. Signatures can make short work of adding routine and repetitive information to the end of your messages. And just like any mail client, you can easily create, edit, and assign signatures to your Apple Mail accounts on your iOS device.
To get started, first open the Settings and scroll down to and tap on "Mail, Contacts, Calendars".

There are a lot of options here, but the only one we're looking for is the "Signature" settings. You may have visited it before, if you ever wanted to remove the default "Sent from my iPhone" or "Sent from my iPad" signature.

There are two ways of setting up signatures on your iOS device. The "All Accounts" signature means that you assign one signature for every email account you have. It doesn't matter if it's a personal or work address, recipients will see the same bit of text at the end of you messages.

The other option is the one that will probably appeal to more people who want a more refined approach. The "Per Account" method allows you to add a signature for each account, so if you have three accounts, you can have three signatures.

This is a better option if you are using your device for both work and personal use. You can have a funny quote appended to your home emails and pertinent professional stuff at the end of your work emails.

Assigning signatures on your iPhone or iPad is really simple and straightforward. You won't be able to have multiple signatures for each account, like you can in Apple Mail on macOS, but that's not the point. These are simply to save you time and typing.