Among Apple Mail's many and varied features is the ability to define and set signatures so that your email is appended with your favorite quote, out-of-office announcements, or contact information.
Creating, modifying, and applying signatures in Apple Mail on macOS is a breeze, and best of all you can create multiple signatures for one account and apply them in different ways.
To begin, first open Mail's preferences by clicking on the "Mail" menu and selecting "Preferences" or use the Command+, keyboard shortcut.

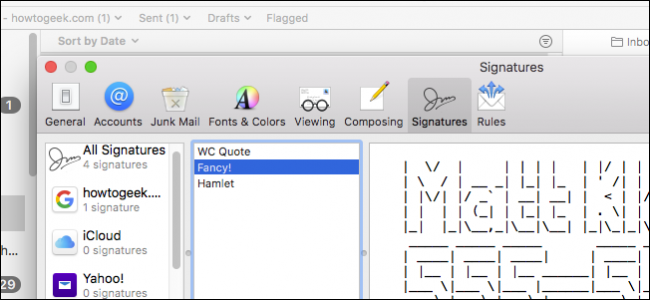
In Mail's preferences, click the "Signatures" tab. As you can see in the following screenshot, we already have an example signature created to show you what this will look like.

If you want to create a signature for a specific account, click on that account in the left pane, then click the "+" sign as shown below. A default signature will be created with your name and email address. You may want to first rename this signature to something more descriptive.

Now, you can change your signature's text. You can simply type it in or paste it from another source.

Once you have a couple of signatures to choose from, you can assign specific ones or you can have them show up randomly or in sequential order. If you want them to match your default font, make sure that option is checked.

You can even use ASCII art to really make things stand out, though you might want to resort to something a little more professional for work email.

From now on, you can have signatures for every occasion. You don't need to spend a lot of time futzing about with them. They're really quite simple to create, edit, and assign so you never need to worry that you forgot to include your phone number in an email message or to remind people of your pending vacation.