Quick Links
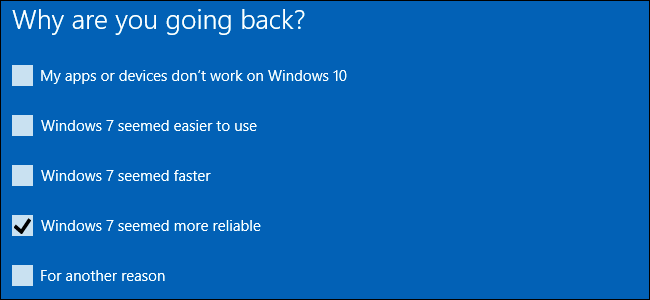
After upgrading to Windows 10, you have 30 days--about a month--to roll back to Windows 7 or 8.1 if you so desire. After that, Windows takes the option away from you. But there's a way to extend this time limit at the cost of some disk space.
Warning: This process worked for us with Windows 10 build 1511. It's not officially supported, and it's possible this won't work in future builds of Windows 10. For rolling back to a previous version of Windows, we recommend creating a backup image before upgrading to Windows 10. However, if you've already upgraded, this could be helpful.
How This Works
Windows 10 needs your old Windows installation files to downgrade, and they can take up quite a bit of hard disk space. Windows keeps them around for 30 days to give you time to downgrade, but, after that, Windows assumes you won't want to downgrade. It will then delete the files necessary for downgrading during maintenance. This frees up quite a bit of disk space, but removes the option to roll back to a previous version of Windows. You can also manually delete these files before 30 days are up by heading to the Disk Cleanup application and deleting "Previous Windows installation(s)".
To ensure you can downgrade after the 30 day period is up, you just need to rename your old Windows installation folders or back them up somewhere else. Windows won't delete the files if they have a different name on your PC. You can then restore them to their original name if you ever want to downgrade in the future.
You Can Only Extend the Time Limit if Downgrading Is Currently Available
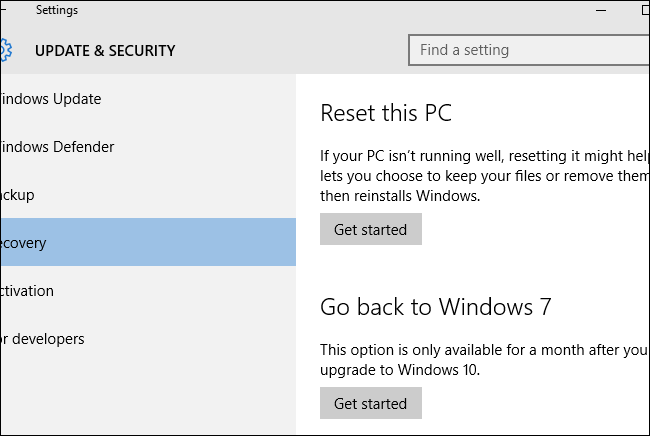
Unfortunately, you can only begin this process if the downgrading option is still available. To check, head to Settings > Update & Security > Recovery. if you see a "Go Back to Windows 7" or "Go Back to Windows 8.1" option here, you can extend the time limit.
If the time limit has already expired--or if you've run DIsk Cleanup and cleaned up the previous Windows installation files--you can't use this method. You'll have to clean-install Windows 7 or 8.1 from the original disc, restore a manufacturer-provided recovery image, or restore a backup you yourself created before upgrading.
How to Preserve Your Downgrade Files
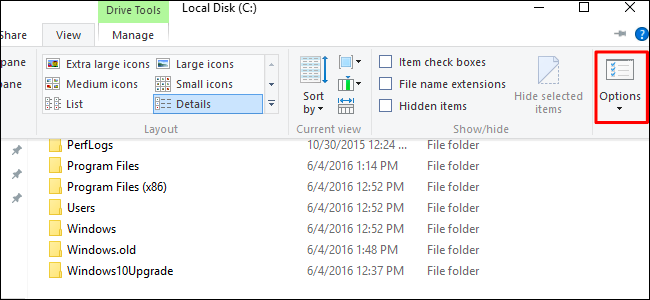
If the downgrade is available to you, here's how to preserve those files past 30 days. First, open the File Explorer application. Click the "View" tab on the ribbon bar at the top of the window and click the "Options" button to open the Folder Options window.
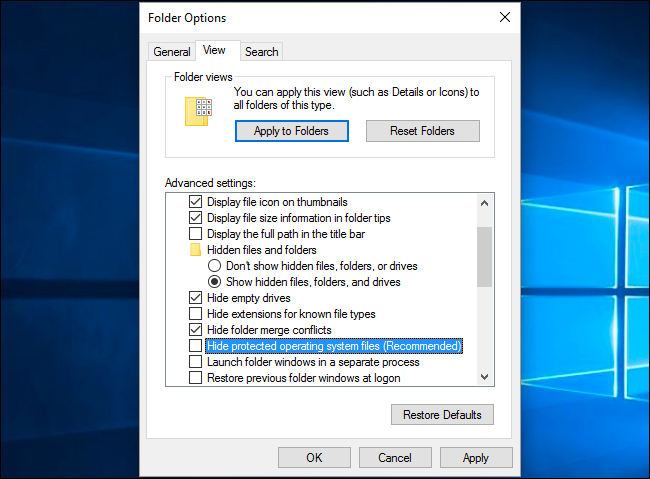
Click the "View" tab, select "Show hidden files, folders, and drives", and uncheck "Hide protected operating system files (Recommended)". Click "OK" to close the window and save your changes.
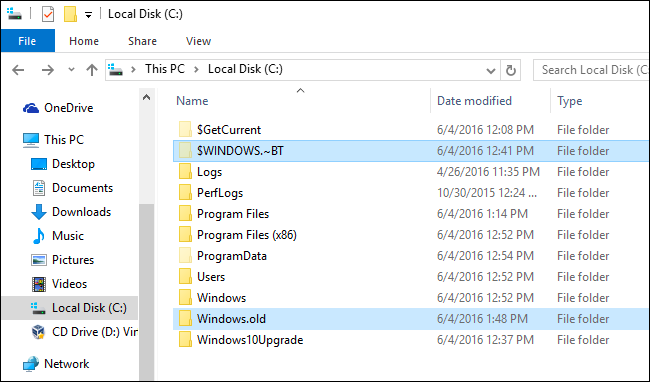
You can now head to This PC > Local Disk (C:) and find the folders you need. The exact folders Windows needs for this are:
-
C:\$Windows.~BT -
C:\$Windows.~WS -
C:\Windows.old
We actually didn't see a
C:\$Windows.~WS
folder on our system. However, if you do, you should preserve it as well. Just preserve all of the three folders you see, even if you only see two of them.
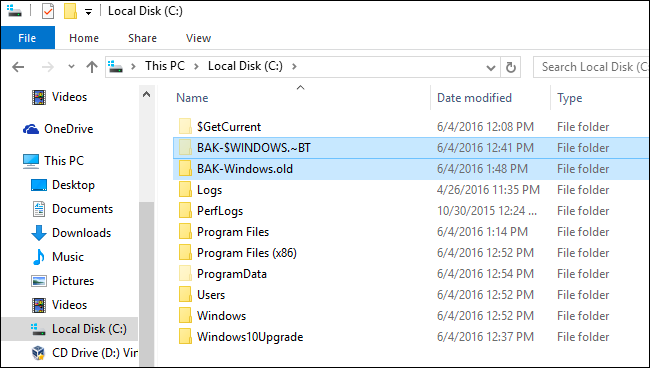
You can preserve these folders in one of two ways. The easiest way would be to simply rename the folders without moving them. For example, you could name them
BAK-$Windows.~BT
,
BAK-$Windows.~WS
, and
BAK-Windows.old
. They'd then be left on your hard drive. Windows won't delete them if they don't have the original file names.
Instead of doing this, you could also just copy these folders to an external drive and save them for later. Or, you could do both. It's up to you.
How to Go Back After 30 Days
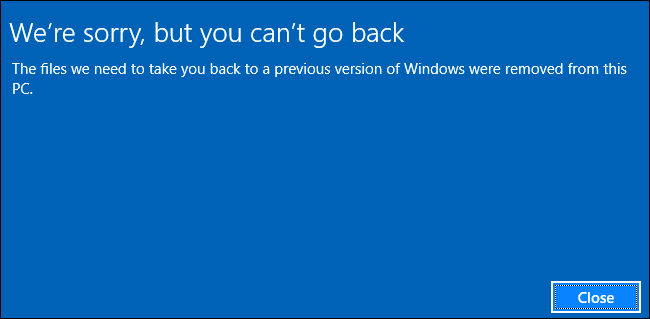
Try to go back to Windows 7 or 8.1 after renaming the files and you'll see a message saying the files have been removed.
To allow the rollback, you just need to rename the files back to their original folder names or restore the folders you backed up to the C:\ drive on your computer.
This means changing them from
BAK-$Windows.~BT
,
BAK-$Windows.~WS
, and
BAK-Windows.old
to
$Windows.~BT
,
$Windows.~WS
, and
Windows.old
if you followed the instructions above. The downgrade tool should then work normally.
If you've upgraded to a new build of Windows 10--for example, to the Anniversary update--Windows 10 will be a new backup folders that allow you to revert from the current build of Windows 10 to a previous build of Windows 10. You'll have to delete (or rename) any existing folders with the names
$Windows.~BT
,
$Windows.~WS
, and
Windows.old
before renaming the old folders to take their place.
The rollback process isn't perfect, even during the first 30 days. For example, you may have to reinstall programs or hardware drivers after downgrading. That's one of the reasons it's better to have a full disk image backup to restore to, if possible.

