If you're tired of having to open up the SmartThings app to arm and disarm your setup every time you leave or come home, here's how to do it all automatically without even touching your phone.
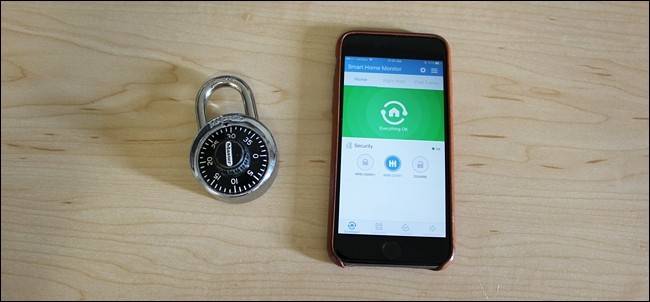
While SmartThings makes it easy to control all of your smarthome products and automate certain tasks, the platform also makes for a great DIY home security setup using the various SmartThings-branded sensors. You can receive notifications whenever a door or window opens, as well as add sirens and cameras to your setup for the ultimate home security configuration.
However, the system only works if you arm it from the SmartThings app, and there are three states that you can set it to:
- Arm (Away): Used when you're away from home and no one else is there.
- Arm (Stay): Used when you're at home, but still want the security in place, like when you're sleeping at night (you can have just certain sensors activated).
- Disarm: Used when you're at home and don't need notifications whenever a door opens or motion is detected.
You can change between these states manually, or you can do it all automatically, and there are a couple of ways to go about it.
Arm and Disarm Using Your Location

Perhaps one of the best ways to automatically arm and disarm your SmartThings setup is by using geofencing. Simply put, your SmartThings hub has an invisible, virtual fence surrounding it, and whenever you cross that fence, your SmartThings sensors and devices can automatically change states.
So for example, when you leave your house and exit out of that virtual barrier, you can have your SmartThings setup automatically arm itself, and then when you get home and enter back into the virtual fence, it can automatically disarm your system.
To set this up, start by opening the SmartThings app on your phone and click the sidebar menu button in the top-right corner of the screen.

Tap on the settings gear icon in the top-right corner.

Scroll down a bit and tap anywhere on the map.

Tap and hold on the black dot, and then drag it to change the radius of the virtual fence. You can make it as big as you want, but the minimum radius is 500 feet. Once you decide on a radius, tap "Save" in the top-right corner.

Tap "Done" in the top-right corner.

With your geofence set, you'll want to make sure that the app has permission to use your location. To do this on iOS, open up the Settings app and navigate to Privacy > Location Services > SmartThings and select "Always". On Android, location is automatically enabled.

Now, to set up the automation, you'll need to set up a "Routine". We have a guide to show you how routines work, but here's how to set up a simple routine for automating the arm/disarm feature.
Start off by tapping on the "Routines" tab at the bottom of the screen.

Tap on the "+" icon in the top-right corner.

Tap on where it says "What do you want to do" and give the routine a name. Tap on "Next" when you're done.

Select "Set Smart Home Monitor to".

Select one of three options. In this case, we're going to select "Arm (Away)". Hit "Done".

Scroll all the way done and tap on "Automatically perform [routine name]".

Tap on "Everyone leaves".

Tap "Which?"

Select your phone or all of the phones in the list (if you have multiple users). Hit "Done".

Next, you can set a delay time. The default is 10 minutes, but you can leave it blank to make it instant.

When that's finished, simply tap "Done" in the top-right corner.

Tap "Done" again.

Your routine will now show up in the list routines.

This routine is for when you leave home and arm your system, so you'll need to create another routine for when you arrive home and automatically disarm SmartThings.
Arm and Disarm on a Schedule
If you's rather arm and disarm your SmartThings system at certain times of the day, the process is very similar to geofencing. You just don't have to deal with the location settings.
You're still creating a "Routine", though, so from the main screen in the app, tap on the "Routines" tab at the bottom.
Tap on the "+" icon in the top-right corner.
Tap on where it says "What do you want to do" and give the routine a name. Tap on "Next" when you're done.
Select "Set Smart Home Monitor to".
Select one of three options. In this case, we're going to select "Arm (Away)". Hit "Done".
Scroll all the way down and tap on "Automatically perform [routine name]".
Tap on "At a specific time".

Tap on "Time of day".

Next, set a time that you want to automatically arm your SmartThings system, so if you leave for work a little before 8am, you could set it for 8am.

You can also tap on "Only on certain days of the week" and select specific days when you want your system arm at 8am.

Simply place checks next to each day and hit "Done" in the top-right corner.

When that's finished, simply tap "Done" in the top-right corner.

Tap "Done" again.
Your routine will now show up in the list of routines.
Again, you'll need to create a new routine for every status change, so if you want to disarm your system automatically later in the day, you'll need to create another routine that does this.