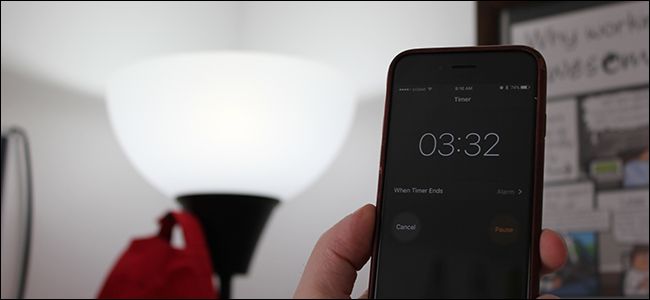
Maybe you want to turn off your Philips Hue lights after a certain amount of time has passed, or have them blink as a reminder. Whatever your needs, here’s how to set a timer for your Philips Hue lights to have them automatically turn on or off after a specified amount of time.
Why Set a Timer?
There are many reasons why you might want to set a timer for your lights. Maybe you’re cooking with a sleeping baby in the house and you don’t want your traditional timer to ring loudly when it hits zero. In that case, you can set your kitchen lights to blink, or even change them to a different color to let you know that your brownies are done.
You can also set a timer if you want to be more strict with your free time, either for yourself or for your kids. Say you want to only give your kids 15 minutes to read comic books. You can have the lights in that room blink after 15 minutes (or shut off entirely if you want to be cruel). Or, maybe you know you’re going to fall asleep reading, so you want your lights to automatically turn off in a half hour or so.
Essentially, you can use your Philips Hue lights as sort of a silent alternative to loud timers and provide you with a visual alert rather than an audible one. If this sounds like something you’re interested in, here’s how to set it up.
How to Set a Timer for Your Philips Hue Lights
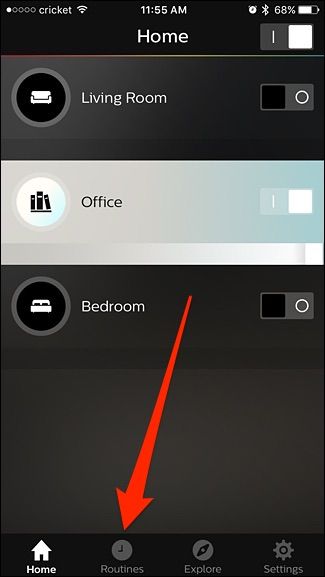
Start off by opening up the Hue app on your smartphone and tapping the "Routines" tab down at the bottom of the screen.
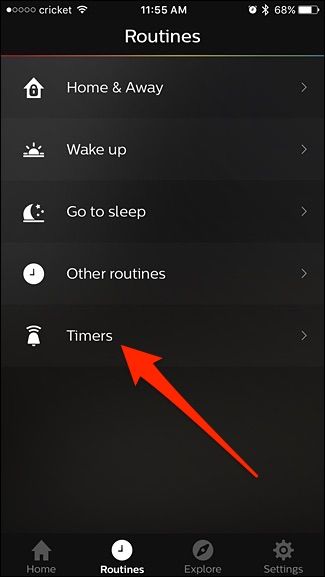
On the "Routines" page, select the "Timers" option.
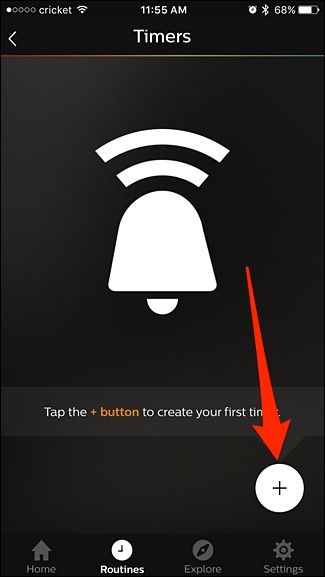
On the "Timers" page, tap the round "+" button in the bottom-right corner.
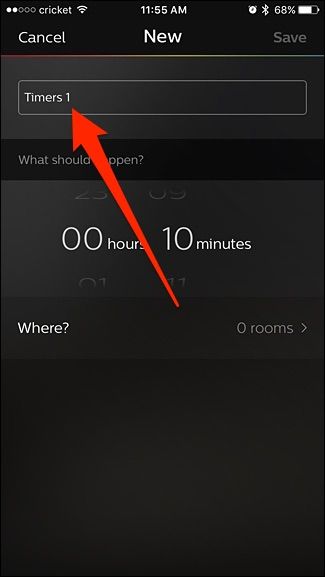
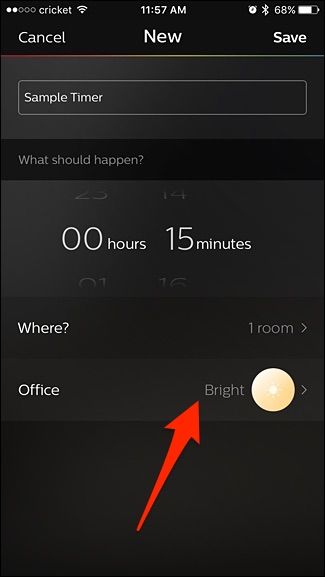
Give your timer a name at the top.
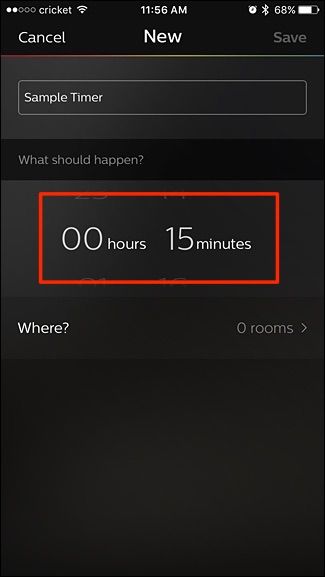
Below that, select how long the timer will last. In other words, select the amount of time that you want to elapse before your lights do something.
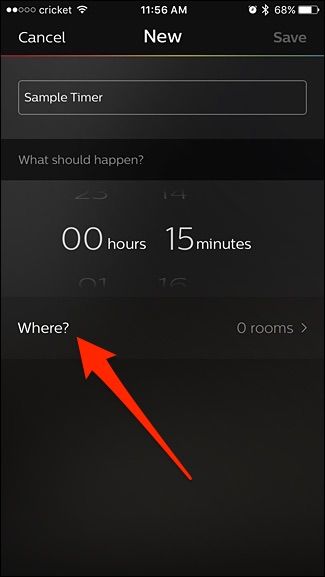
Next, tap the "Where" option.
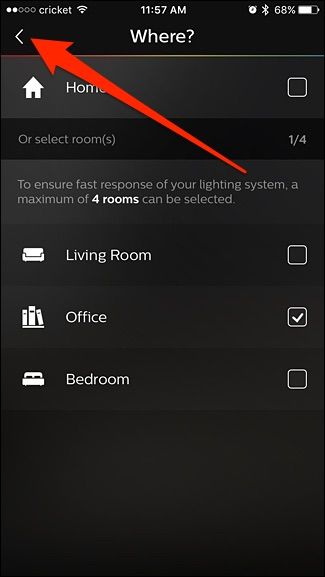
On the "Where" page, select the room that you want to control. Unfortunately, you can't select individual bulbs. When you've made your selection, tap the back arrow in the top-left corner.
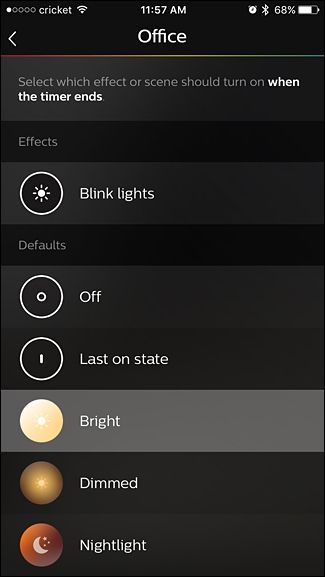
A new section named after the room you selected appears below the "Where" option. Tap that to configure what you want to happen with the lights.
You can either have the lights blink, turn them on or off, or select other scenes that you've created yourself.
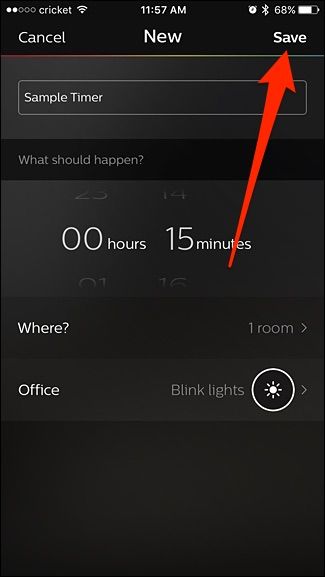
After selecting the action, tap "Save" in the top-right corner.
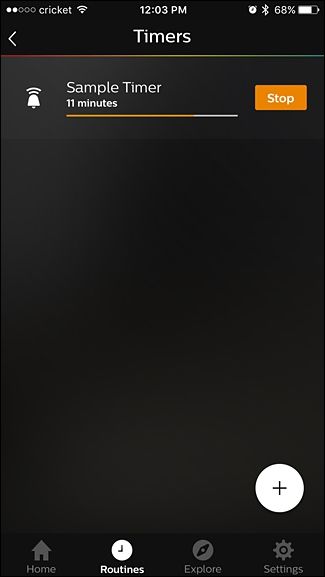
Your new timer appears in the list and starts automatically. The "Timers" screen shows how much time is left before the action is performed. Tap "Stop" to cancel the timer if you want to.
If you do hit "Stop", the timer resets completely. Unfortunately, there's no way to pause a timer. To delete a timer, just swipe left on it and tap the "Delete" button that appears.

