Quick Links
When you take a screenshots in Windows 10 with the Windows+PrtScn shortcut, it automatically saves those pictures by naming them "Screenshot (1)," "Screenshot (2)," and so on. Even if you delete screenshots, that counter just keeps going up. You can use a quick Registry hack to reset that counter whenever you want.
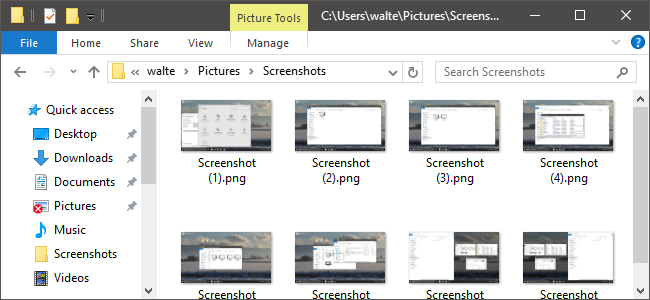
We've covered how to take screenshots in Windows 10 using various shortcuts already. For the purposes of this article, we're talking about shortcuts you take with Windows+PrtScn. Those are automatically saved to a file in a Screenshots folder inside your regular Pictures folder. By default, that's going to be at:
C:\users\<username>\Pictures\Screenshots
This process should not be necessary with other screenshot tools, even those built-in to Windows.
Reset the Screenshot Counter by Editing the Registry Manually
If you take a lot of screenshots throughout the day, particularly for different projects, it can be helpful to reset the counter for the saved files. And you'll do that using a simple Registry hack.
Standard warning: Registry Editor is a powerful tool and misusing it can render your system unstable or even inoperable. This is a pretty simple hack and as long as you stick to the instructions, you shouldn't have any problems. That said, if you’ve never worked with it before, consider reading about how to use the Registry Editor before you get started. And definitely back up the Registry (and your computer!) before making changes.
To get started, open the Registry Editor by hitting Start and typing “regedit.” Press Enter to open Registry Editor and give it permission to make changes to your PC. In the Registry Editor, use the left sidebar to navigate to the following key:
HKEY_CURRENT_USER\SOFTWARE\Microsoft\Windows\CurrentVersion\Explorer

Next, scroll through the right-hand side and locate a value named ScreenshotIndex.

Double-click ScreenshotIndex to open it up and set the "Value data" box to 1 (or to any number at which you want to start numbering your screenshots).

Click OK and exit Registry Editor. Screenshots should start numbering at the index value you set. If you still have some screenshot files in the folder, don't worry. Windows will adjust for this and skip over any numbers that are already present.
The Quick Method: Download Our One-Click Registry Hack

If you don’t feel like diving into the Registry yourself every time you want to reset the counter, we’ve created a downloadable registry hack you can use to reset your screenshot counter to 1. It's included in the following ZIP file. Extract it somewhere safe, then whenever you want to reset the counter, just double-click the Reset Screenshot Index REG file and click through the prompts. It's a handy way to quickly reset the counter without firing up Registry Editor.
This hack is really just the Explorer key, stripped down to the ScreenshotIndex value we described above, and then exported to a .REG file. Running the hack changes the value for ScreenshotIndex to 1. And if you enjoy fiddling with the Registry, it’s worth taking the time to learn how to make your own Registry hacks.
And there you have it! The screenshot counter is just a small annoyance to some folks, but a super easy one to fix.