Quick Links
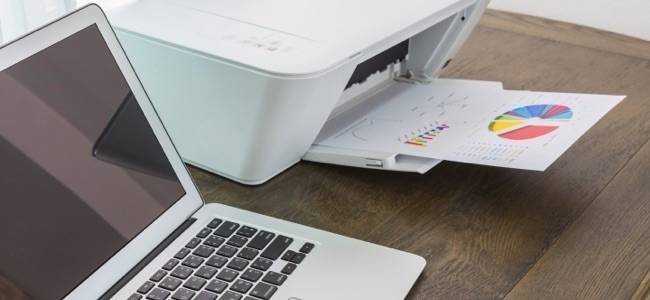
Printers come in all shapes and sizes, but they have similar problems. Troubleshooting a printer on a Mac is similar to troubleshooting it on a Windows PC, but the options you'll need to check are in different places on Mac OS X than they are on Windows.
Before doing any of this, ensure the printer is plugged in, powered on, and connected to your Mac. If it's a Wi-Fi printer, ensure it's connected to the same Wi-Fi network your Mac is on. This stuff may seem obvious, but sometimes it's easy to overlook the simple stuff.
Check the Paper
Be sure to examine your printer and ensure it has enough paper. Check to make sure you've loaded the paper correctly so the printer can access it, too. If the printer has a paper jam, you may need to open up the printer and remove the jammed paper so it will work properly.
Check the Ink and Toner
You'll need ink on an inkjet printer or toner on a laser printer before your printer can print. Just having enough black-and-white ink on an inkjet printer may not be sufficient, as some inkjet printers may refuse to print -- even in black-and-white -- unless you've also filled their color ink tanks.
To check your printer's ink levels, you may need to open a manufacturer-specific printer utility. However, this information may also be found in a more standard way. On a Mac, you can open the System Preferences window, click the "Printers & scanners" icon, and select a printer. Click the "Options & Supplies" button, click the "Supply Levels" tab, and your printer should report how much ink it currently has.
If the printer has a built-in display, that may also display how much ink it has left.

Check the Print Queue
While printing, your printer will have an icon in your dock. You can click the icon to open the print queue. If you don't see that, you can also open the System Preferences window, click the "Printers & scanners" icon, select a printer, and click "Open Print Queue".
From here, you can see any jobs the printer is currently working on. If you see an old job or a job with an error, you can remove it from here and have the printer move on. You can also pause or resume printing from here -- ensure the printer isn't paused. If you see a "Resume" button on the toolbar, the printer is paused and you'll need to click "Resume" to continue. If you see a "Pause" button on the toolbar, the printer isn't paused.

Use Diagnostic Functions
You may need to clean your printer's heads or perform other diagnostic functions to fix problems with poor print quality. This option may be located in the Printers & Scanners window. If it is, you can open the Printers & Scanners pane in the System Preferences dialog, select the printer, and select "Options & Supplies". Look around here for the options you might need -- for example, you might see a "Utility" button that will open that printer's diagnostics utility.
This is printer-dependent. In some cases, you might need to use buttons on the printer itself to initiate a head-cleaning or other diagnostic routines.

Update Your Printer Drivers
Ensure you have the latest drivers for your printer. This doesn't work like it does on Windows, as Mac OS X will automatically install the correct drivers for the printer when you add the printer to your system. Driver updates will arrive via the normal software update process.
To ensure you have the latest printer drivers, click the "Apple" menu on the menu bar at the top of your screen and select "App Store". Click over to the "Updates" tab and ensure you have the latest software installed, particularly and operating system or printer support software.
If it's an AirPrint-enabled printer and you're printing via Apple's AirPrint, you might need to update the firmware with a manufacturer-supplied firmware update to fix issues.
Re-Add the Printer
You may be able to make your printer work properly by removing it from your system and re-adding it. This may be necessary if it's a network printer and something's changed with the network configuration. Mac OS X will also detect the printer and install the appropriate drivers when you add the printer, so this is also a way to have your Mac attempt to detect the printer and install the appropriate drivers again. This will recreate its print queue, too, so it's also a way to fix a corrupted print queue.
To do this, open the System Preferences dialog and click "Printers & Scanners". Select the current printer by clicking it and click the "-" button at the bottom of the list to remove it. Then, click the "+" button and use the add printer dialog to locate and add the printer once again.

Reset the Printing System
If nothing else is working, you can try resetting the entire printing system. This will remove your list of installed printers, clear your print queue (including any previous jobs), and erase any presets or other settings you've configured for the printers. It's a last-ditch option that will wipe everything so you can start over from scratch.
To do this, open the System Preferences and click the "Printers & scanners" icon. Hold the "Control" key down on your keyboard and click in the list of printers. You'll see a "Reset printing system" option -- click it to reset your printing system. You'll have to add your printers from this window after you do so.

If your printer has a status screen with a physical control panel on it, you may need to use that control panel to see a more detailed error message, or just to press "OK" to agree to an information message and get it printing again. This screen may also provide access to information about the printer's ink levels and functions like head-cleaning, too.
if you see a more specific error message on your printer itself, perform a web search for that error message. This should point you in the right direction so you can identify your problem and find out how to fix it.