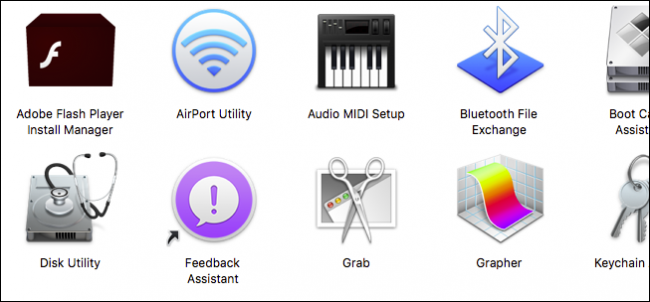
OS X has a bunch of very useful utilities packed away within it. The Utilities folder has a more versatile screenshot tool called Grab, which outdoes the default OS X screenshot functions that you might already use daily.
It's easy to execute screenshots in OS X, simply use "Cmd + Shift + 3" for full-screen shots, and "Cmd + Shift + 4" for selections shots. The resulting snaps are then saved automatically to the desktop so you don't even need to open another folder.
Alternatively, you can can add "Control" to your shortcuts, which will copy your screenshots to the clipboard instead of saving them.
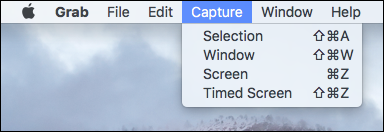
The Grab utility adds further screenshot chops, which you can access from the "Capture" menu or by using any of the associate keyboard shortcuts.
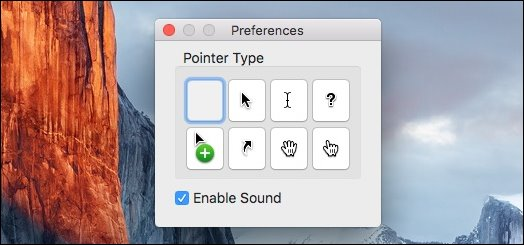
If you access the Preferences, you can select a different pointer type, and turn the screenshot sound off or on.
Let's review each capture type and talk about what they do.
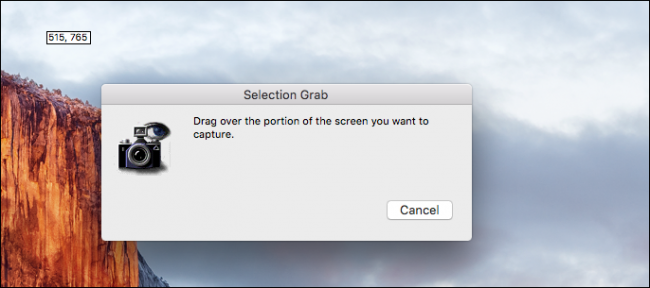
The selection grab can be executed using the keyboard shortcut "Shift + Cmd + A" and will let you select a portion of your screen. You can see in the screenshot below that a small tooltip will appear allowing you to track your pointer's location on the screen.
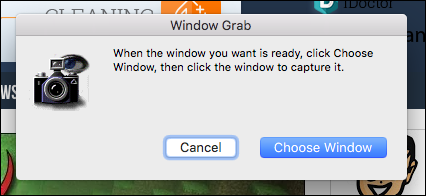
The window grab capture ("Shift + Cmd + W") is simple enough to understand. When you use it, all you have to do choose the window you want to save.
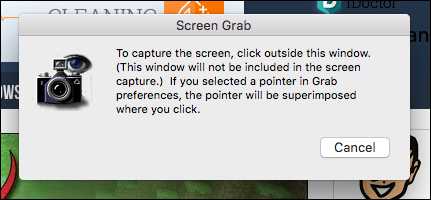
Similarly, the screen grab is nothing more than a full-screen capture not unlike the one you can get using "Shift + Cmd + 3". When using the Grab utility, this capture can easily be executed using "Cmd + Z".
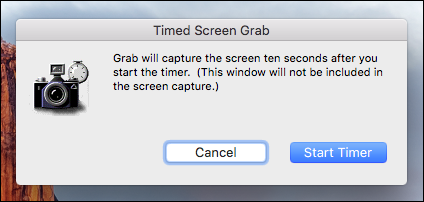
Finally, the timed screen grab allows you to stage your screenshots a bit by starting a ten-second timer, which means that you will have ten seconds to move any windows you want or menus you want to open, so they're all included in your shot. This option can be accessed by using the keyboard shortcut "Shift + Cmd + Z".
Finally, whenever you capture any of the four aforementioned screenshot types, it will open up in Grab's image viewer. You can then decide whether you got the shot you were going for, or if you need to try again.
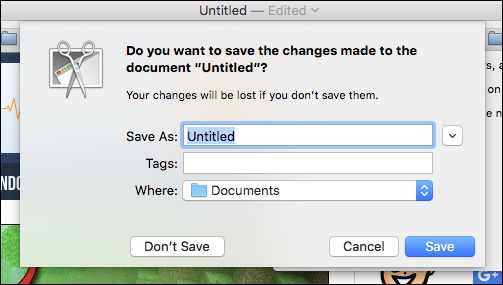
Closing the viewer will spawn a save dialog, which will let you keep your new screenshot, choose where you save it, give it an appropriate name, and add tags, or you can just discard it by clicking "Don't Save".
While Grab isn't necessarily a complicated utility, it does add more options and flexibility above and beyond the system defaults. While it isn't as versatile as a screenshot application like Skitch, for users who have relatively simple needs, Grab offers the main screenshot options the vast majority of users will likely ever need.
Got a question or comment you would like to add? We encourage you to leave any feedback you may have in our discussion forum.

