We love Live CDs, but it's a hassle installing the same packages every time you need to do a virus scan or recover accidentally deleted data. We'll show you how to roll your own Ubuntu Live CD, with all the packages you want, and even more nice customizations.
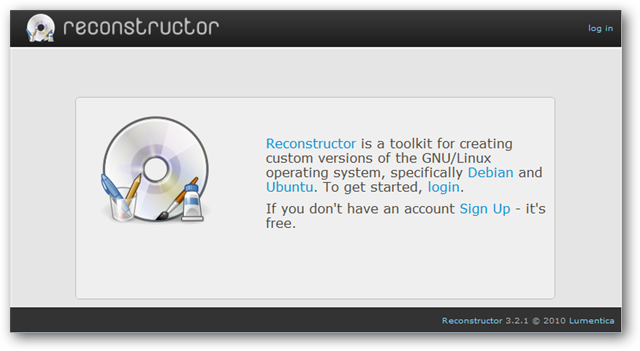
The tool that we're going to use is called Reconstructor, which is a free webapp that lets you roll your own Ubuntu and Debian CDs.
Getting Started
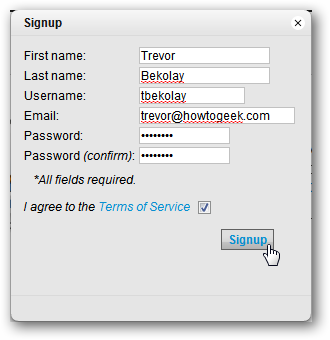
The first step, as noted above, is to sign up for an account. Click the Sign Up link and fill out the form that appears.
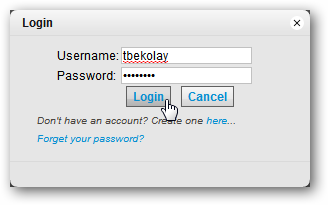
Confirm your account by clicking on a link that will be emailed to you, and then log in.
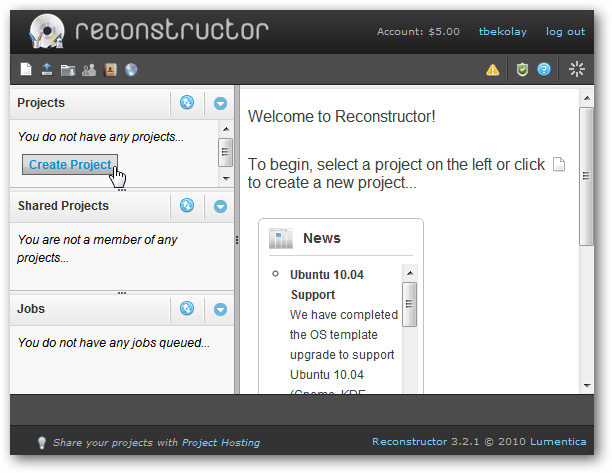
You will be greeted by Reconstructor's main interface. To create your customized Ubuntu CD, click on the Create Project button in the left column.
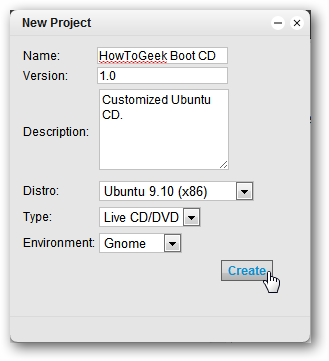
Fill out the basic information about your project. In our case, we're going to customize an Ubuntu 9.10 Live CD, to include some useful utilities that we've covered on How-To Geek in the past.
Customize Your CD
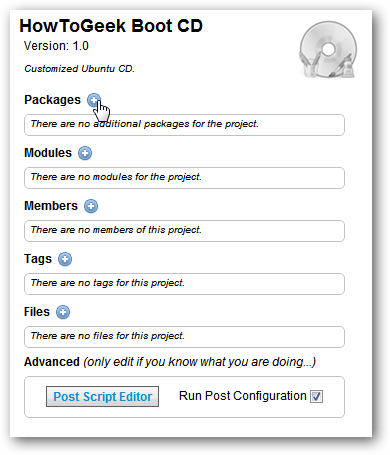
In the main project screen, you will be given a number of options to modify. We'll start off by adding in some packages that are not included in Ubuntu by default.
Click on the plus icon next to the Packages label.
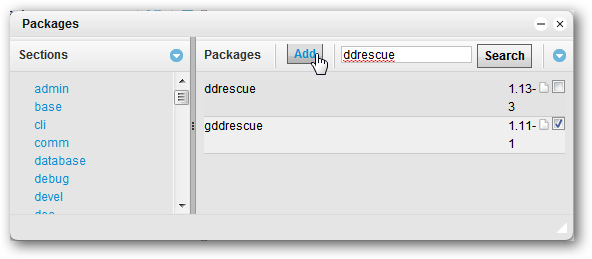
Type in the name of the package you want to add and click Search. All Ubuntu repositories are enabled, so no need to worry about enabling universe or mulitverse. When you've found the package you want to add, add a check to the checkbox at the right and then click Add.
Reconstructor also offers a number of other customizations, like changing the default wallpaper or adding a splash image -- you can even add a Gconf key if you want to move the window buttons in Ubuntu 10.04.
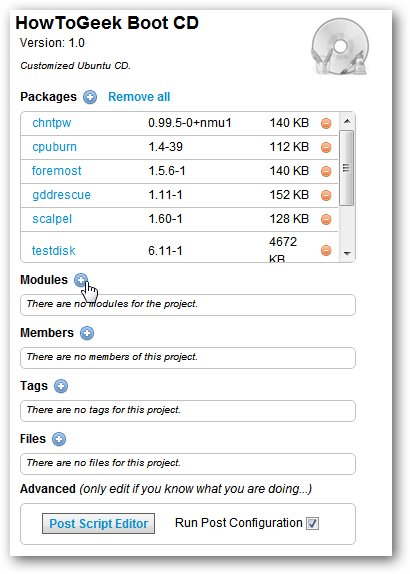
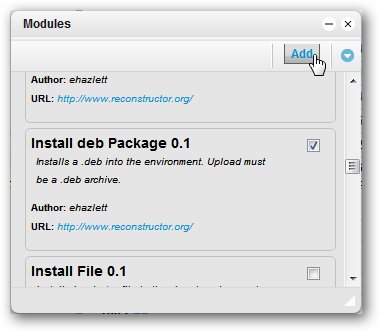
These customizations are found in the Modules section. Click on the plus icon next to Modules to see all of the options.
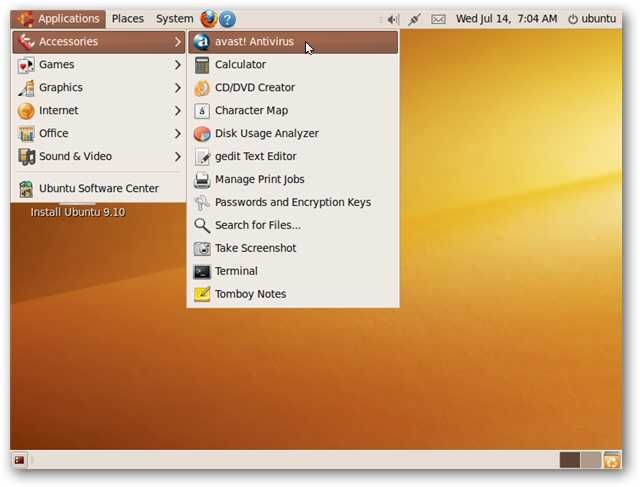
One module that we're going to use allows you to install a deb package. We want to include the avast! virus scanner to our live CD, but it's not in any repository.
Add a check to the Install deb Package 0.1 module and click Add.
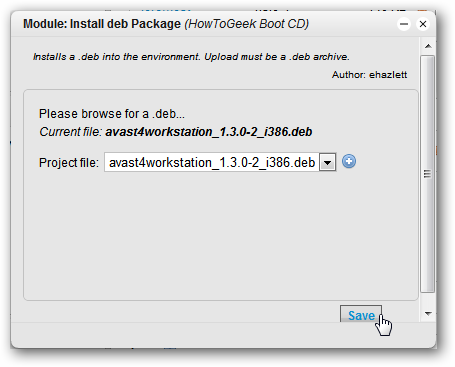
In the main project page, click on the Install deb Package link under the Modules header. From there, you can select the deb package and upload it.
If you would like to collaborate with another person, you can add them in the Members section, and the project will show up in the Shared Projects section.
You can also tag your project, though at the moment the tags do not do much. There are also some advanced things you can do with the Post Script Editor, if you're so inclined.
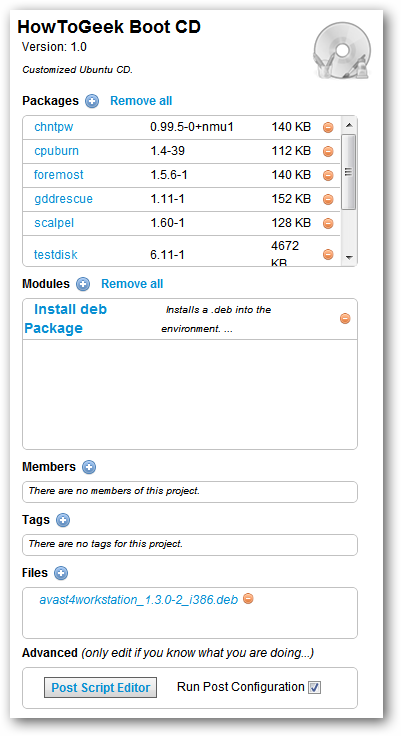
In the end, our Boot CD's project page looks like this.
Download Your CD
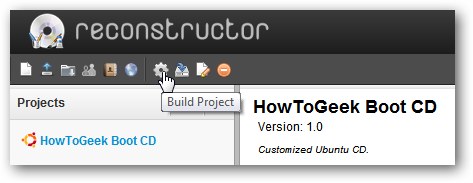
Once you're finished customizing, it's time to create an .iso that you can burn and try out! In the main Reconstructor screen, click on the gear icon in the set of icons near the top of the screen.
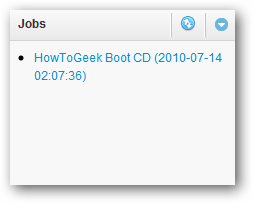
This starts the build process. It will take some time for the CD to be built (around twenty minutes for us). In the meantime, it will be added to the Jobs section of the interface. You can click on the label to see how the build process is progressing.
However, there's no need to keep clicking and checking -- when the build process is done, you'll receive an email at the address that you used to sign up for the Reconstructor service.
The Project link starts an .iso downloading, which you can then burn and try out.
Putting Your CD On a Flash Drive
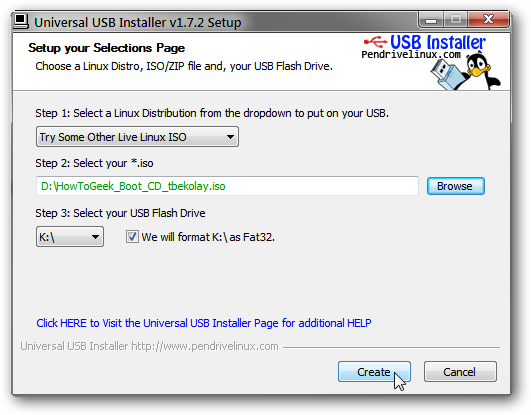
However, if you don't want to burn a CD, or just prefer to use a USB flash drive, you can make a bootable flash drive easily using the Universal USB Installer (on Windows). We've covered this tool in the past, as it's a nice and easy way to make persistent and non-persistent bootable flash drives.
If you want to create a non-persistent bootable flash drive, then in the Universal USB Installer window, choose "Try Some Other Live Linux ISO" from the dropdown box, and browse to find the .iso you downloaded from Reconstructor.
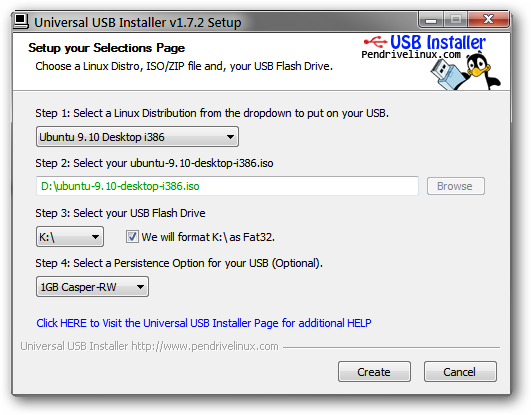
If you want to make a persistent flash drive -- one that will remember the options you set and the additional packages you install in the Live CD environment -- you can do so with a little trick.
In the Universal USB Installer window, choose the version of Ubuntu that you used as a base for your project in Reconstructor. Rename the .iso that you downloaded from Reconstructor to match what Universal USB Installer asks for. Then choose how large you want the persistent partition to be!
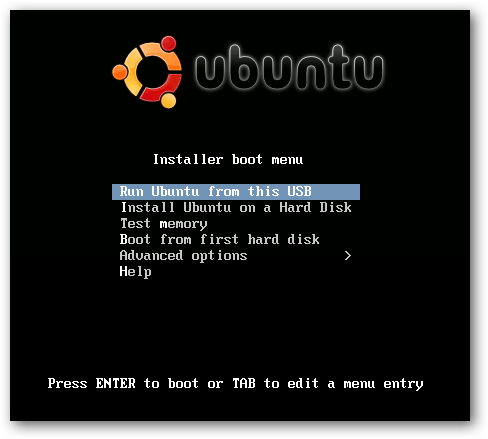
Don't worry, your flash drive will still boot up like a normal Ubuntu Live CD.
And when you get to the desktop environment, you can see that the additional customizations you made through Reconstructor are there.
Reconstructor is a great free webapp for making your own custom Linux CDs. If you're not comfortable with using webapps, then you can also download the open-source Reconstructor Engine by itself. You can even export projects made on the webapp and use the engine locally so you don't have to download a big .iso file!
Links
Make you own customized Ubuntu CD with Reconstructor

