By default, when you create a new table, all the cells have black borders that print with the document. However, there are also table gridlines that make it easier to see where each cell is located in a table if you turned off the cell borders.
The following image shows a table with solid borders applied to all cell borders.

However, if you don’t want any borders on your table and there are no gridlines showing, it may be hard to view and reference data in large tables. On the other hand, for certain tables, you may not want to show the gridlines.

To show gridlines on a table, hover your mouse over the table. The table selection icon displays on the upper-left corner of the table.
When you hover your mouse over the table selection icon, the cursor becomes a crosshair cursor. Click on the icon with the crosshair cursor to select the whole table.

Click the “Layout” table under “Table Tools”.

In the “Table” section of the “Layout” tab, click “View Gridlines”.

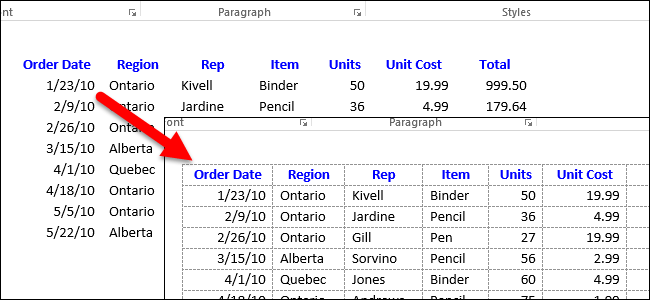
The gridlines now display on the table.

To turn off the gridlines for the table, simply select the table and click “View Gridlines” again.
NOTE: The “View Gridlines” option either shows or hides the gridlines for ALL tables in your document. Also, you cannot print table gridlines.