Word has a handy feature that automatically formats what you type, as you type it. This includes changing quotes to Smart Quotes, automatically creating bulleted and numbered lists, and creating hyperlinks from web addresses. However, what if you have an existing document you want to automatically format?
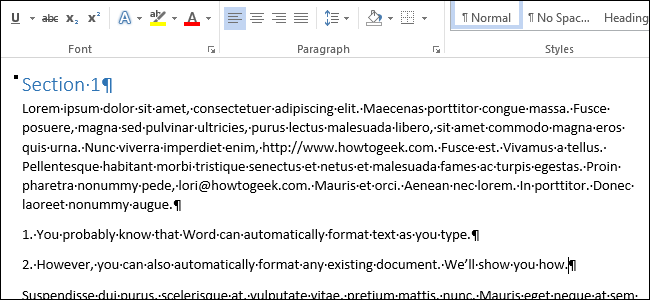
The AutoFormat feature in Word not only works on text as you type it, but it’s also available on demand to format an entire existing document. This is useful if you get a document from someone else that needs a lot little formatting touch-ups. Notice in the image above that the web and email addresses are not formatted as hyperlinks and the list of two items is not formatted as a numbered list. We’ll show you how to set up Word so you can easily change formatting in an entire document with a few clicks.
Word’s AutoFormat tool is not available on any of the ribbon tabs. Therefore, we need to add it to the “Quick Access Toolbar” to use it. Click the down arrow on the right side of the “Quick Access Toolbar” and select “More Commands” from the drop-down menu.

The “Quick Access Toolbar” screen displays on the “Word Options” dialog box. Select “Commands Not in the Ribbon” from the “Choose commands from” drop-down list.

Scroll down in the list below the “Choose commands from” drop-down list until you find the AutoFormat commands. Select “AutoFormat...” and click “Add.”
NOTE: The “AutoFormat...” command is the one that brings up the “AutoFormat” dialog box so you can change settings before applying automatic formatting to your document. You can also add the “AutoFormat Now” command if you know the settings are the way you like them and you just want to apply the automatic formatting immediately. For this example, we want to access the “AutoFormat” dialog box from the “Quick Access Toolbar.”

The “AutoFormat...” command is added to the list on the right side of the dialog box. Use the arrow buttons to the right of the list to move the “AutoFormat...” command to a different location on the “Quick Access Toolbar.”

Click “OK” on the “Word Options” toolbar to close it.

Now, the AutoFormat feature is available on the “Quick Access Toolbar.” Click the “AutoFormat Dialog” button on the toolbar.

The “AutoFormat” dialog box displays. You can choose to automatically format everything in the document at once (“AutoFormat now”) or to review each change as Word encounters them (“AutoFormat and review each change”).
You can also specify the type of document (“General document,” “Letter,” or “Email”) to make it easier for Word to apply the automatic formatting process accurately.
There are additional options you can set to determine what Word changes when it automatically formats the document. Click “Options...” to access these settings.

The “AutoFormat” tab on the “AutoCorrect” dialog box displays. Select the items you want Word to format automatically. Click “OK.”

You are returned to the “AutoFormat” dialog box. Click “OK” to begin the automatic formatting process.

Notice, in our example, that the web and email links are now formatted hyperlinks and the list became a formatted numbered list.

Note that it’s very unlikely that the AutoFormat feature will catch all the formatting changes needed in your document. Every document is different, and you should review the document after applying the automatic formatting to see if there are any other formatting changes you need to apply manually.