If you use OS X, then you probably are acquainted with the Finder sidebar for frequently used shortcuts, drives, and other locations. You may not know, however, that the sidebar can be changed and customized in a number of ways.
When you open Finder for the first time, the sidebar sports its default appearance. The icons (as found in OS X Yosemite) are a mute gray and those that are displayed are the ones that Apple assumes you'll use most, so you can get to your applications, documents, desktop, and so forth.
You can't get to any places that contain system files, but we'll show you how to add new shortcuts in a bit.

If you're not happy with the items that are included in the sidebar, you can remove them by clicking and dragging them out of the Finder until the icon turns to a puff of smoke. Let it go and the shortcut will disappear until you re-add it. If you don't want to remove it, simply drag it back before you release the mouse button and it will stay put.
Conversely, if your sidebar is lacking an important location, you can add it by dragging and dropping it from the Finder window.
For example, in the following screenshot, we drag the movies folder to the sidebar.

Once you're happy with where you want the new addition, drop it there. You see now that we have a shortcut to the Movies folder in our sidebar.

You can drag any location to the sidebar though not all will have a fancy icon. If you drag a standard folder, it will bear a standard folder icon.

Remember also, you're not stuck with the default order. You can drag and rearrange anything that's already in the sidebar, and you can even change many of the icons.
Sidebar Preferences
There's an easier way to add special locations like music and movies. First, open the Finder preferences (Command + ,).

Once in the Finder Preferences, click the "Sidebar" tab.

From the Sidebar options, you can add or remove sidebar items to your heart's content.

You have other options as well. For example, if you simply don't like the sidebar, then you can hide it. Just grab the pane between the sidebar and the finder window and drag it until it snaps closed.

You can also drag the divider to the right, thus making the sidebar wider if that is how you prefer it.
Changing to a Colored Sidebar
You can also change the Finder sidebar to colored icons such as the ones found in earlier versions of OS X. The easist way to do this is to use a free, open sourced piece of software called cDock. We've written about cDock before, which proves to be a tiny, yet versatile piece of software.
cDock is currently up to version 7.1 and has moved the options we want to the "extra settings." Click the button labeled "View" to access them.

Once you have the extra settings open, you can see you want to select the "colored sidebar" option.

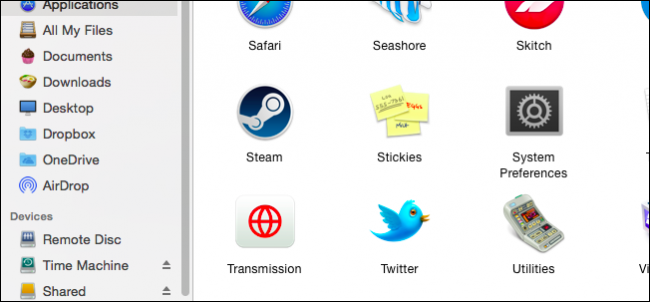
Click "Apply" to invoke your changes and they will then be reflected in the sidebar. Unlike the plain, gray, boring icons that come with OS X Yosemite's sidebar, you now have bright, colored icons.

Once you've enabled the colored sidebar, you can customize it to your heart's content with new icons, which will then be reflected throughout the system, so you can really let your imagination go wild.
While the sidebar may seem like a fairly simple aspect of the Finder (and it is), it's also highly useful for pinning oft-accessed places be these special folders like Music, Movies, and so on, or locations that only you deem important.
Regardless, it's one of those aspects of Finder you might take for granted, and perhaps never realized how customizable it is. To that end, we hope you found this article useful. We'd love to hear your comments and questions so please leave any feedback in our discussion forum.