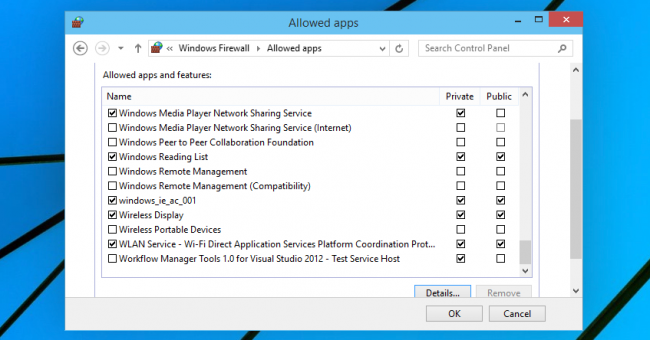
The built-in Windows firewall is an important part of your system security, but over time, more and more applications end up being allowed through the firewall. Luckily there's an easy way to reset all the settings to default again.
It's worth noting that contrary to popular opinion, you don't really need to install a third-party firewall most of the time, as the built-in firewall is a lot more powerful than you might realize. And if you don't know the first thing about firewalls, read our primer on how firewalls actually work.
Reset the Firewall Rules to Default
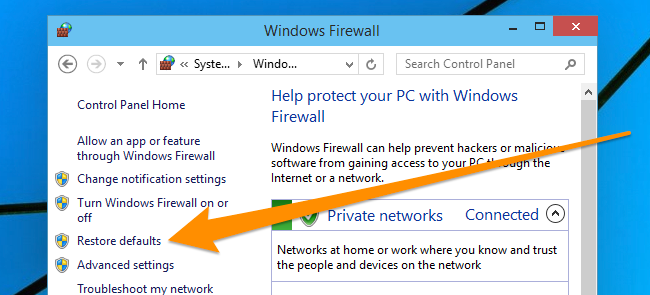
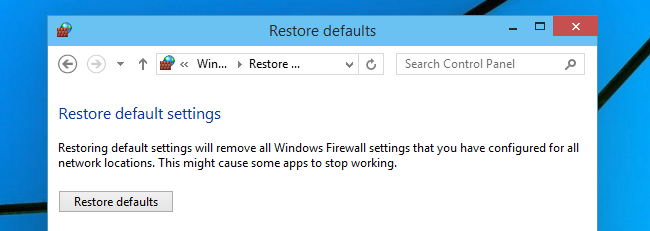
It could not be more easy to reset the firewall rules to default, in fact, it's so easy that it's as if we hardly needed to write this article at all. Just open up the Windows Firewall by searching your Start Menu or screen for it (don't choose the advanced firewall panel), open it up, and then click the Restore defaults item on the left side.
Once there, click the button.
That's pretty much all there is to it.
Reset the Firewall Rules from the Command Prompt
You can also reset the firewall rules from the command prompt -- search for command prompt in your Start menu, and then instead of hitting the Enter key, right-click on it and choose "Run as administrator" from the context menu. This screenshot is from Windows 10, but it works the same in Vista, 7, 8, or 8.1.
Now that you've got the Administrator command prompt open, type in this command:
netsh advfirewall reset
You'll see an "Ok." when you are done.
Of course, if you really wanted to be slick you could type that command into the start menu search and then use CTRL + SHIFT + ENTER to run it as administrator.


