Quick Links
iOS 11 includes a new Screen Recording tool that finally makes it easy to record a video of your iPhone or iPad's screen. You don't need a Mac or a third-party Windows application---all you need is your iPhone or iPad itself.
How to Record on Your iPhone or iPad
The new Screen Recording tool added in iOS 11 can only be accessed via a Control Center shortcut, and that Control Center shortcut isn't enabled by default.
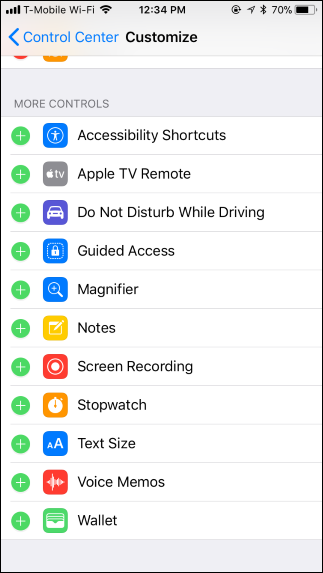
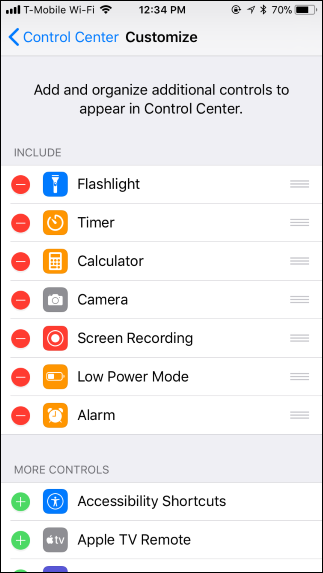
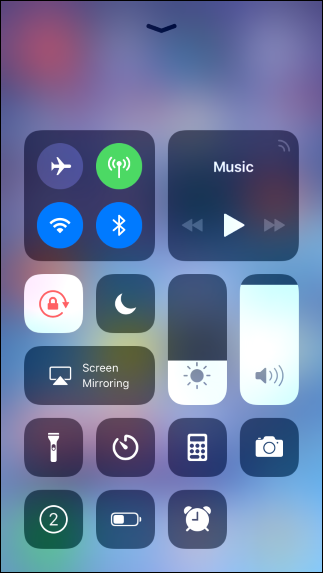
To enable it, head to Settings > Control Center > Customize Controls. Tap the green plus sign button to the left of Screen Recording to add it to your Control Center. You can drag it up or down in the list to position it where you want.
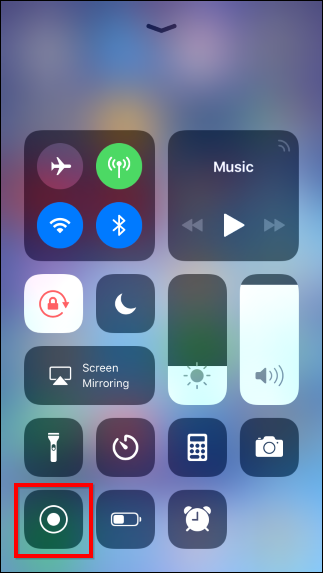
To start recording your screen, swipe up from the bottom of your screen anywhere on your iPhone or iPad to open the Control Center.
To record without capturing audio from your microphone, just tap the Screen Recording button. It looks like a filled-in white circle inside another circle.
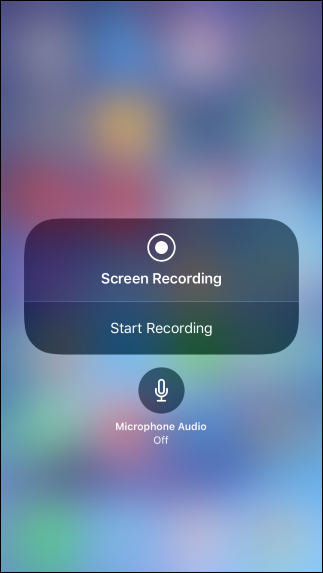
To record while capturing audio from your microphone, either hard-press the Screen Recording button if you have a 3D Touch-enabled device or long-press it if you don't. Tap the "Microphone Audio" button to turn microphone audio on and then tap "Start Recording". You'll be able to talk into your iPhone or iPad's microphone as it records, and that audio will be added to the resulting file.
After you tap the Screen Recording button, it will transform into a timer and begin counting down from 3. You'll have three seconds to navigate to where you want to start recording from in an app.
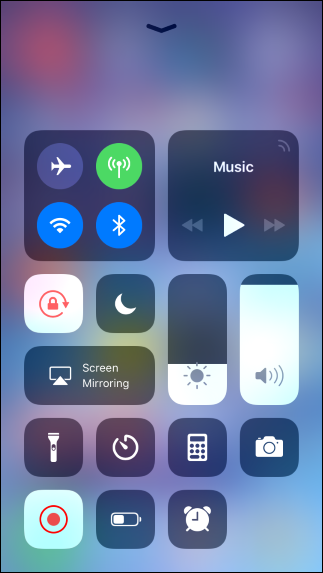
After the timer reaches 0, the tool will begin recording and the icon will turn red. You can open the Control Center and tap the red button once again to stop recording.
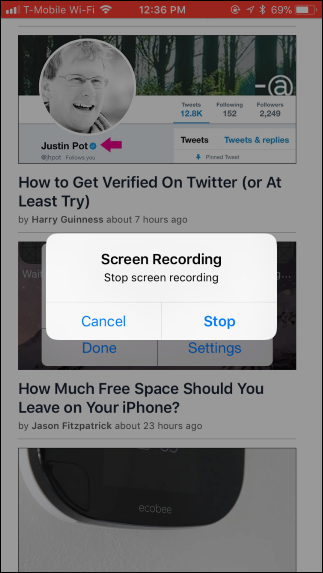
While recording, your iPhone's status bar (the top bar) will turn red. You can also tap the red status bar and then tap "Stop" to stop recording.
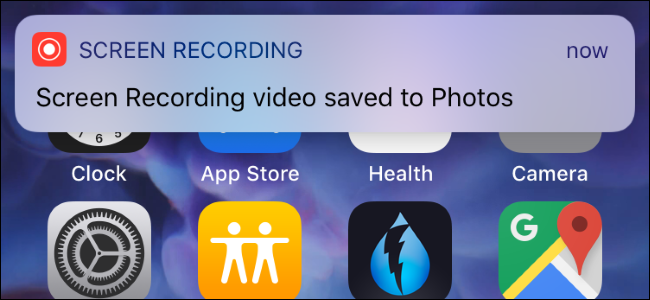
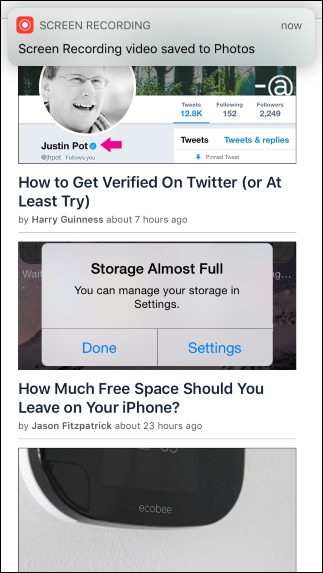
When you finish recording, your video will be saved to the Camera Roll on your iPhone or iPad. Open the Photos app to find it. Any videos you capture will be stored in the Screenshots folder in the Albums view along with screenshots you take.
You can edit the resulting video and share it using various apps just as you would with any video you recorded using the Camera app.
How to Record a Video of Your iPhone from a Mac
As long as you have a device running iOS 8 or newer and a Mac running Yosemite or newer, you can also record a video from your Mac with built-in tools and a regular Lightning-to-USB cable. Your iPhone or iPad must have a Lightning port, so that means devices with the larger 30-pin dock connector---the iPad 3, iPhone 4S, and older device---aren't supported.
First, connect your iPhone or iPad to your Mac as normal. Use the standard USB-to-Lightning cable you'd use if you were charging your device via your Mac or connecting it to iTunes.
Unlock your iPhone or iPad and open iTunes on your Mac to ensure your Mac can see your connected device. You may see a "Trust This Computer" alert on your iPhone or iPad. Agree to trust your Mac if you're asked to do so.
The recording feature is part of QuickTime Player, which is included with macOS. Apple does make a version of QuickTime for Windows, but this feature isn't included in the Windows version of QuickTime.
To record your iPhone's screen, plug it into your Mac and press Command+Space to open Spotlight search. Type "QuickTime" and press Enter. You can also launch it from Finder > Applications > QuickTime Player.
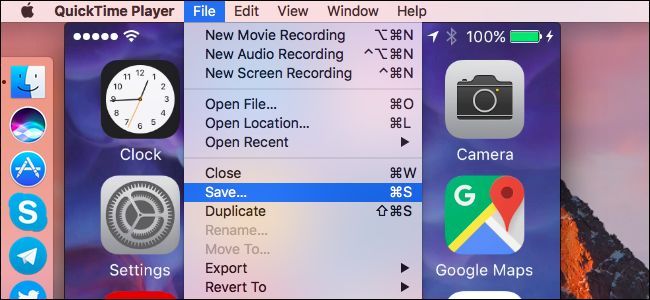
Click File > New Movie Recording to start capturing video.
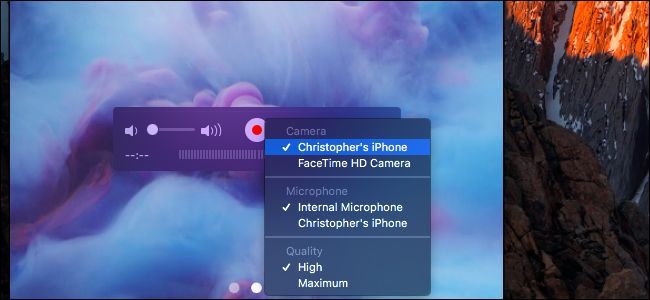
A window will pop up, displaying your Mac's webcam by default. Click the arrow next to the red Record button and select your iPad or iPhone.
You can also select your desired microphone here. For example, you could record a video of your device's screen while capturing audio from a microphone connected to your Mac.
Your iPhone or iPad's screen will appear in a QuickTime window on your Mac. Click the red Record button to start recording.
When you do, you'll see the time and file size start to increase as it records. To avoid visual distractions, the time on your device will be set to 9:41 am and the name of your cellular carrier will be hidden until you stop recording.
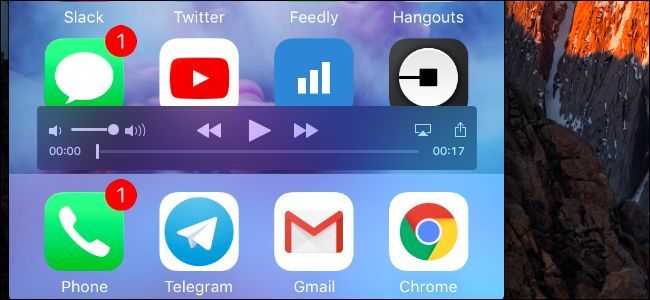
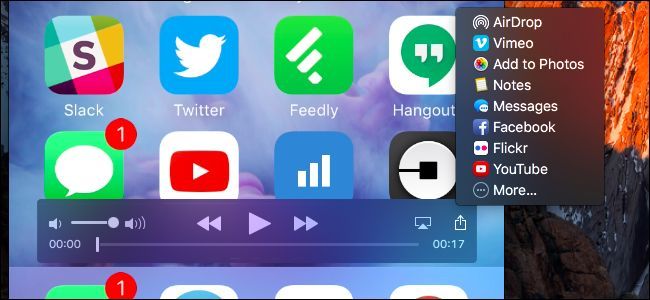
When you're done, click the Stop button. The QuickTime window will then show the video you recorded, and you can click the Play button to play it back.
When you're satisfied, you can save your video. Click File > Save and choose a file name and location.
Thanks to the Share features on macOS, you can even click the Share button in QuickTime and upload the video you took directly to YouTube, Vimeo, or other services.
QuickTime also allows you to easily record a video of your Mac's screen---just select "New Screen Recording" instead of "New Movie Recording." And, as you might expect, you can also use QuickTime's movie-recording feature to record a video from your Mac's webcam.
How to Record a Video of Your iPhone from a Windows PC
You can do this on Windows PCs, too, though it isn't officially supported by Apple. This unofficial method involves running AirPlay receiving software on your PC. You connect to that AirPlay server from your iPhone or iPad, and it will wirelessly stream the contents of your device's screen to a window on your PC---just like it would use AirPlay to stream to an Apple TV. You can then capture the video on your PC.
There are several methods for this. Software programs like X-Mirage, Reflector2, and Apowersoft iPhone/iPad Recorder advertise this feature. They just package the AirPlay receiver and screen capture tool in a single program, but they all cost money. If you're looking for something free, just combine a free AirPlay receiver program with a free screen capture tool.
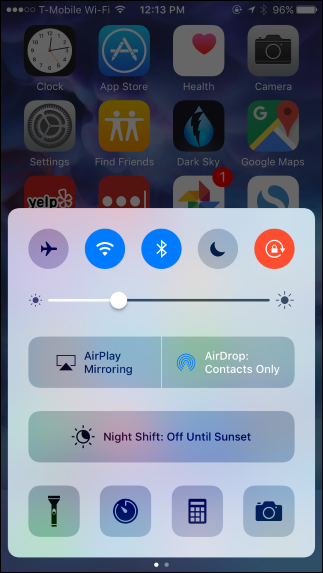
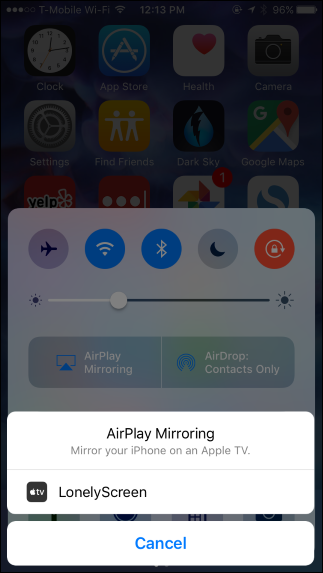
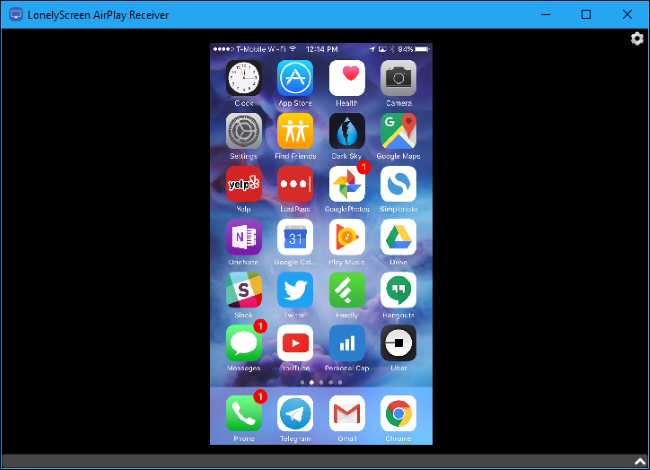
LonelyScreen is a simple, free AirPlay receiver that will do the job. Download and install it on your Windows PC. With the app running, swipe up on the bottom of your iPhone or iPad's screen to access the control center. Tap "AirPlay MIrroring" and then tap "LonelyScreen" to connect to your PC.
The contents of your iPhone or iPad's screen will be mirrored in the LonelyScreen window on your PC.
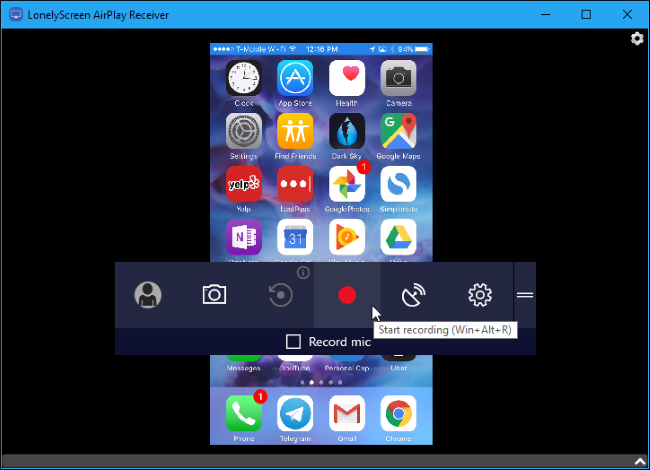
You can now record this window using any desktop screen recorder tool. For example, on Windows 10, you can use the Game Bar for this. Press Windows+G, click "Yes, this is a game", and then click the "Record" button on the Game Bar that appears.
When you click "Stop", Windows will save a clip of the LonelyScreen window. It will be in the C:\Users\NAME\Videos\Captures folder in MP4 format, assuming you're using the default Game Bar settings.
It's also possible to capture videos of gameplay directly in some iPhone and iPad games, without a Mac or PC. However, the game developer has to add support for this feature. If the developer has, you'll see a record button somewhere in the game.

