Are you a Zune owner who prefers the Zune player for media playback? Today we'll show you how to integrate the Zune player with WMC using Media Center Studio.
You'll need to download Media Center Studio and the Zune Desktop player software. (See download links below) Also, make sure you have Media Center closed. Some of the actions in Media Center Studio cannot be performed while WMC is open.
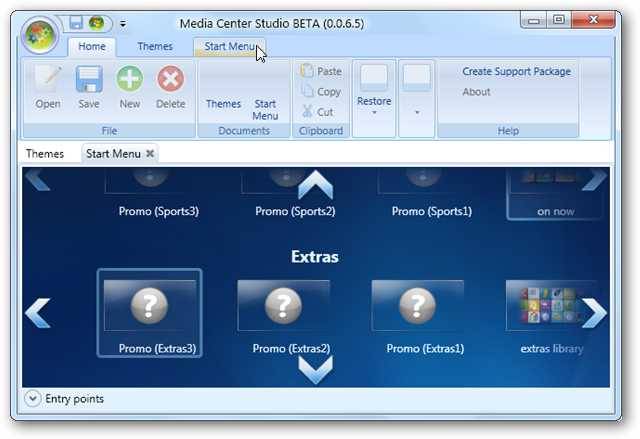
Open Media Center Studio and click on the Start Menu tab at the top of the application.
Click the Application button.

Here we will create an Entry Point for the Zune player so that we can add it to Media Center. Type in a name for your entry point in the title text box. This is the name that will appear under the tile when added to the Media Center start menu. Next, type in the path to the Zune player. By default this should be C:\Program Files\Zune\Zune.exe.
Note: Be sure to use the original path, not a link to the desktop icon.

The Active image is the image that will appear on the tile in Media Center. If you wish to change the default image, click the Browse button and select a different image.
Select Stop the currently playing media from the When launched do the following: dropdown list. Otherwise, if you open Zune player from WMC while playing another form of media, that media will continue to play in the background.

Now we will choose a keystroke to use to exit the Zune player software and return to Media Center. Click on the the green plus (+) button.

When prompted, press a key to use to the close the Zune player.
Note: This may also work with your Media Center remote. You may want to set a keyboard keystroke as well as a button on your remote to close the program. You may not be able to set certain remote buttons to close the application. We found that the back arrow button worked well.

You can also choose a keystroke to kill the program if desired.

Be sure to save your work before exiting by clicking the Save button on the Home tab.

Next, select the Start Menu tab and click on the next to Entry points to reveal the available entry points.

Find the Zune player tile in the Entry points area. We want to drag the tile out onto one of the menu strips on the start menu. We will drag ours onto the Extras Library strip. When you begin to drag the tile, green plus (+) signs will appear in between the tiles.

When you've dragged the tile over any of the green plus signs, the red "Move" label will turn to a blue "Move to" label. Now you can drop the tile into position.

Save your changes and then close Media Center Studio.

When you open Media Center, you should see your Zune tile on the start menu. When you select the Zune tile in WMC, Media Center will be minimized and Zune player will be launched.

Now you can enjoy your media through the Zune player. When you close Zune player with the previously assigned keystroke or by clicking the "X" at the top right, Windows Media Center will be re-opened.

Conclusion
We found the Zune player worked with two different Media Center remotes that we tested. It was a little tricky at times to tell where you were when navigating through the Zune software with a remote, but it did work. In addition to managing your music, the Zune player is a nice way to add podcasts to your Media Center setup. We should also mention that you don't need to actually own a Zune to install and use the Zune player software.
Media Center Studio works on both Vista and Windows 7. We covered Media Center Studio a bit more in depth in a previous post on customizing the Windows Media Center start menu.
Are you new to Zune player? Familiarize yourself a bit more by checking out some of our earlier posts like how to update your Zune player, and experiencing your music a whole new way with Zune for PC.
Downloads
Media Center Studio download