Quick Links
Key Takeaways
After gathering your connection name, subnet mask, and default gateway, you can set a static IP address in the terminal using the nmcli command. Or, in the GNOME desktop, open your connection settings and click the + icon, then enter the info for your static IP address there.
Your home network relies on IP addresses to route data between devices, and sometimes on reconnecting to the network a device's address can change. Here's how to give an Ubuntu Linux computer a permanent IP address that survives reboots.
What Is a Static IP Address?
Everything on your network home network, whether it's using a wired connection or Wi-Fi, has an IP address. IP stands for Internet Protocol. An IP address is a sequence of four numbers separated by three dots. Each IP address that is unique within that network.
IP addresses act as numeric labels. Your router uses these labels to send data between the correct devices. Usually, your router assigns IP addresses. It knows which IP addresses are in use and which are free. When a new device connects to the network, it requests an IP address and the router allocates one of the unused IP addresses. This is called DHCP, or dynamic host configuration protocol.
When a device is restarted or powered off and on, it may receive its old IP address once more, or it might be allocated a new IP address. This is normal for DHCP and it doesn't affect the normal running of your network. But if you have a server or some other computer that you need to be able to reach by its IP address, you'll run into problems if its IP address doesn't survive power downs or reboots.
Pinning a specific IP address to a computer is called allocating a static IP address. A static IP address, as its name suggests, isn't dynamic and it doesn't change even if the computer is power-cycled.
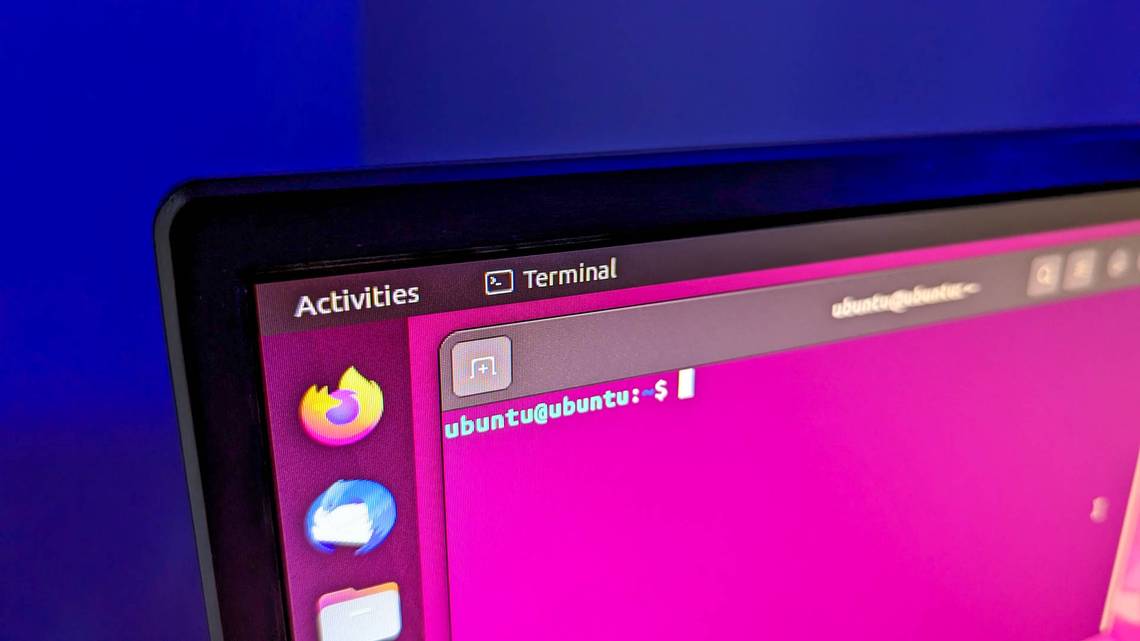
Setting a Static IP in Ubuntu
Nmcliis the command-line network manager tool, and can be used to change your IP address, configure network devices, and --- relevant to our purposes --- set up a static IP in Ubuntu.
We're demonstrating this technique on Ubuntu 22.04 LTS, but it ought to work on any Linux distribution, including Ubuntu 23.04. The nmclitool was released in 2004, so it should be present on just about any standard distribution.
Let's take a look at the network connections that already exist on the computer. We're using the connection command with the show argument.
nmcli connection show

This displays some information about each connection. We only have a single connection configured.

The output is wider than the terminal window. This is the information that we're shown.
|
Name |
UUID |
TYPE |
DEVICE |
|
netplan-enp0s3 |
1eef7e45-3b9d-3043-bee3-fc5925c90273 |
ethernet |
enp0s3 |
- Name: Our network connection is called "netplan-enp0s3."
- UUID: The universally unique identifier Linux uses to reference this connection internally.
- Type: This is an ethernet connection.
- Device: This connection is using the "enp0s3" network interface. It's the only network card in this computer.
We can use the ip command to discover the IP address this computer is using.
ip addr

In the output we can see the "enp0s3" entry, and its current IP address, 192.168.86.117. The "/24" is a shorthand way of saying that this network uses a 255.255.255.0 subnet mask. Take a note of this number, we'll need to use it later.
We need to choose the IP address we're going to set as our static IP address. Obviously, you can't use an IP address that is already in use by another device. One safe way to proceed is to use the current IP address assigned to the Ubuntu system. We know for certain that nothing else is using that IP address.
If we want to use a different IP address, try pinging it. We're going to test whether IP address 192.168.86.128 is in use. If everything else on your network uses DHCP and you get no response to the ping command, it should be safe to use.
ping 192.168.86.128

Even if another device had previously used that IP address, it'll be given a new IP address when it next boots up. Nothing responds to the ping requests, so we're clear to go ahead and configure 192.168.86.128 as our new static IP.
We also need to know the IP address of your default gateway, which will usually be your broadband router. We can find this using the ip command and the route option, which we can abbreviate to "r."
ip r

The entry that starts with "default" is the route to the default gateway. Its IP address is 192.168.86.1. Now we can start to issue commands to set up our static IP address.
The first command is a long one.
sudo nmcli con add con-name "static-ip" ifname enp0s3 type ethernet ip4 192.168.86.128/24 gw4 192.168.86.1

Taken in small chunks, it's not as bad as it looks. We're using sudo. The nmcli arguments are:
- con: Short for "connection."
- add: We're going to add a connection.
- con-name "static-ip": The name of our new connection will be "static-ip."
- ifname enp0s3: The connection will use network interface "enp0s3."
- type ethernet: We're creating an ethernet connection.
- ip4 192.168.86.128/24: The IP address and subnet mask in classless inter-domain routing notation. This is where you need to use the number you took note of earlier.
- gw4 192.168.86.1: The IP address of the gateway we want this connection to use.
To make our connection a functioning connection, we need to provide a few more details. Our connection exists now, so we're not adding anything, we're modifying settings, so we use the mod argument. The setting we're changing is the IPv4 DNS settings. 8.8.8.8 is the IP address of Google's primary public DNS server, and 8.8.4.4 is Google's fallback DNS server.
Note that there is a "v" in "ipv4." In the previous command the syntax was "ip4" without a "v." The "v" needs to be used when you're modifying settings, but not when adding connections.
nmcli con mod "static-ip" ipv4.dns "8.8.8.8,8.8.4.4"

To make our IP address static, we need to change the method which the IP address obtains its value. The default is "auto" which is the setting for DHCP. We need to set it to "manual."
nmcli con mod "static-ip" ipv4.method manual

And now we can start or "bring up" our new connection.
nmcli con up "static-ip" ifname enp0s3

We didn't get any error messages which is great. Lets use nmcli to look at our connections once more.
nmcli con show

Here's the output:
|
NAME |
UUID |
TYPE |
DEVICE |
|
static-ip |
da681e18-ce9c-4456-967b-63a59c493374 |
ethernet |
enp0s3 |
|
netplan-enp0s3 |
1eef7e45-3b9d-3043-bee3-fc5925c90273 |
ethernet |
-- |
Our static-ip connection is active and using device "enp0s3." The existing connection "netplan-enp0s3" is no longer associated with a physical network interface because we've pinched "enp0s3" from it.
Set a Static IP in Ubuntu with the GUI
Click the icons at the far-right end of the system bar to show the system menu, then click on the "Wired Connected" menu option. If you're using a wireless connection, instead click the name of your Wi-Fi network.
The available connections are displayed. A dot indicates which is in use. Click the "Wired Settings" or "Wi-Fi Settings" menu option. The details of the active connection are displayed.
If you followed our previous instructions the new connection will be the active connection. We can see our new "static-ip" connection has the IP address, default gateway, and DNS servers that we set for it.

To create a new connection using the "Settings" application, click the "+" icon on the "Networks" page, above the list of wired connections.

A dialog appears. We need to provide a name for our new static IP connection.

We're calling our new connection "static-2." Click the "IPv4" tab.

Select the "Manual" radio button, and complete the "Address", "Netmask", and "Gateway" fields. Also complete the DNS field, and then click the green "Apply" button. Note the comma between the DNS entries.
Our new connection is listed in the "Wired" connections pane.

You can swap between the available connections by clicking directly on their names.
If you want to modify a connection after you create it, click the cog icon. In this case, we'll enter the settings for the "static-ip" connection.

A dialog box opens. Click on the "IPv4" tab.

Because we set our new IP address to be static, the "Manual" radio button is selected. You could change this back to DHCP by selecting the "Automatic (DHCP)" radio button, and clicking the green "Apply" button.
Connection Convenience
Using the nmcli command or the GNOME desktop and apps, you can hop between network connections very easily and very quickly.
It's more convenient to have a selection of connection profiles and move between them as you need to, rather than to have one that you keep editing. If something goes horribly wrong with the connection you're editing or adding, you can always fall back on one of the existing connections.