Quick Links
Most people know that you can enable or disable the optional Windows features through the Control Panel, but today we're going to show you how you can do the same thing through the PowerShell command line in Windows 8.
Manage Windows Optional Features From PowerShell
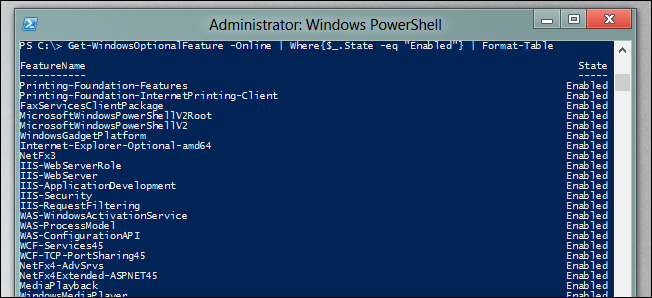
The first thing you will want to do is see what features you have enabled, to do this we will need to pass the output of the Get-WindowsOptionalFeature cmdlet down the pipeline, where it can be filtered and formatted:
Get-WindowsOptionalFeature –Online | Where-Object {$_.State –eq “Enabled”} | Format-Table

That will give you a nice tabulated view of what is enabled.

If you want to see what features are disabled you can use the following:
Get-WindowsOptionalFeature –Online | Where-Object {$_.State –eq “Disabled”} | Format-Table

If you need to disable a feature you can use the following:
Disable-WindowsOptionalFeature –FeatureName NetFx3 –Online
This assumes that the feature that you want to disable is NetFx3.

Of course, you will most likely be adding a feature which can be done like so:
Enable-WindowsOptionalFeature –FeatureName NetFx3 –Online

That’s all there is to it.